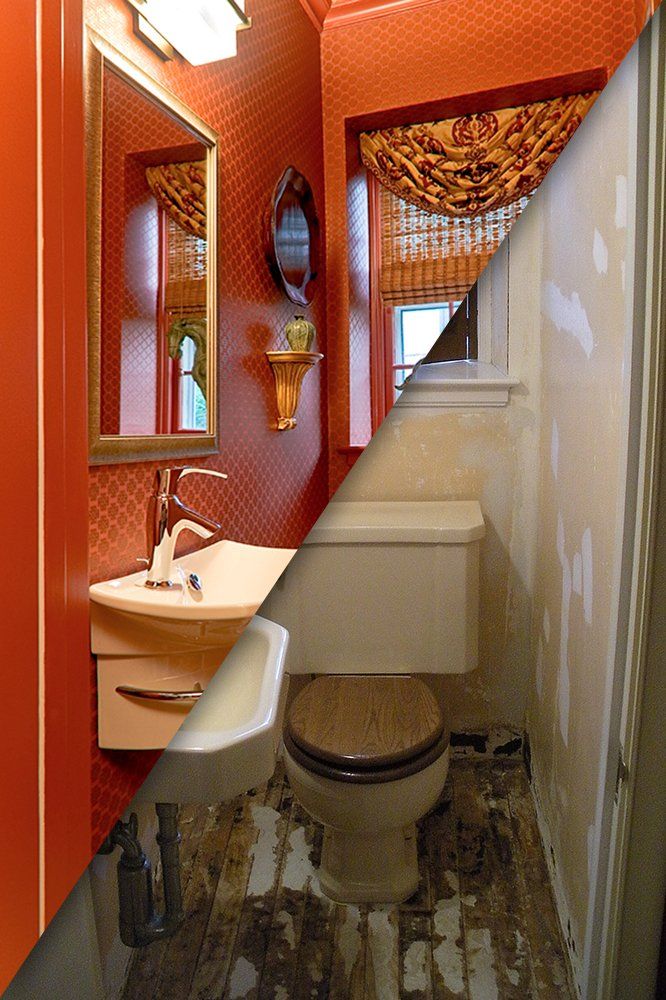
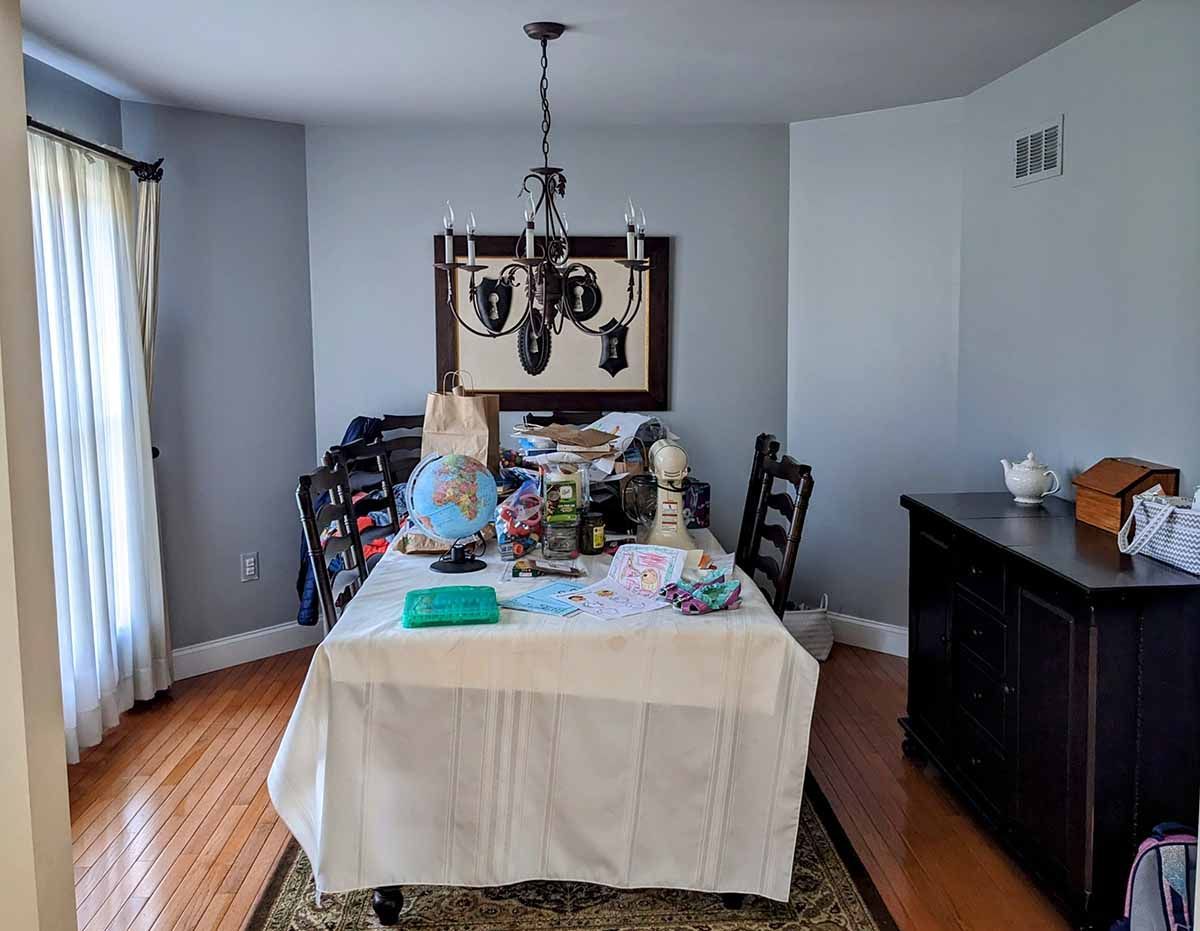
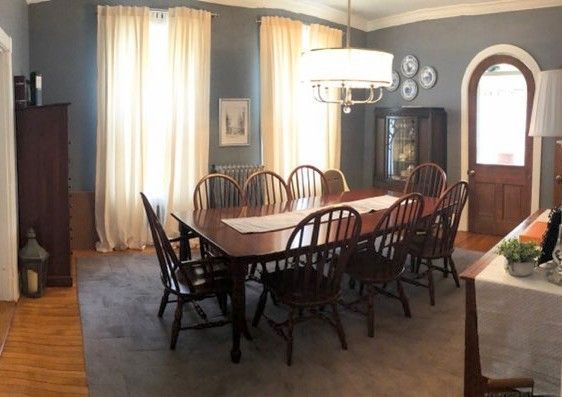
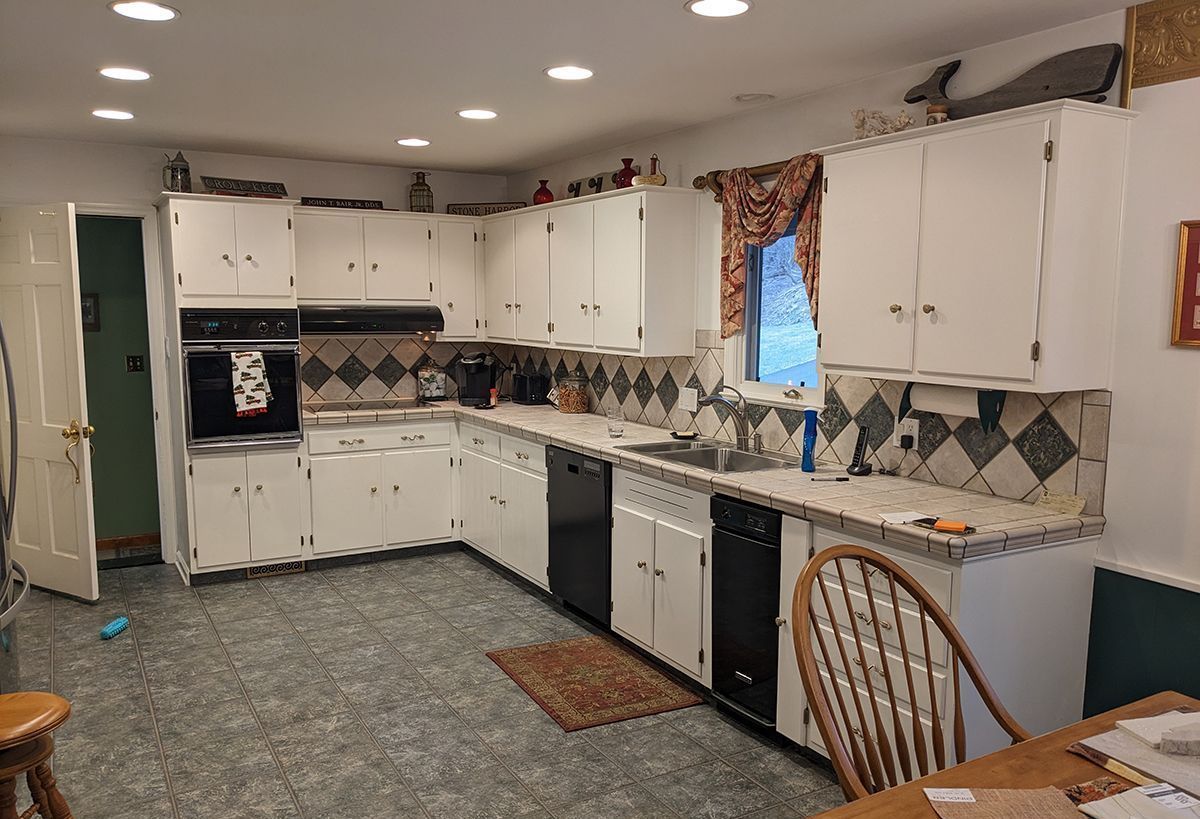
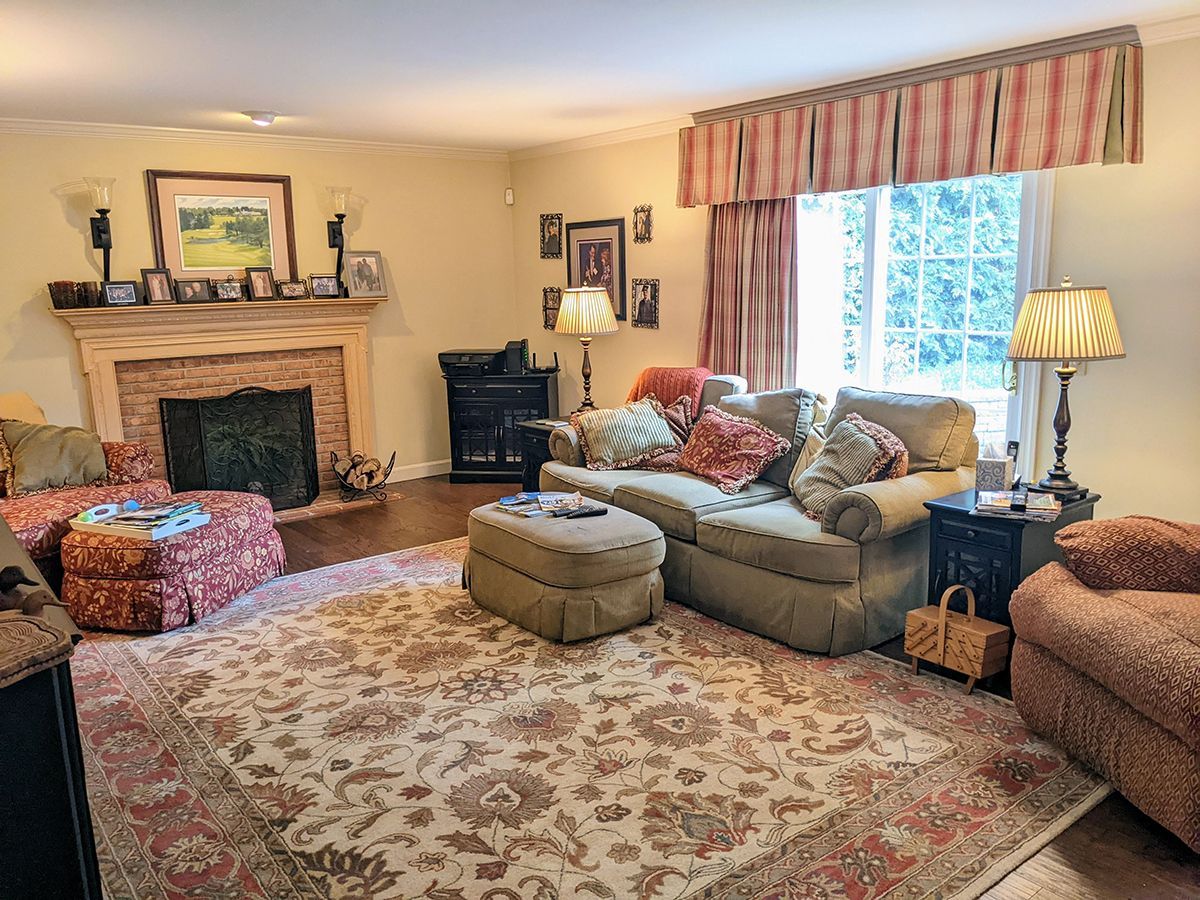
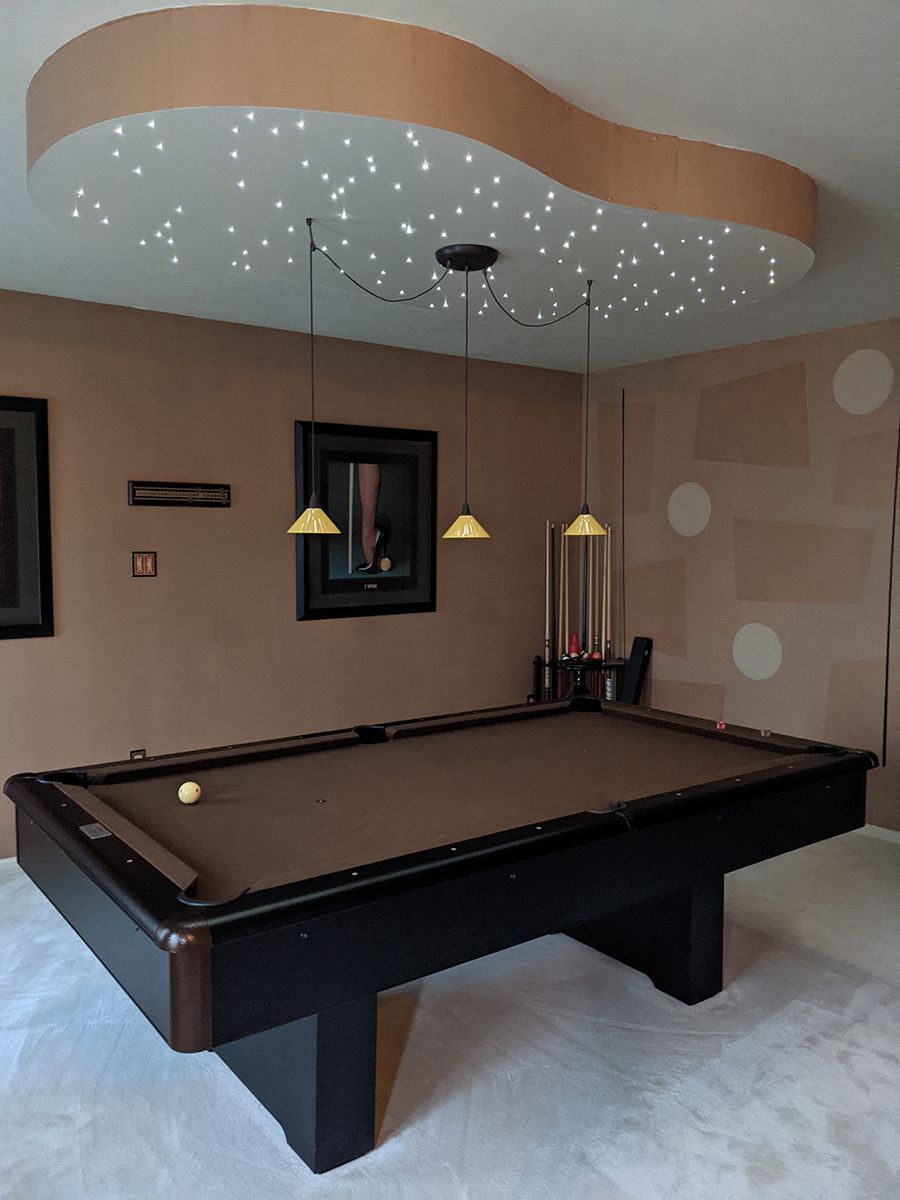
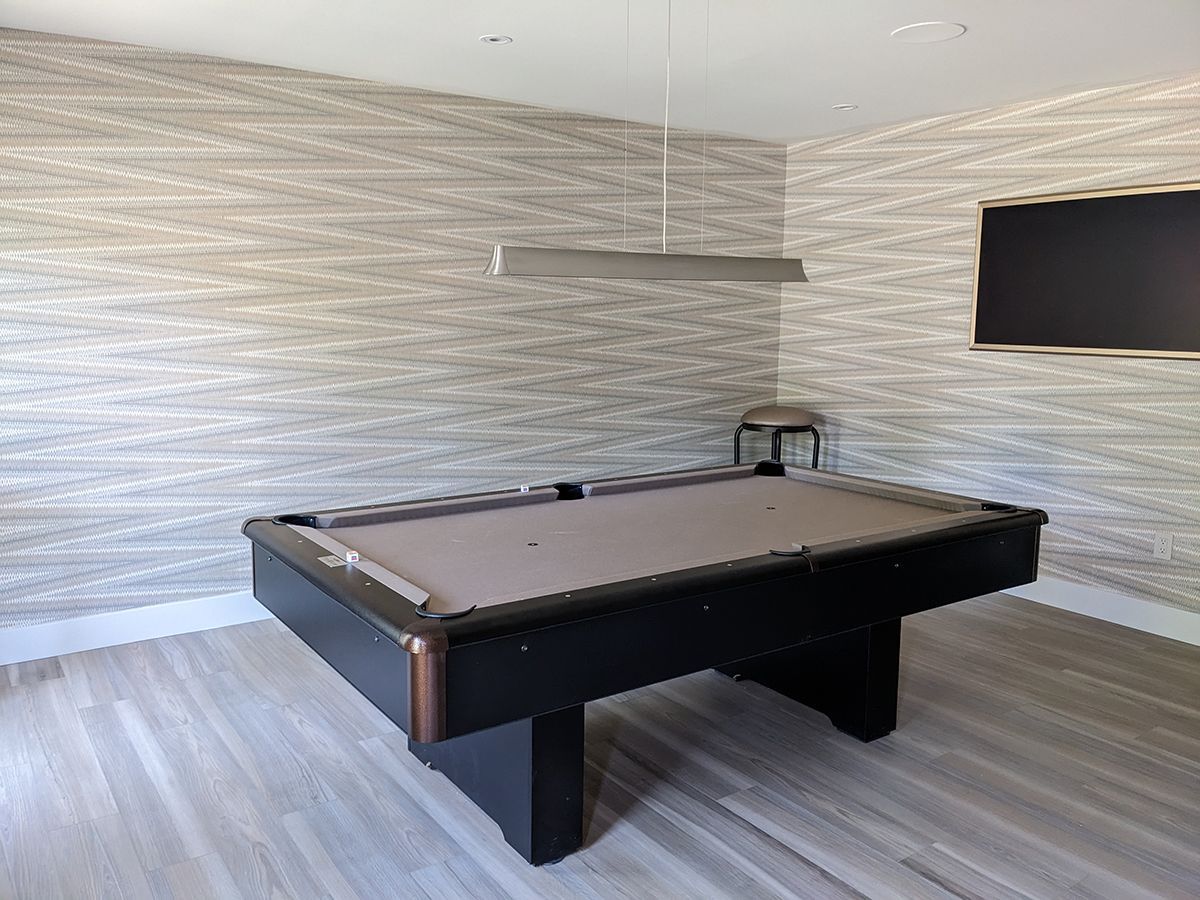
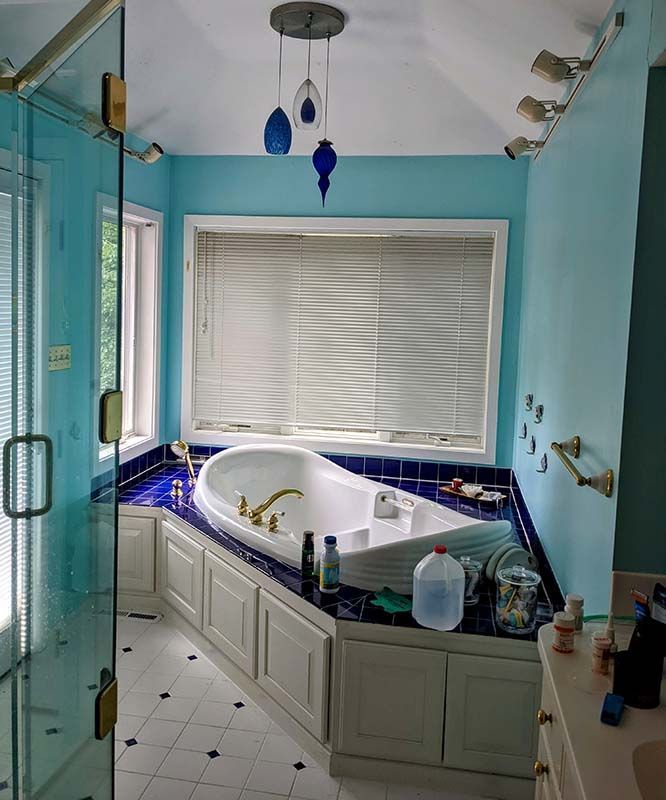
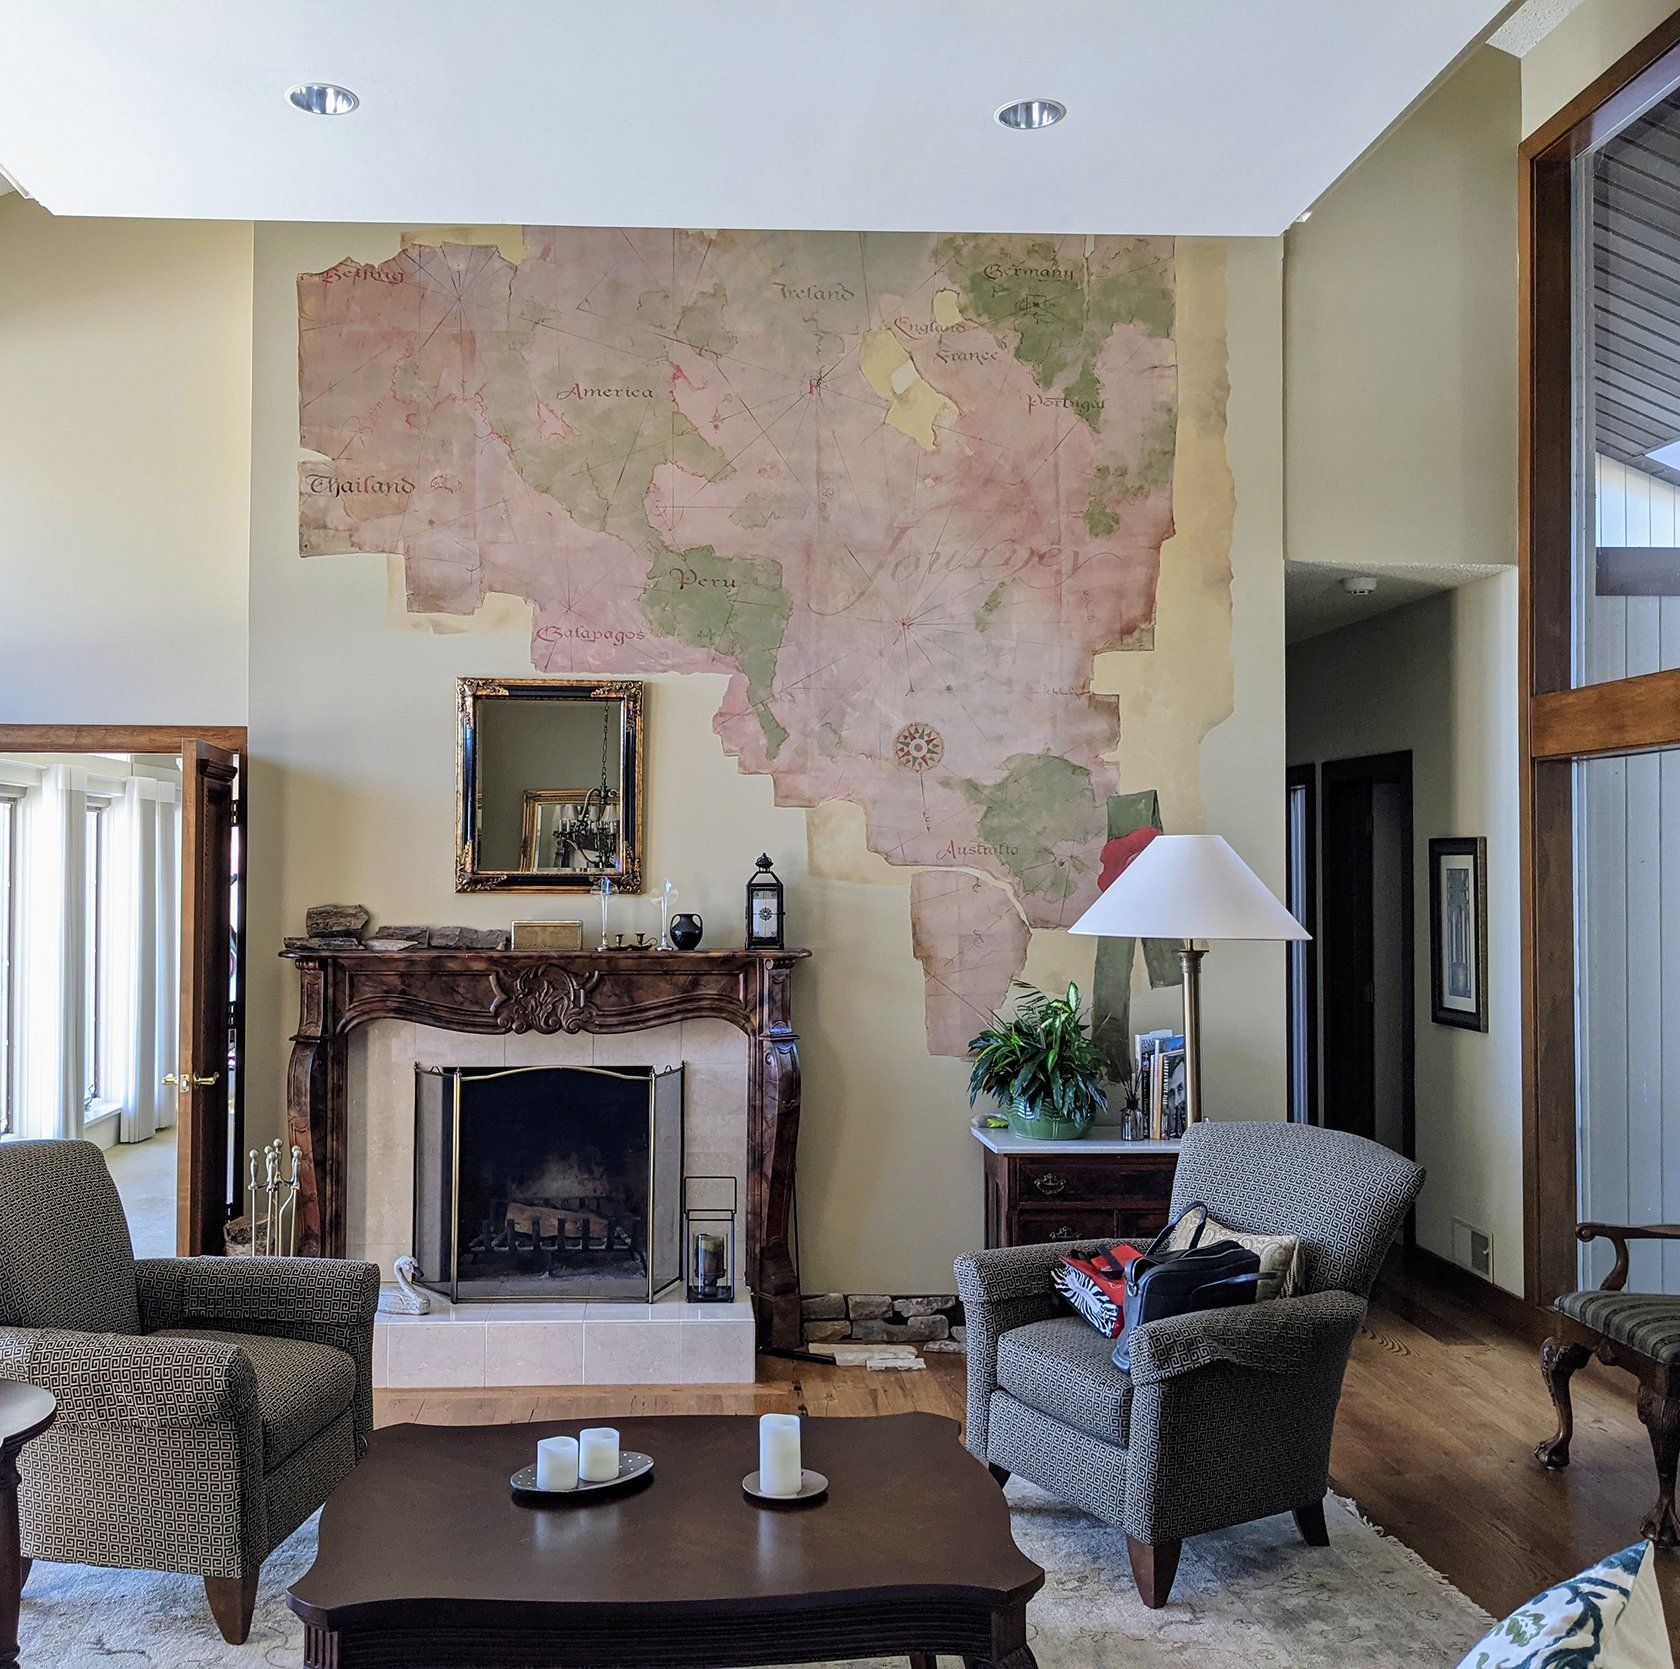
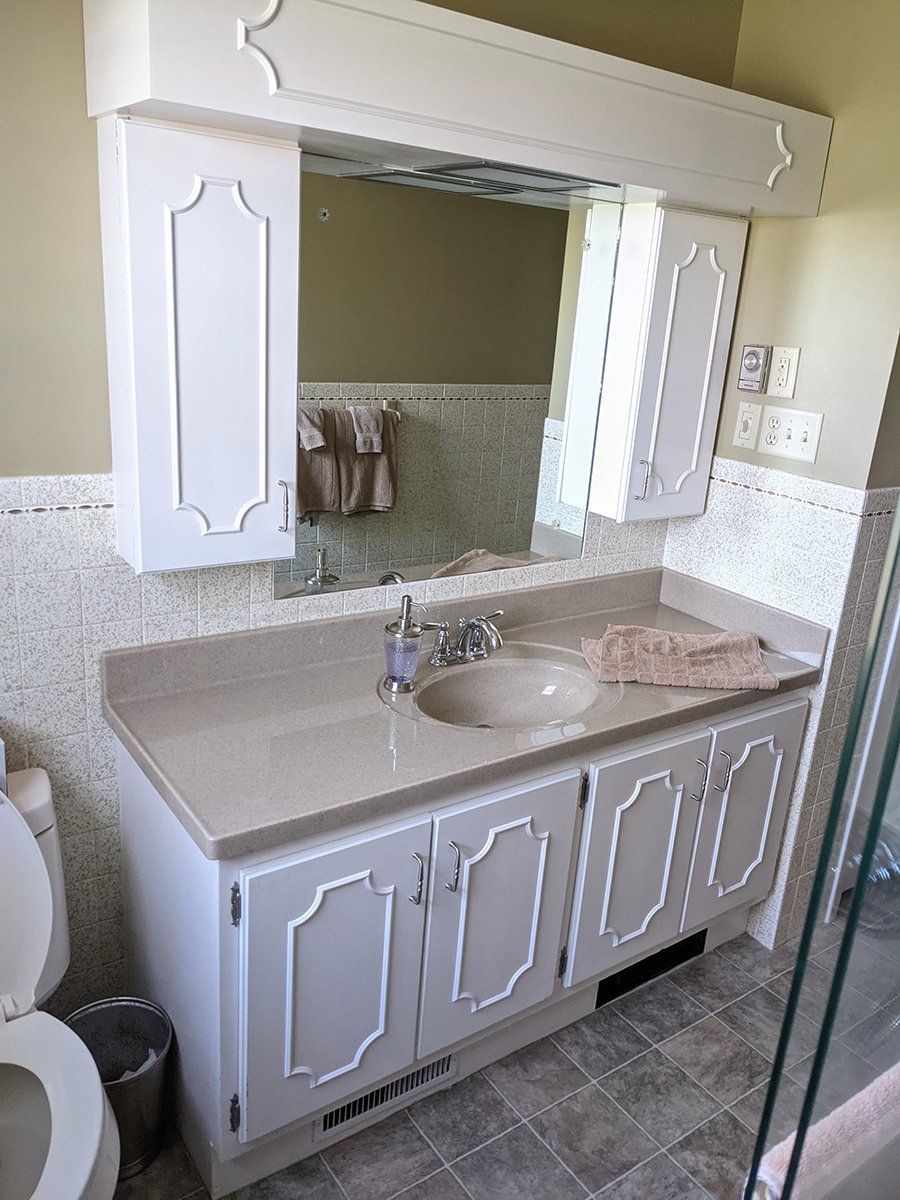
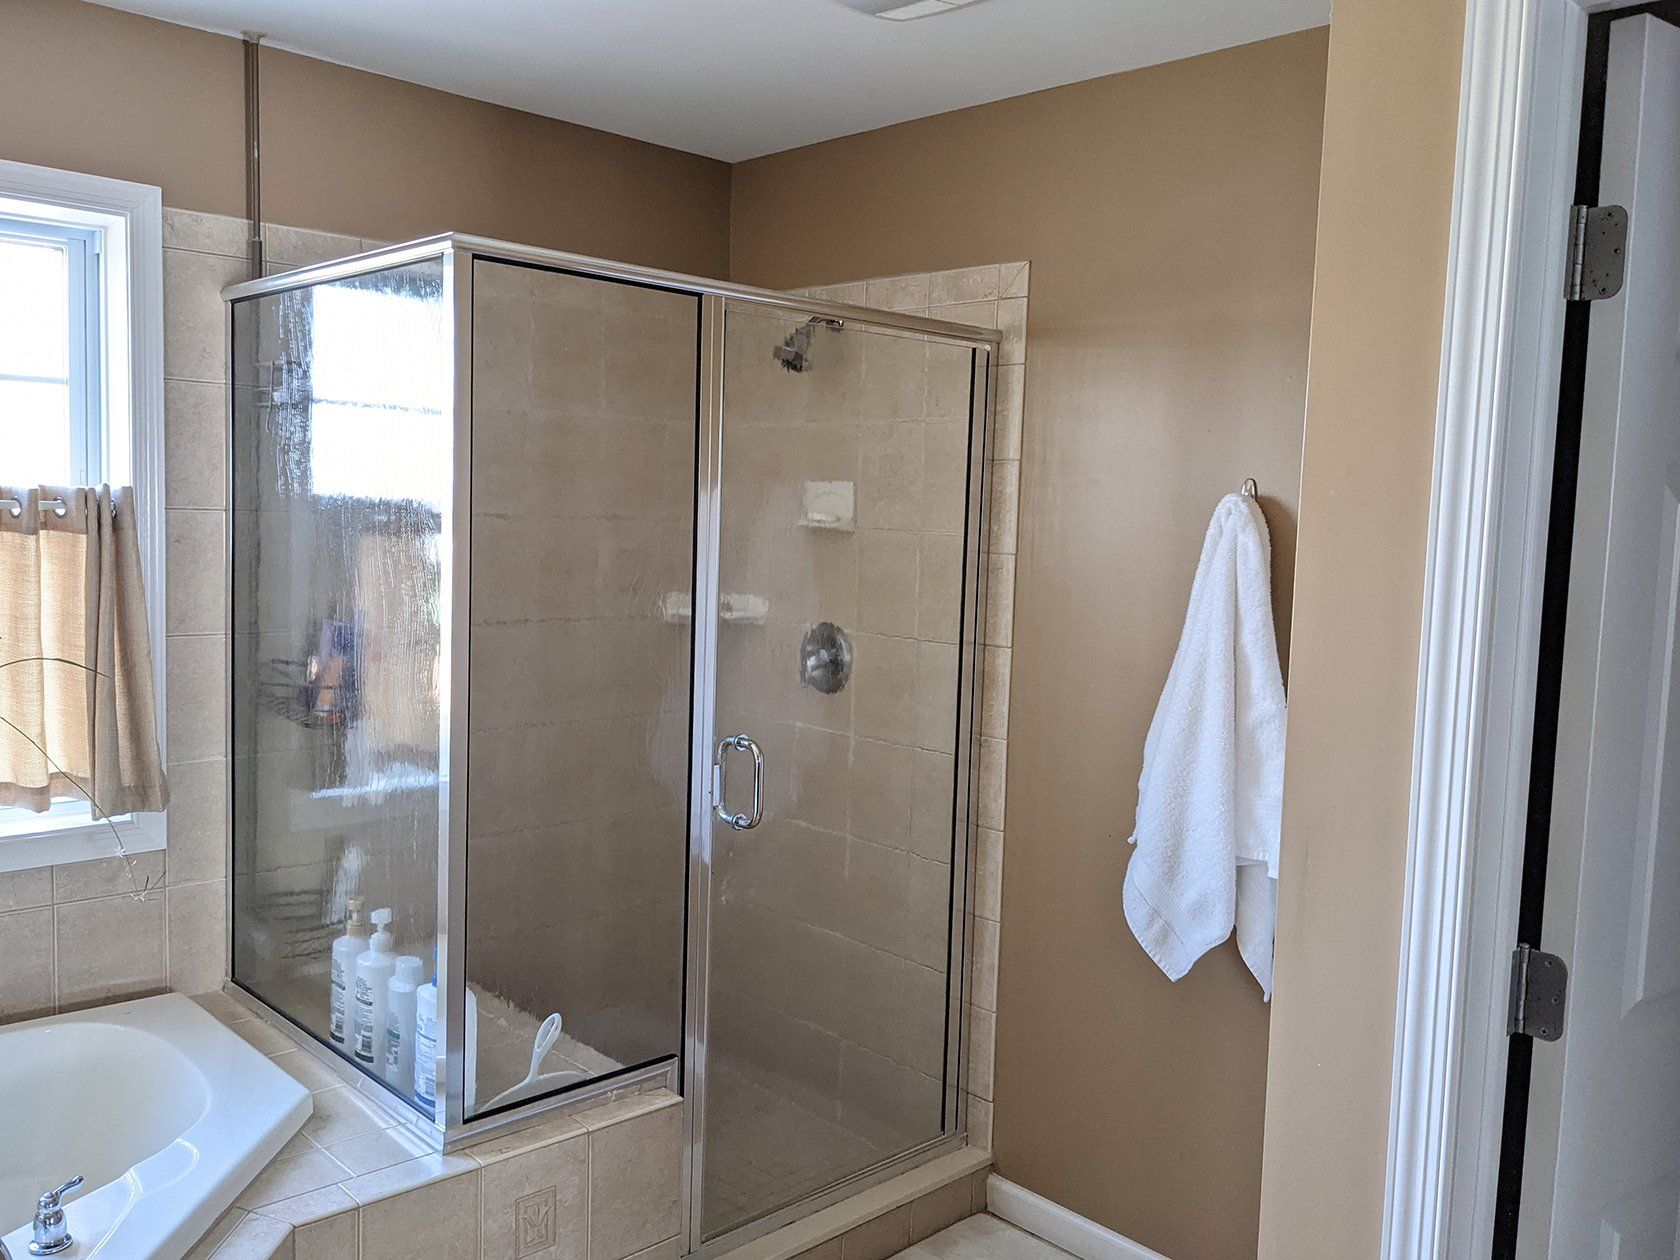
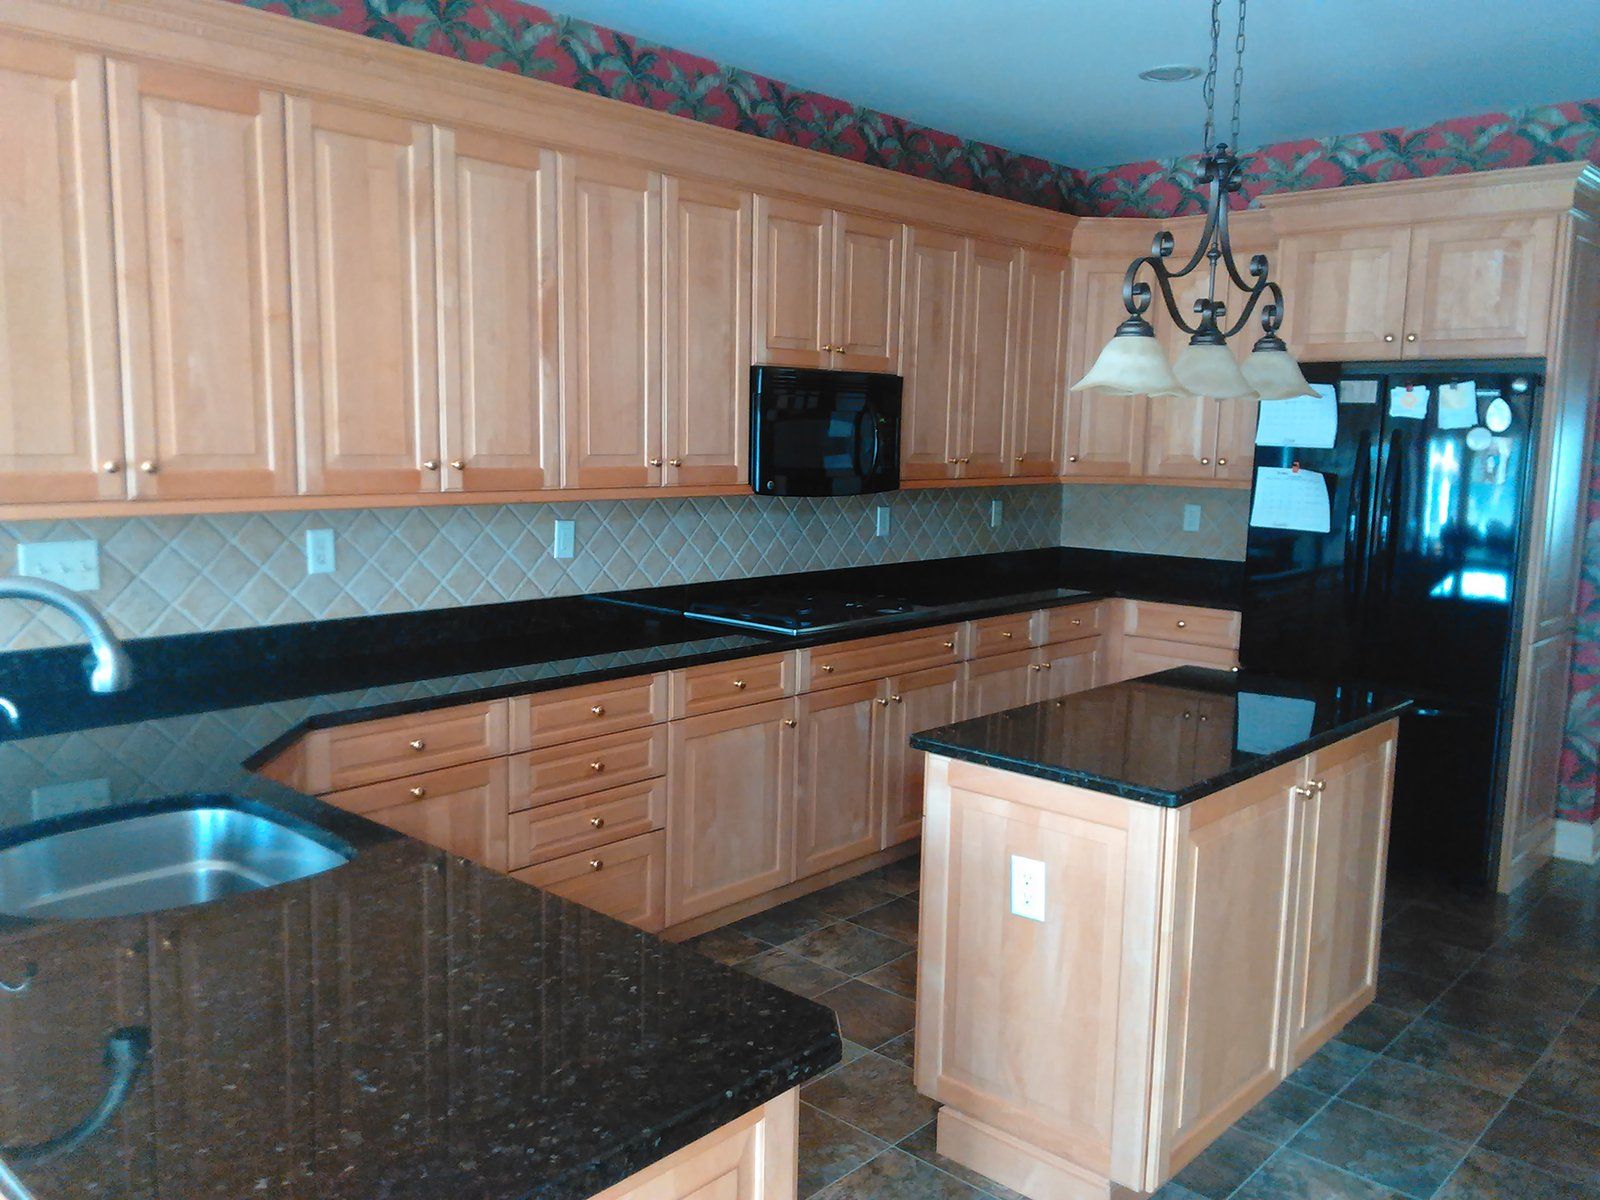
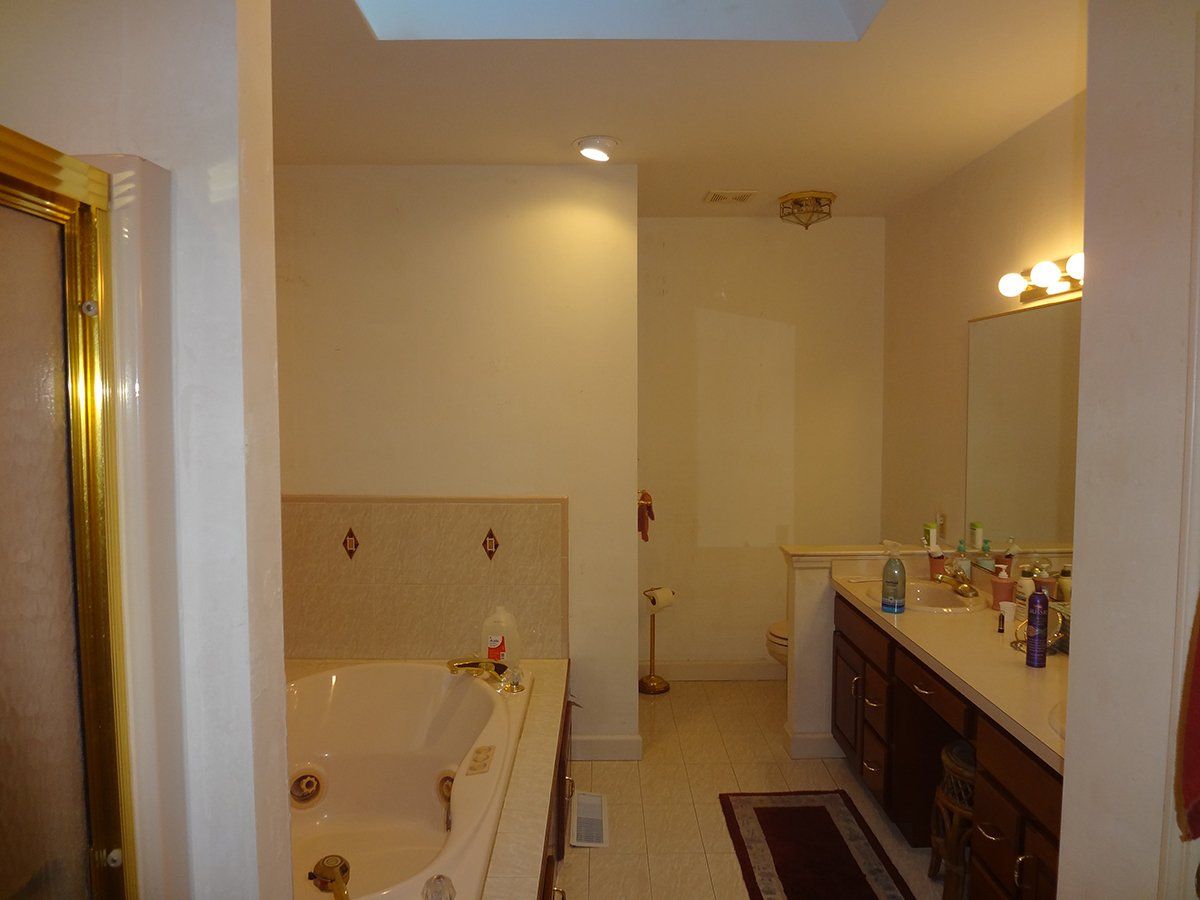
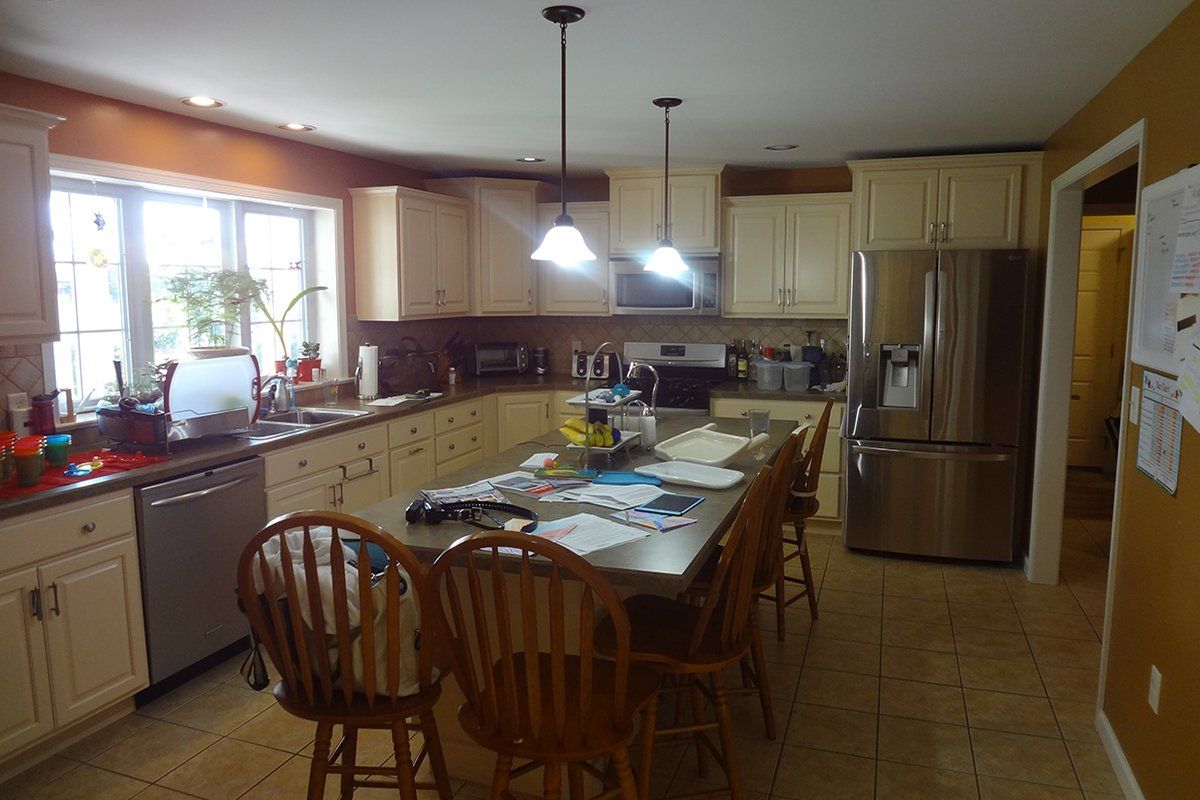
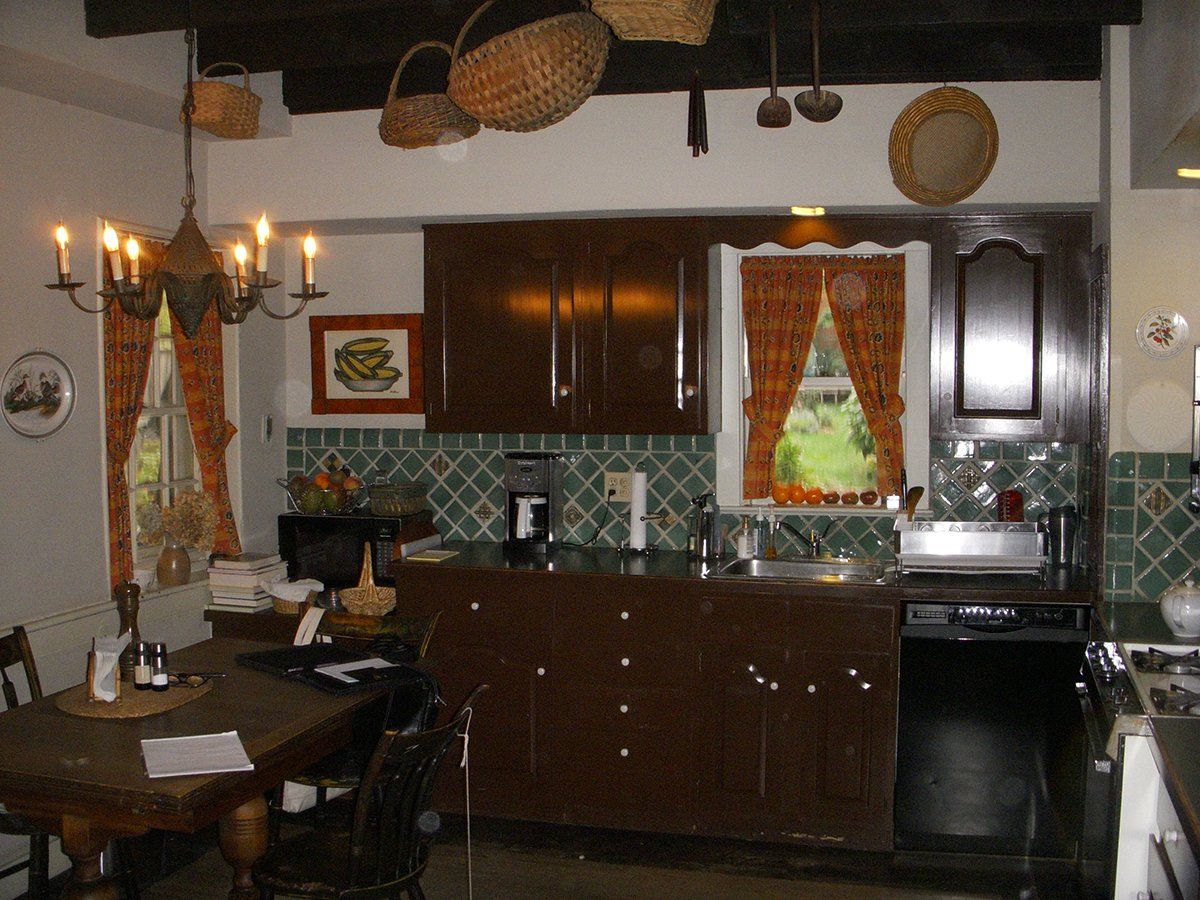
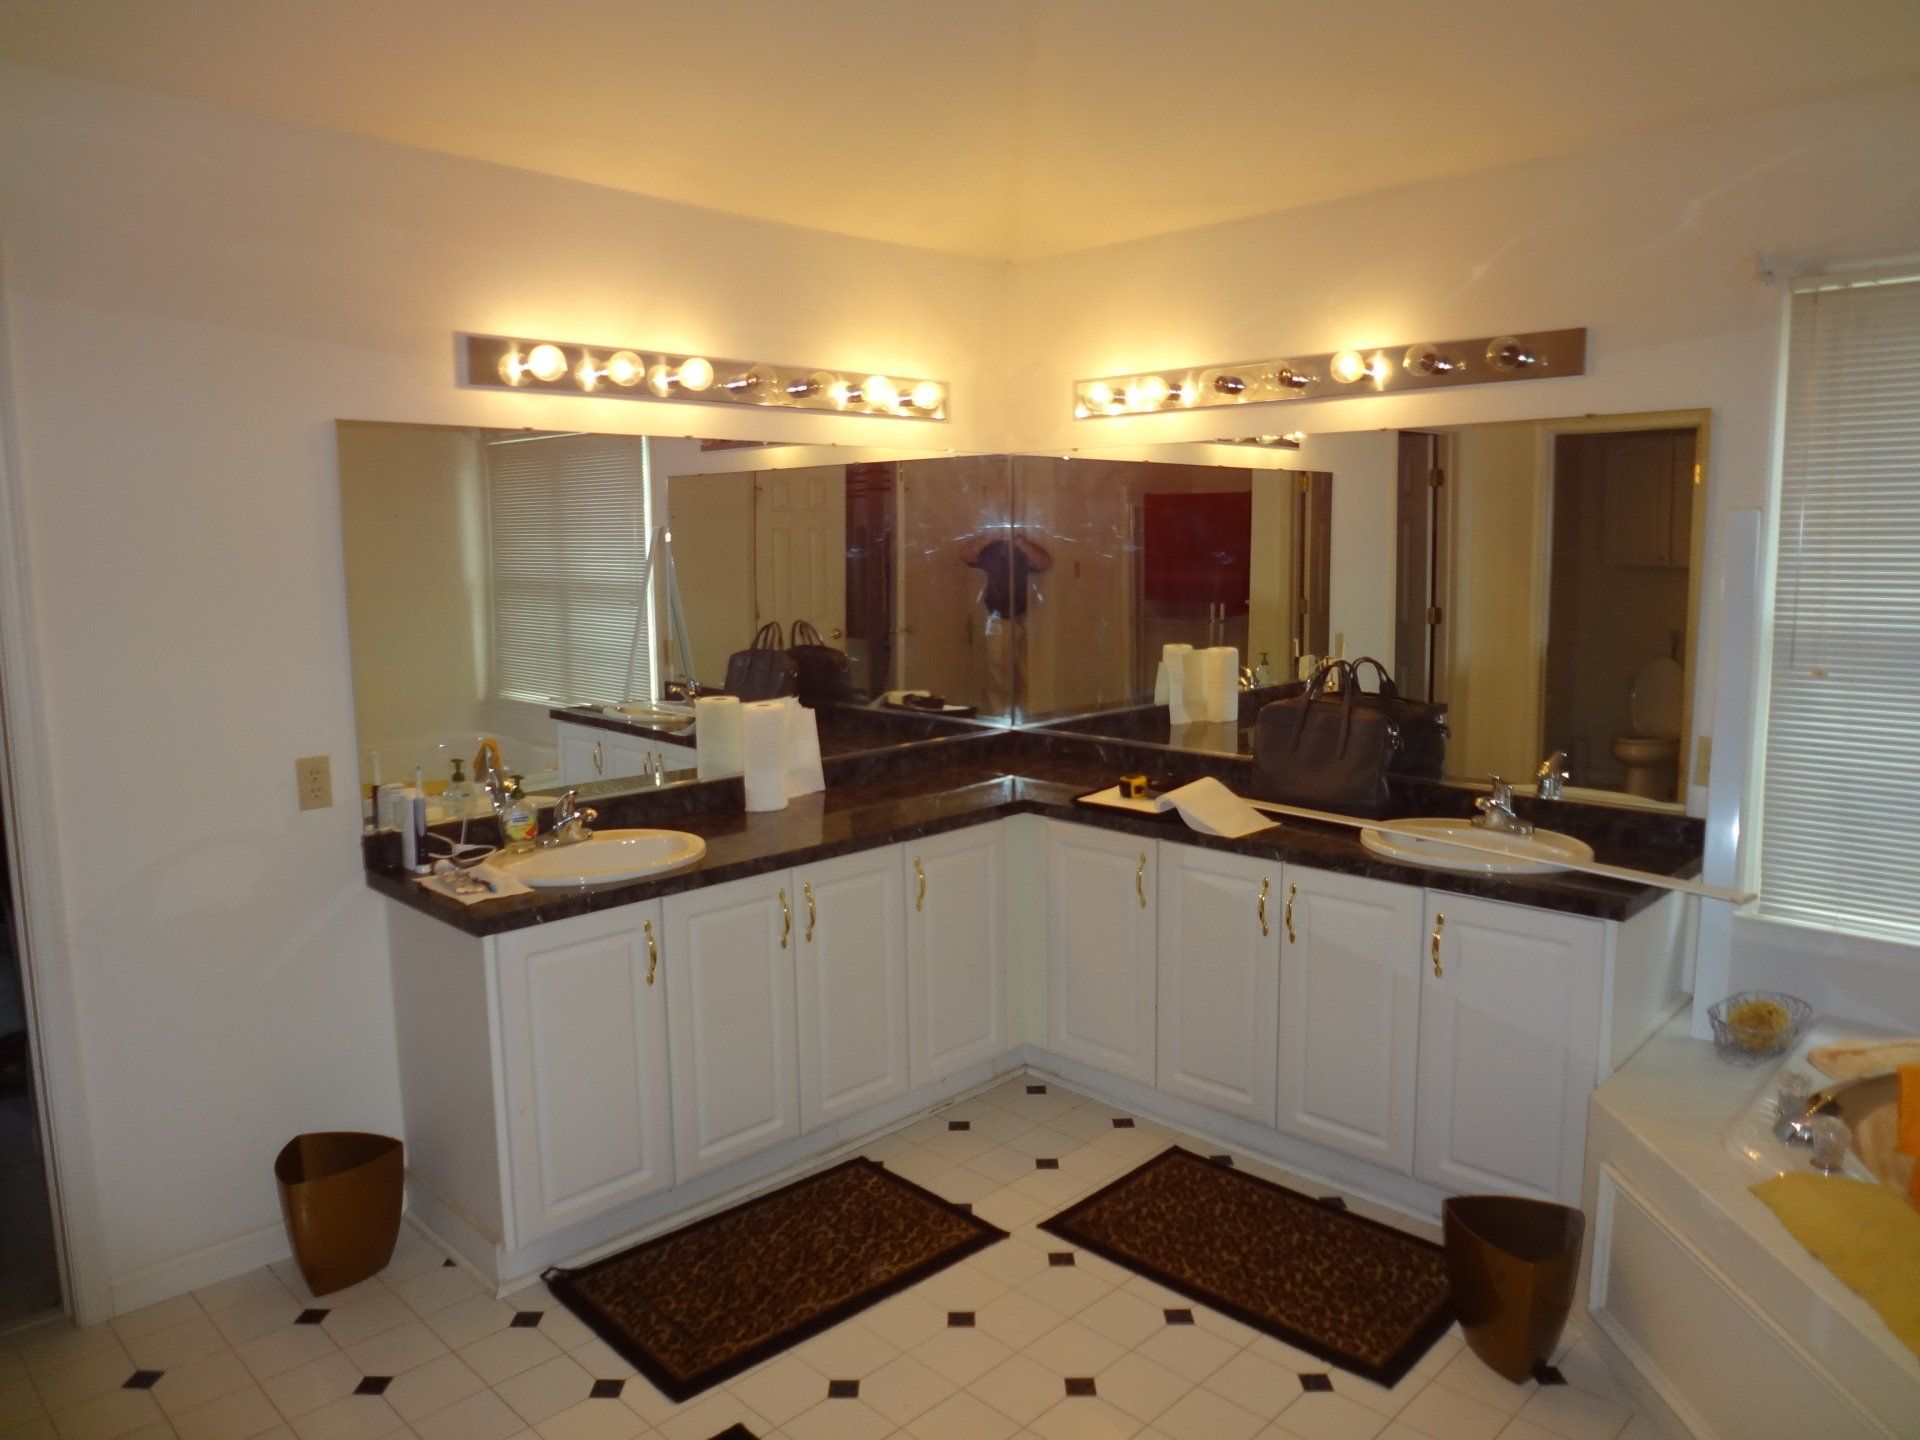
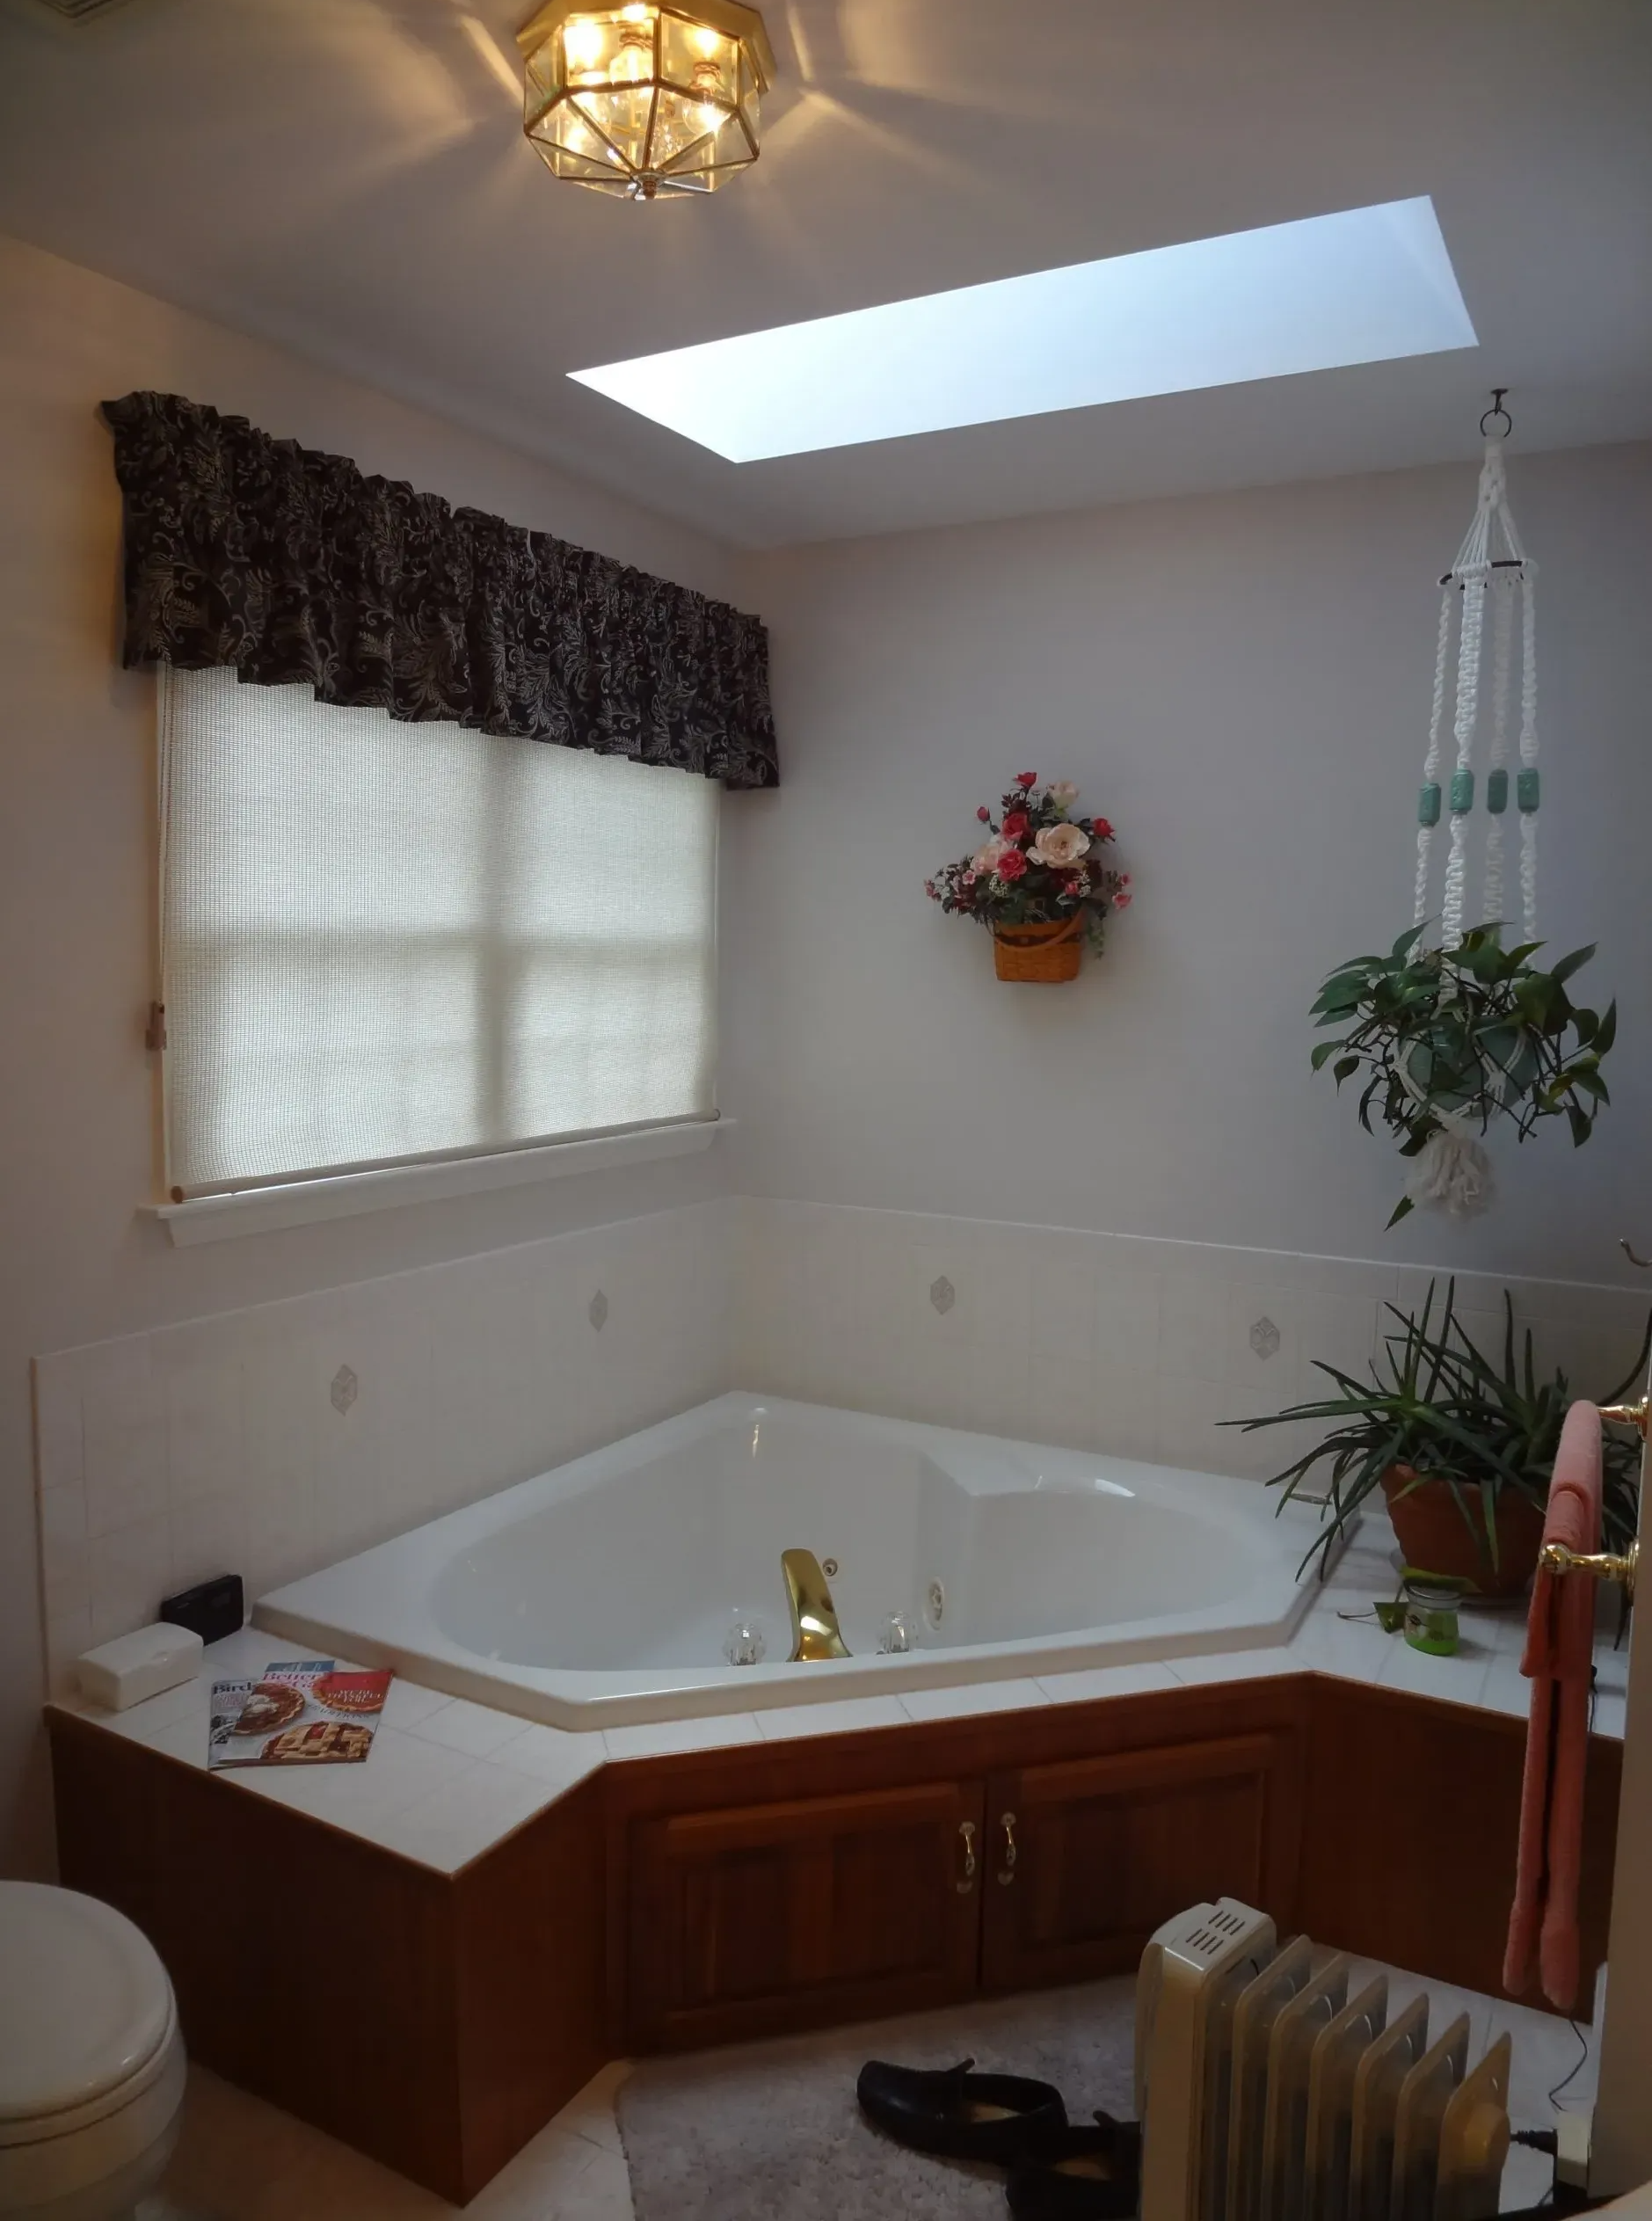
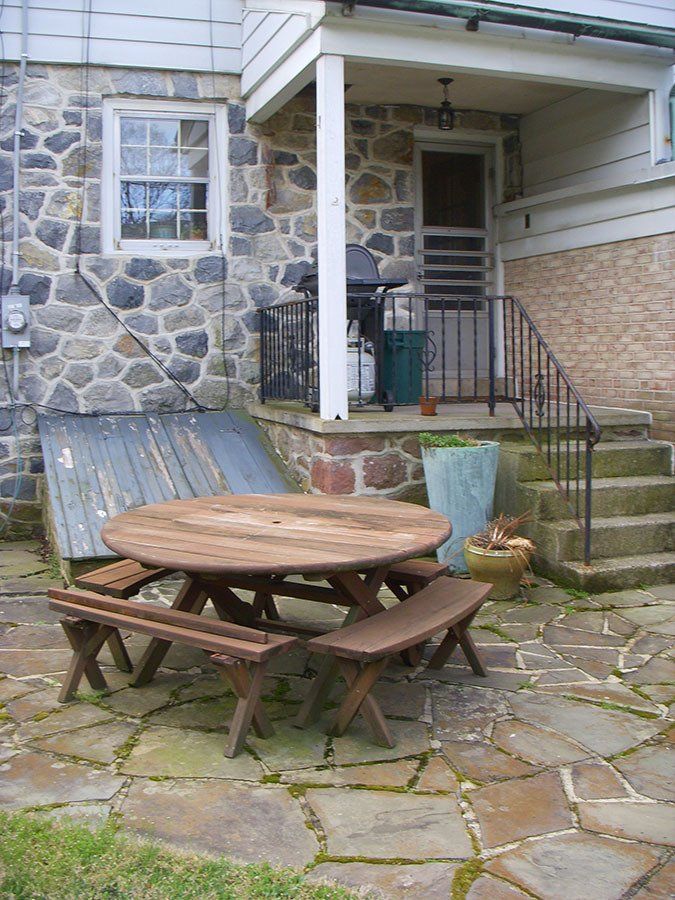
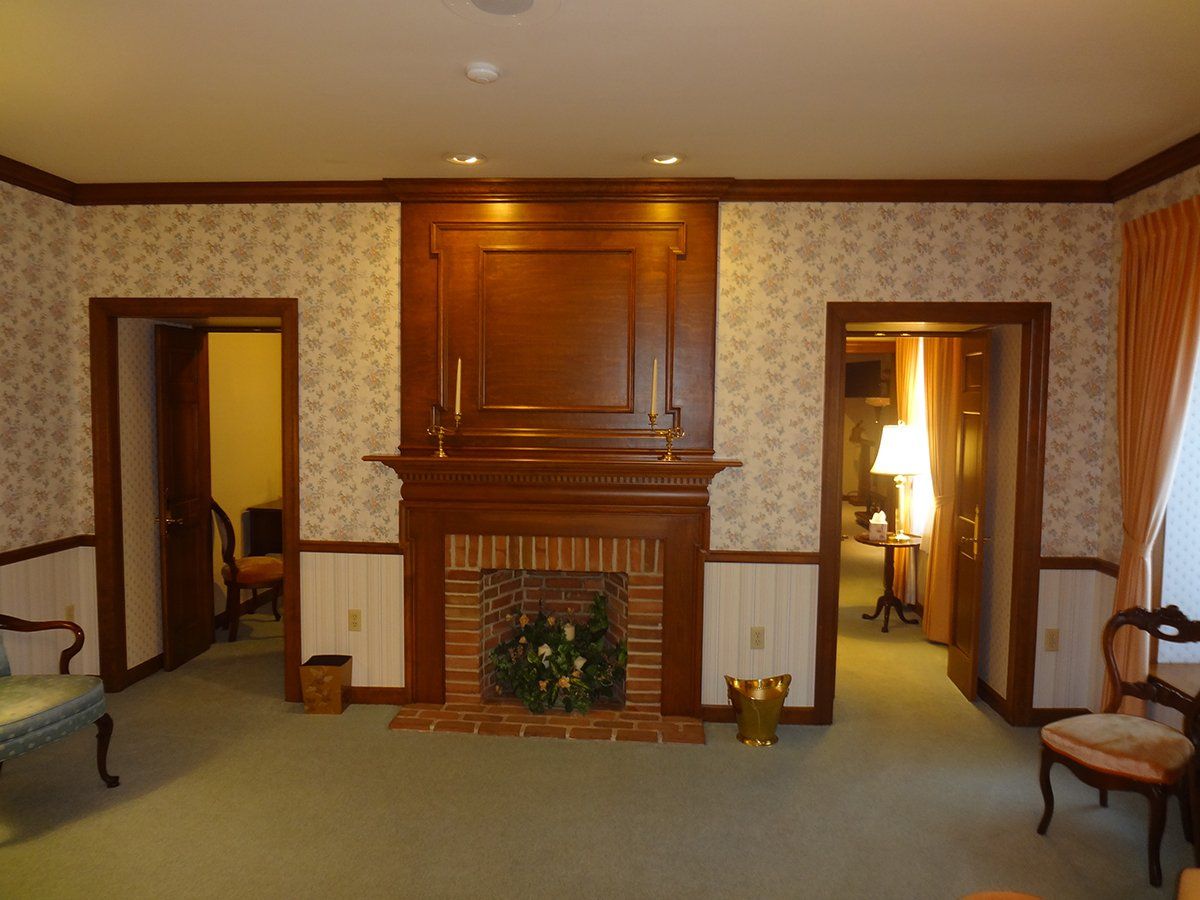
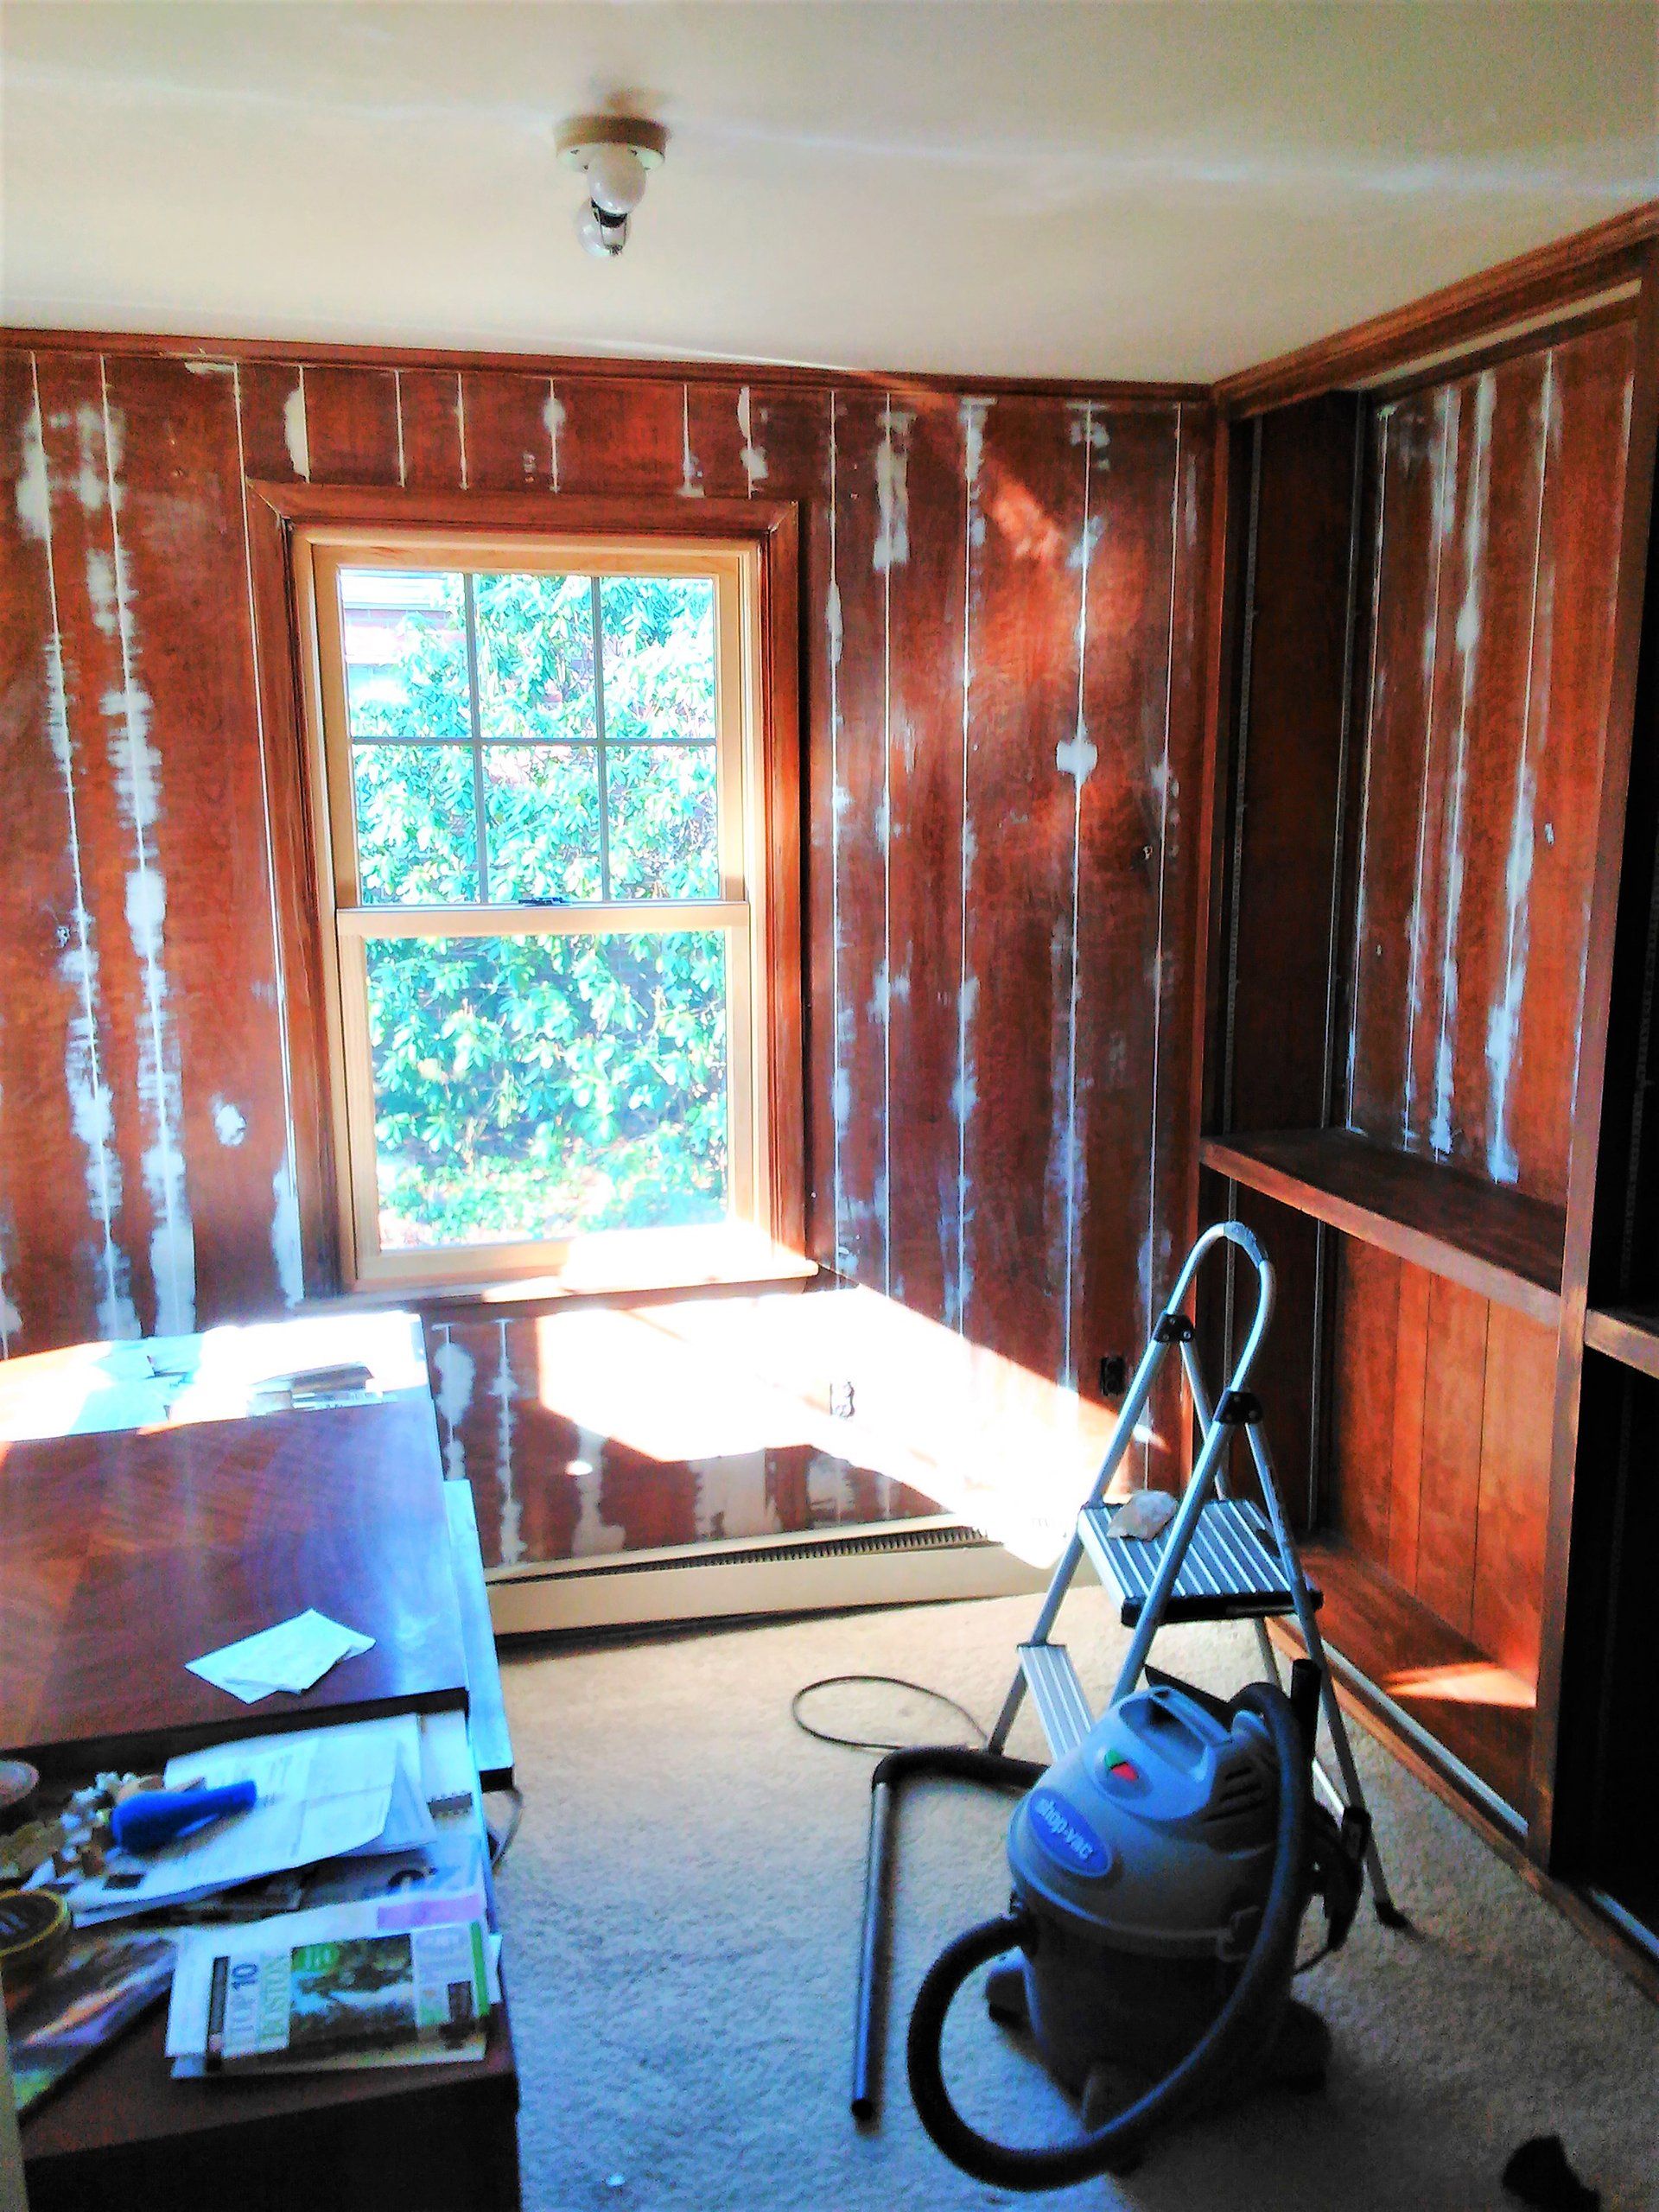
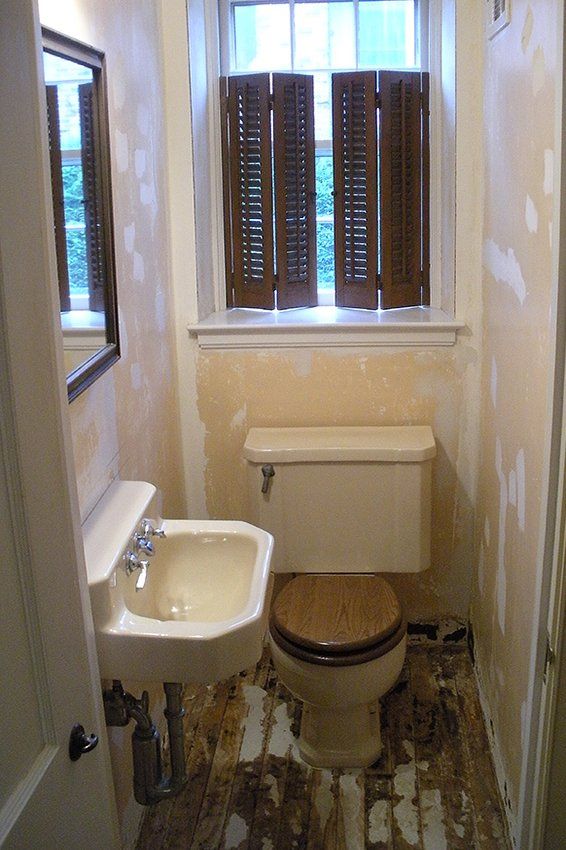
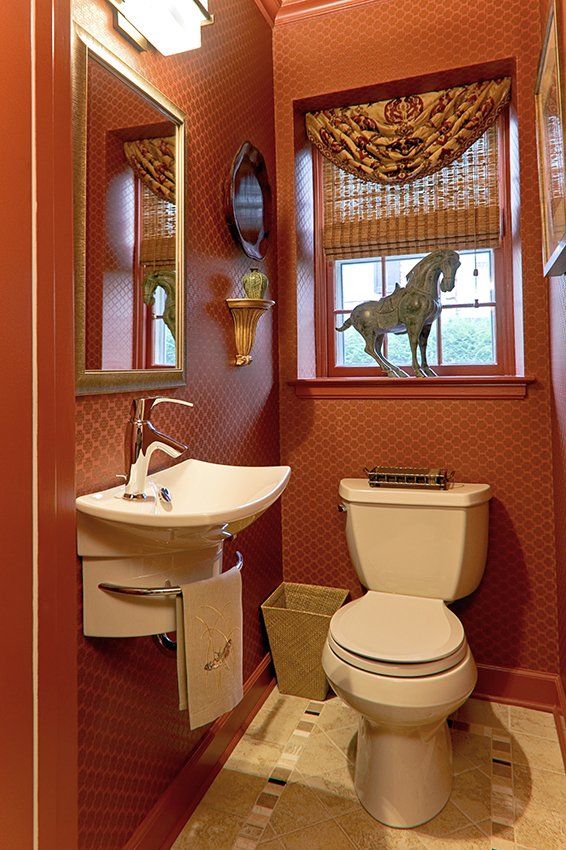
Before
Photo By: John Doe
Button
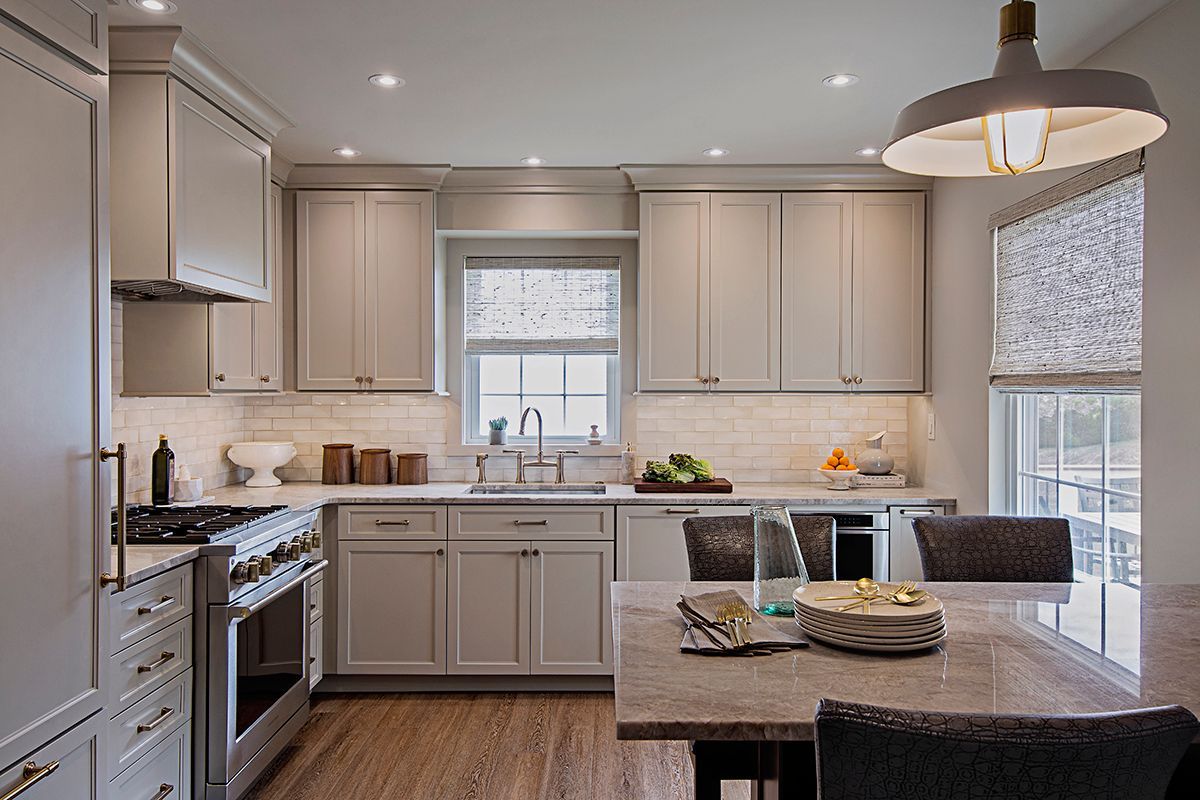
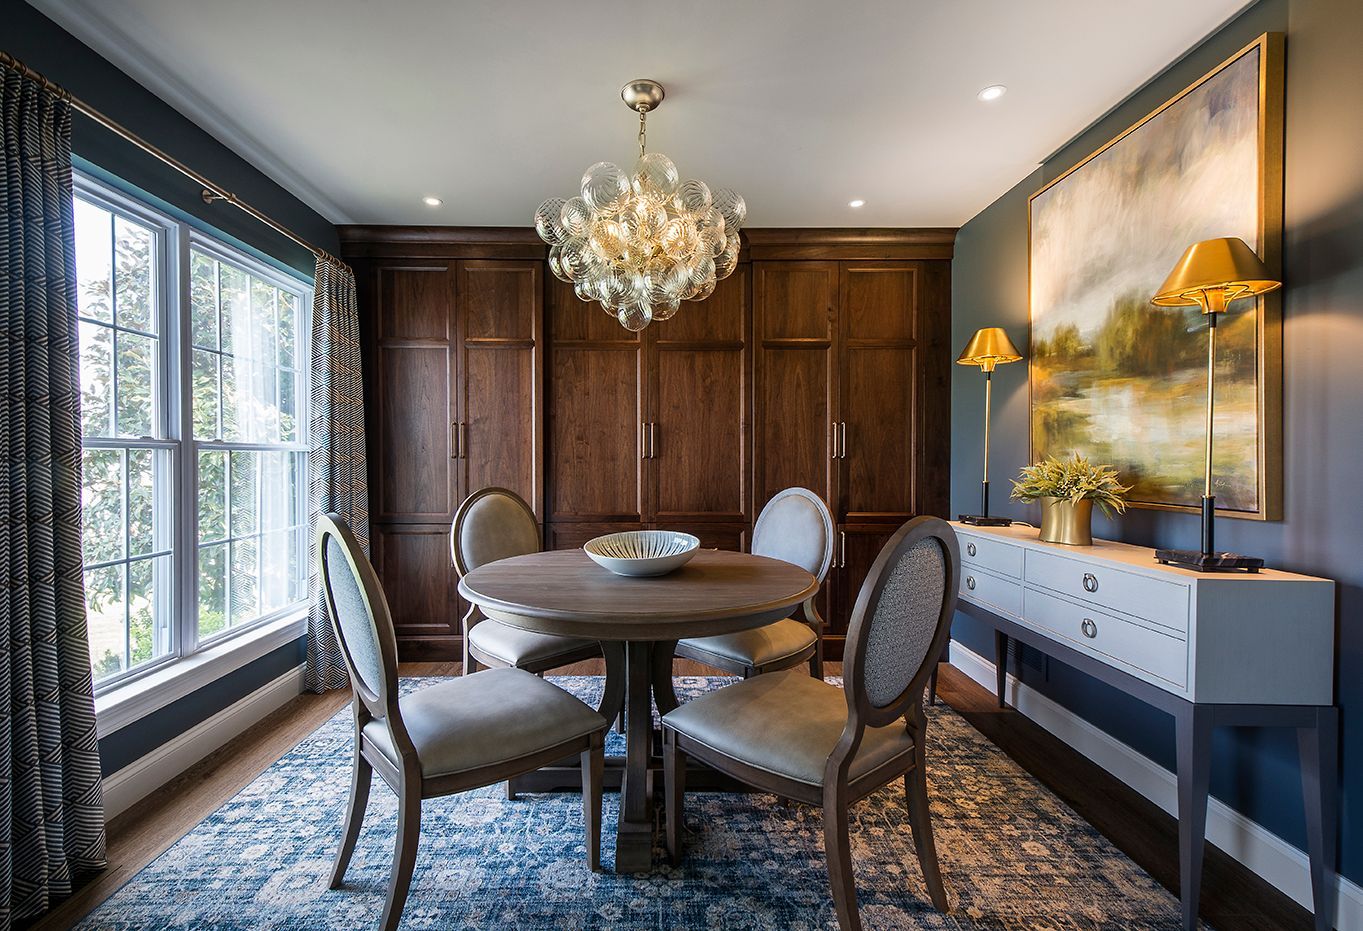
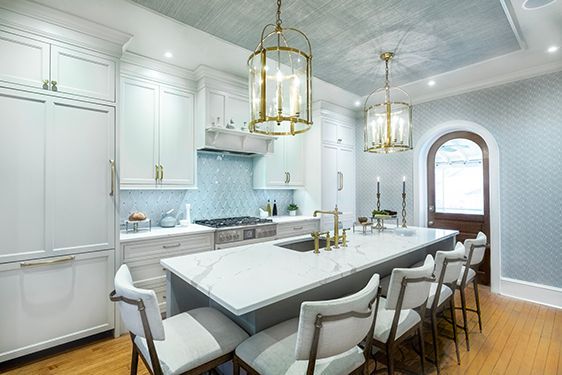
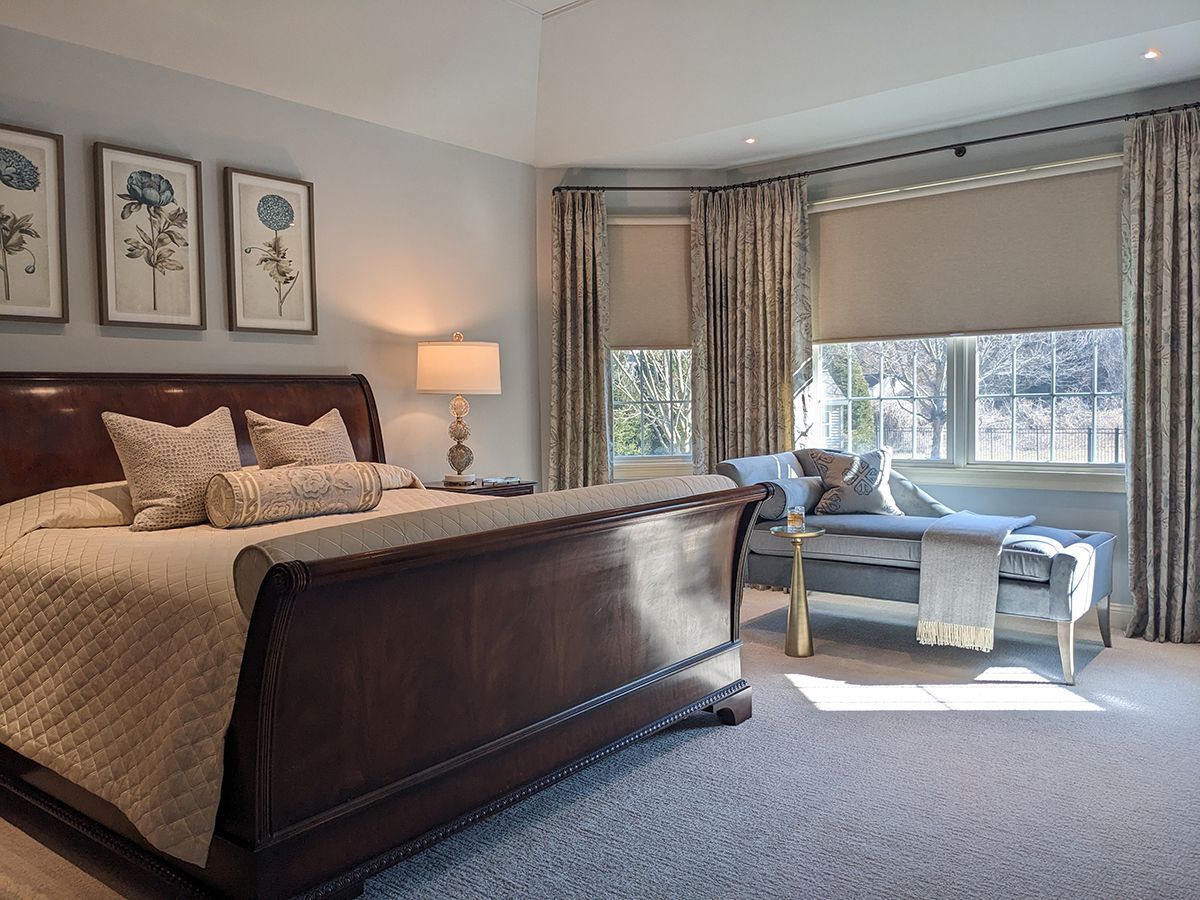
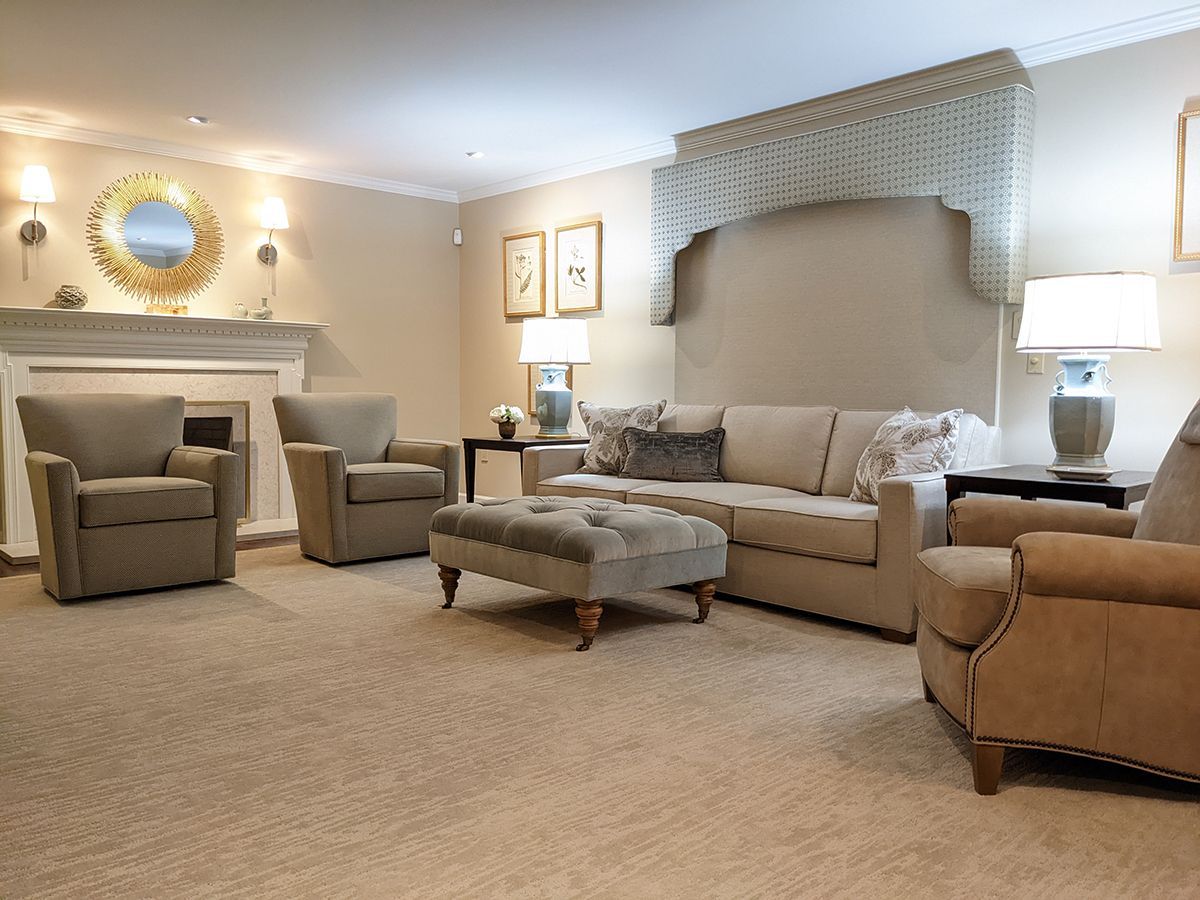
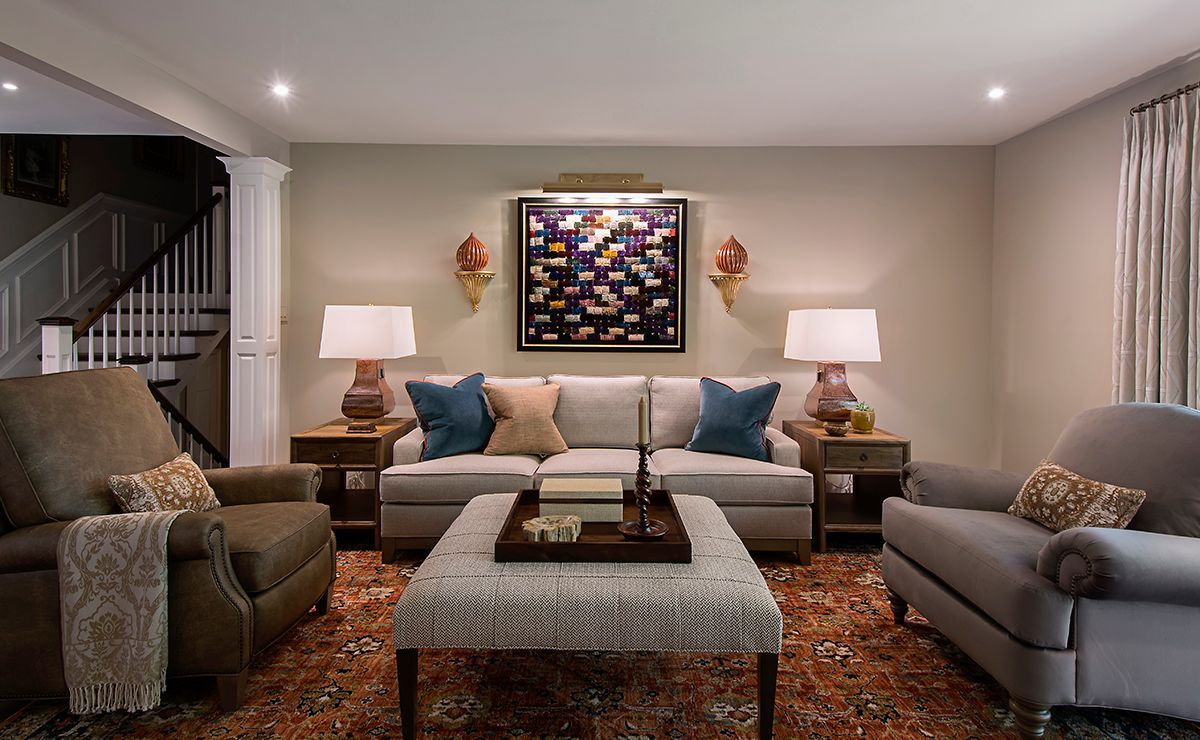
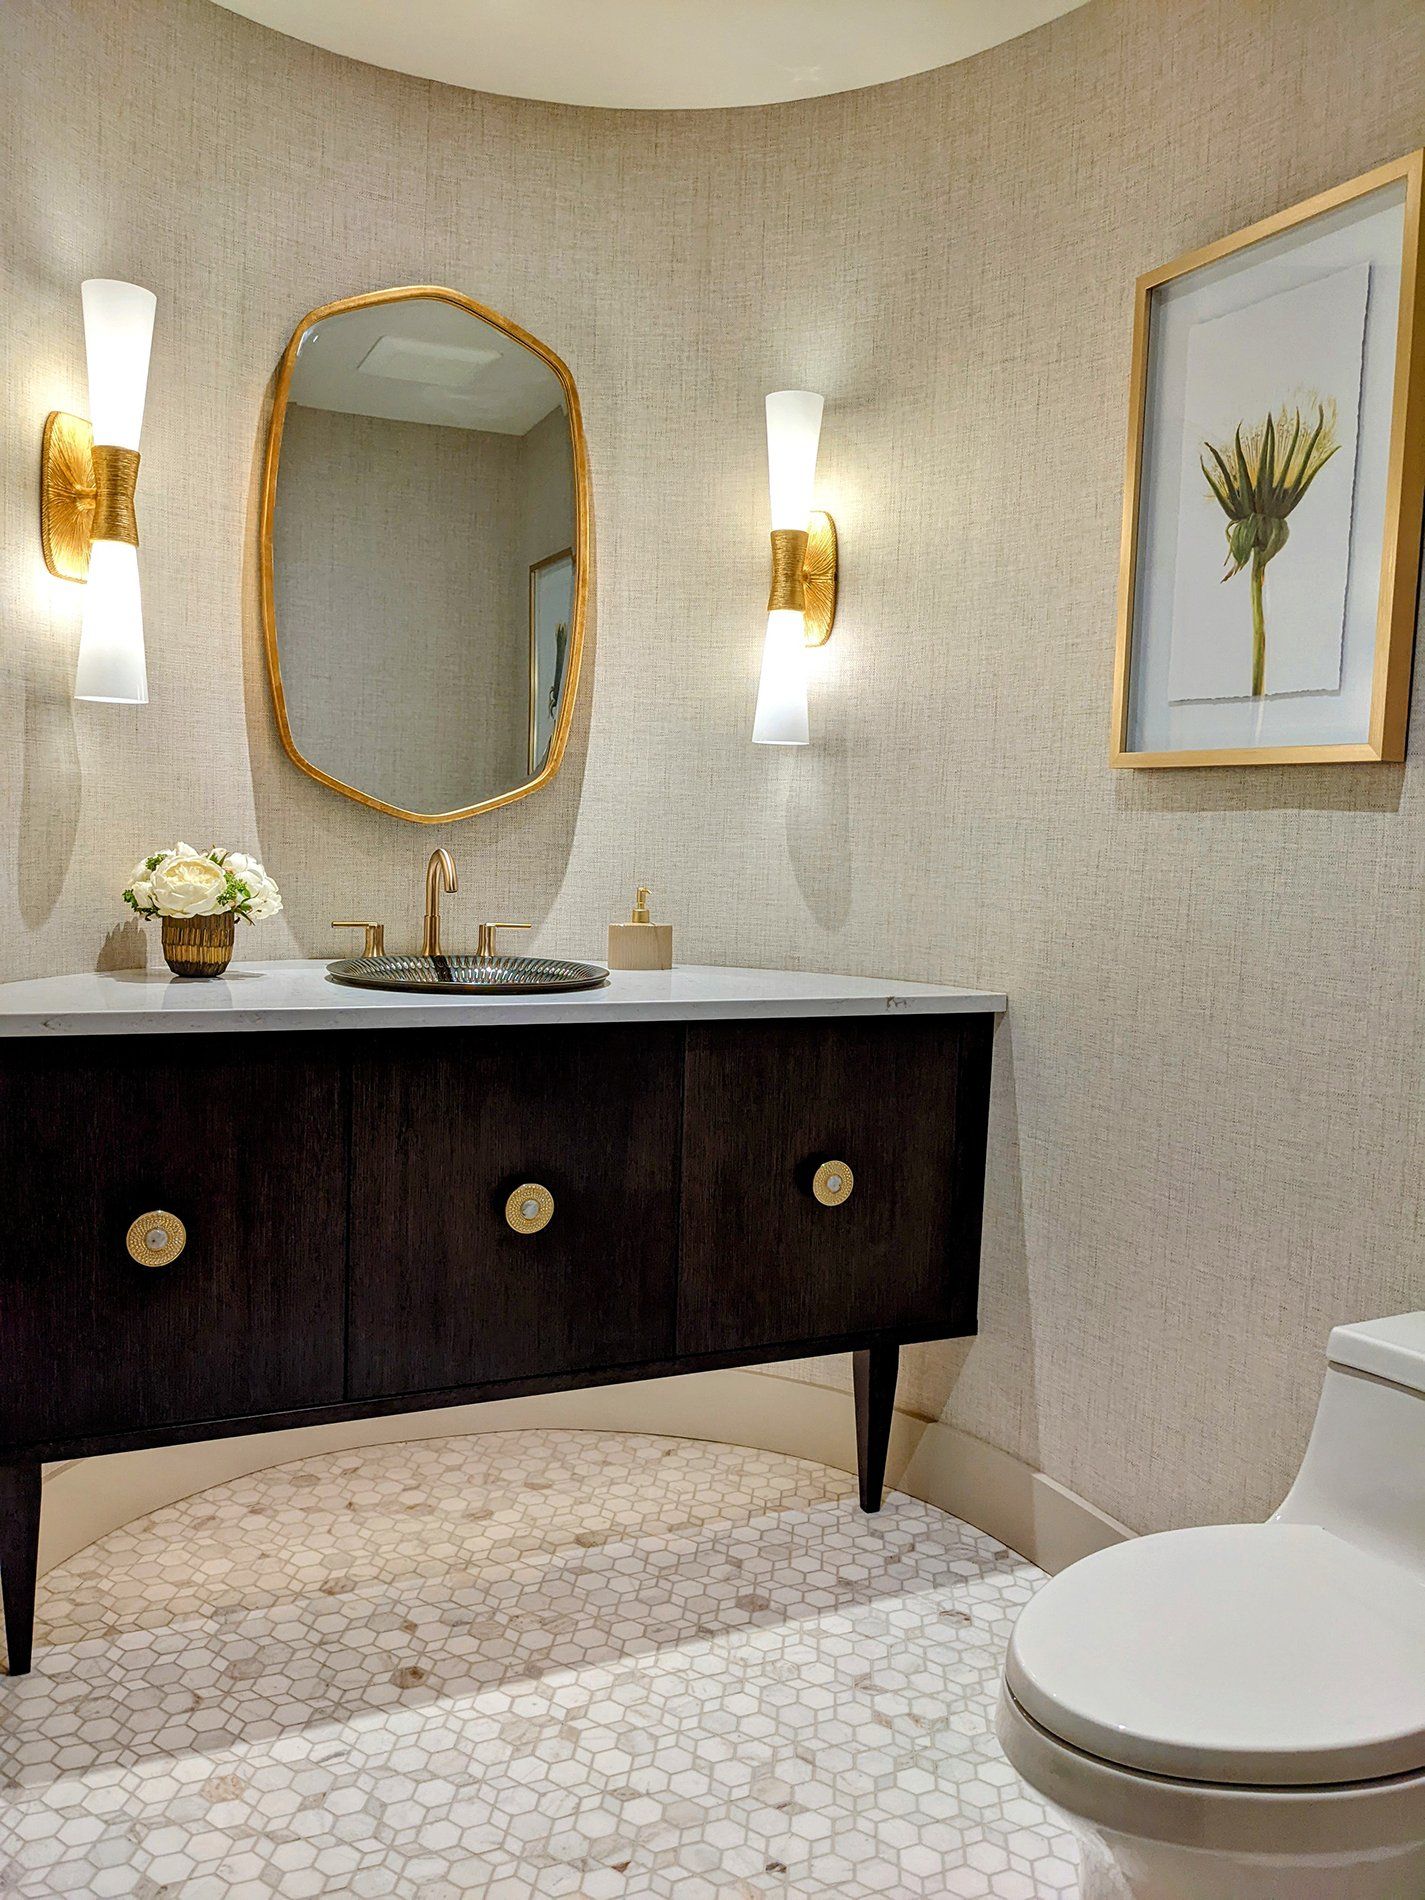
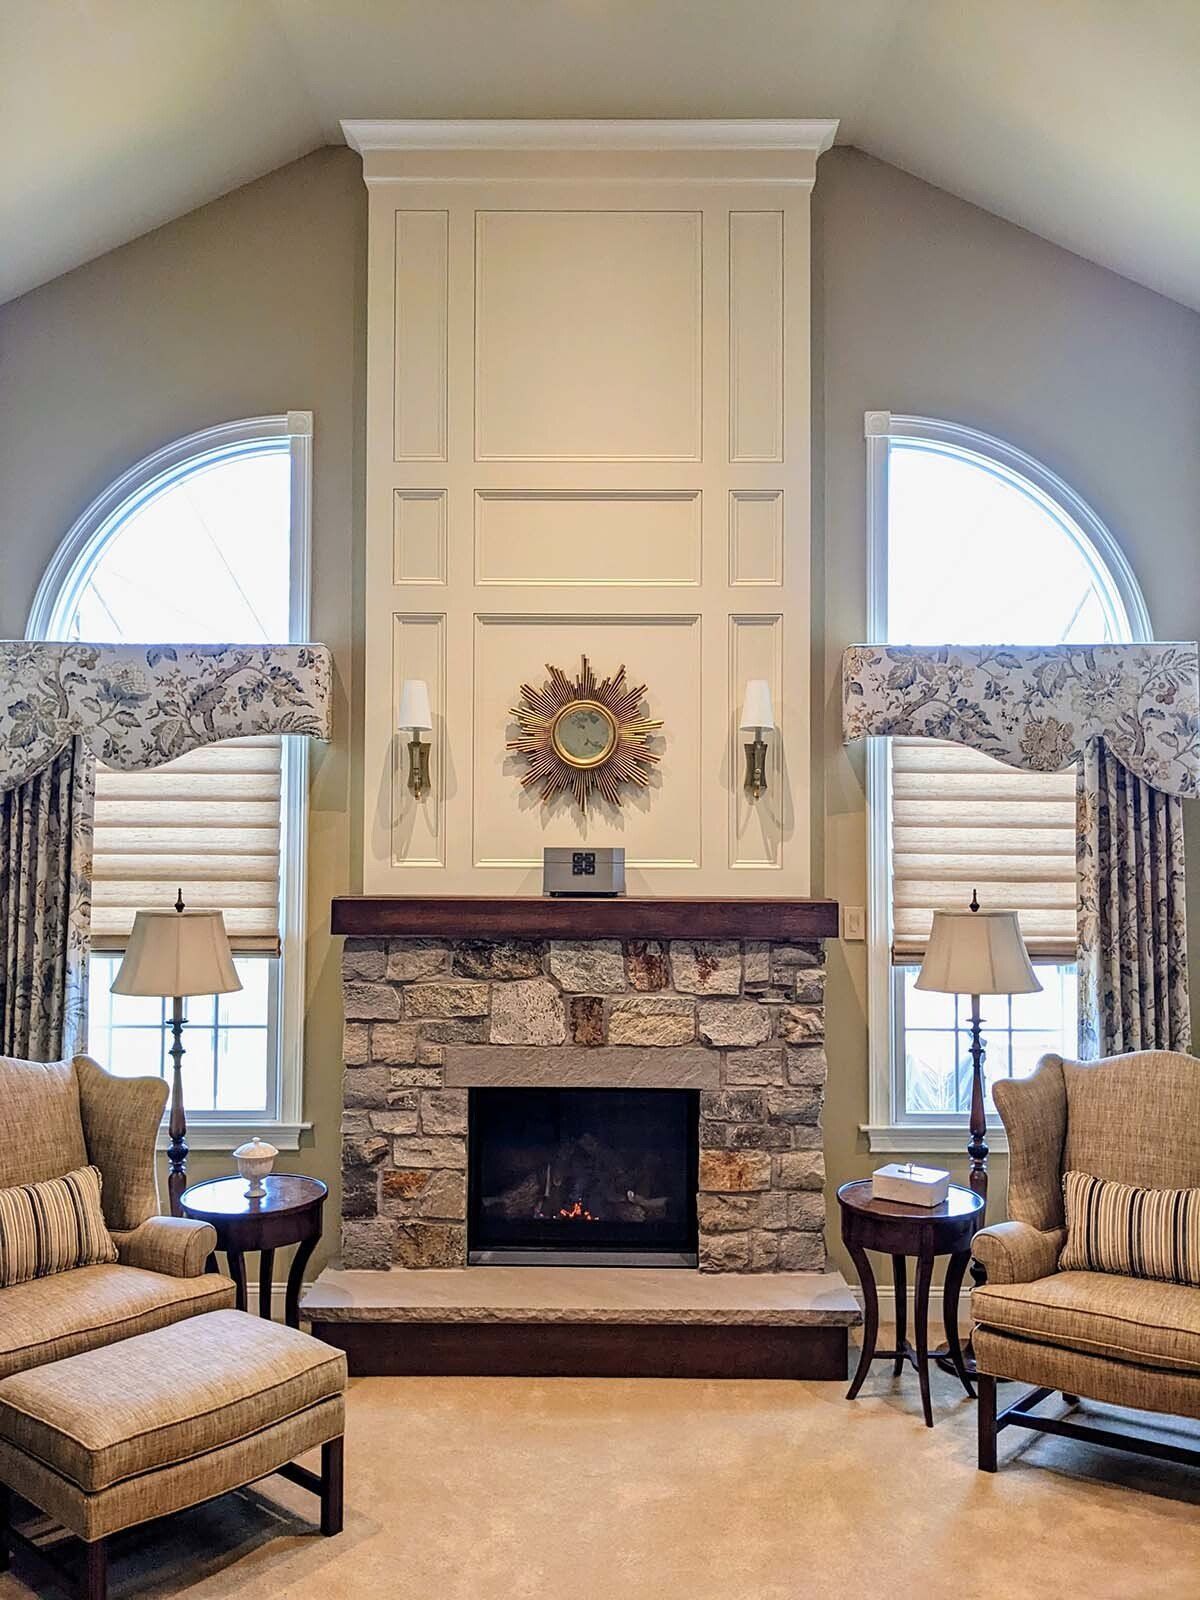
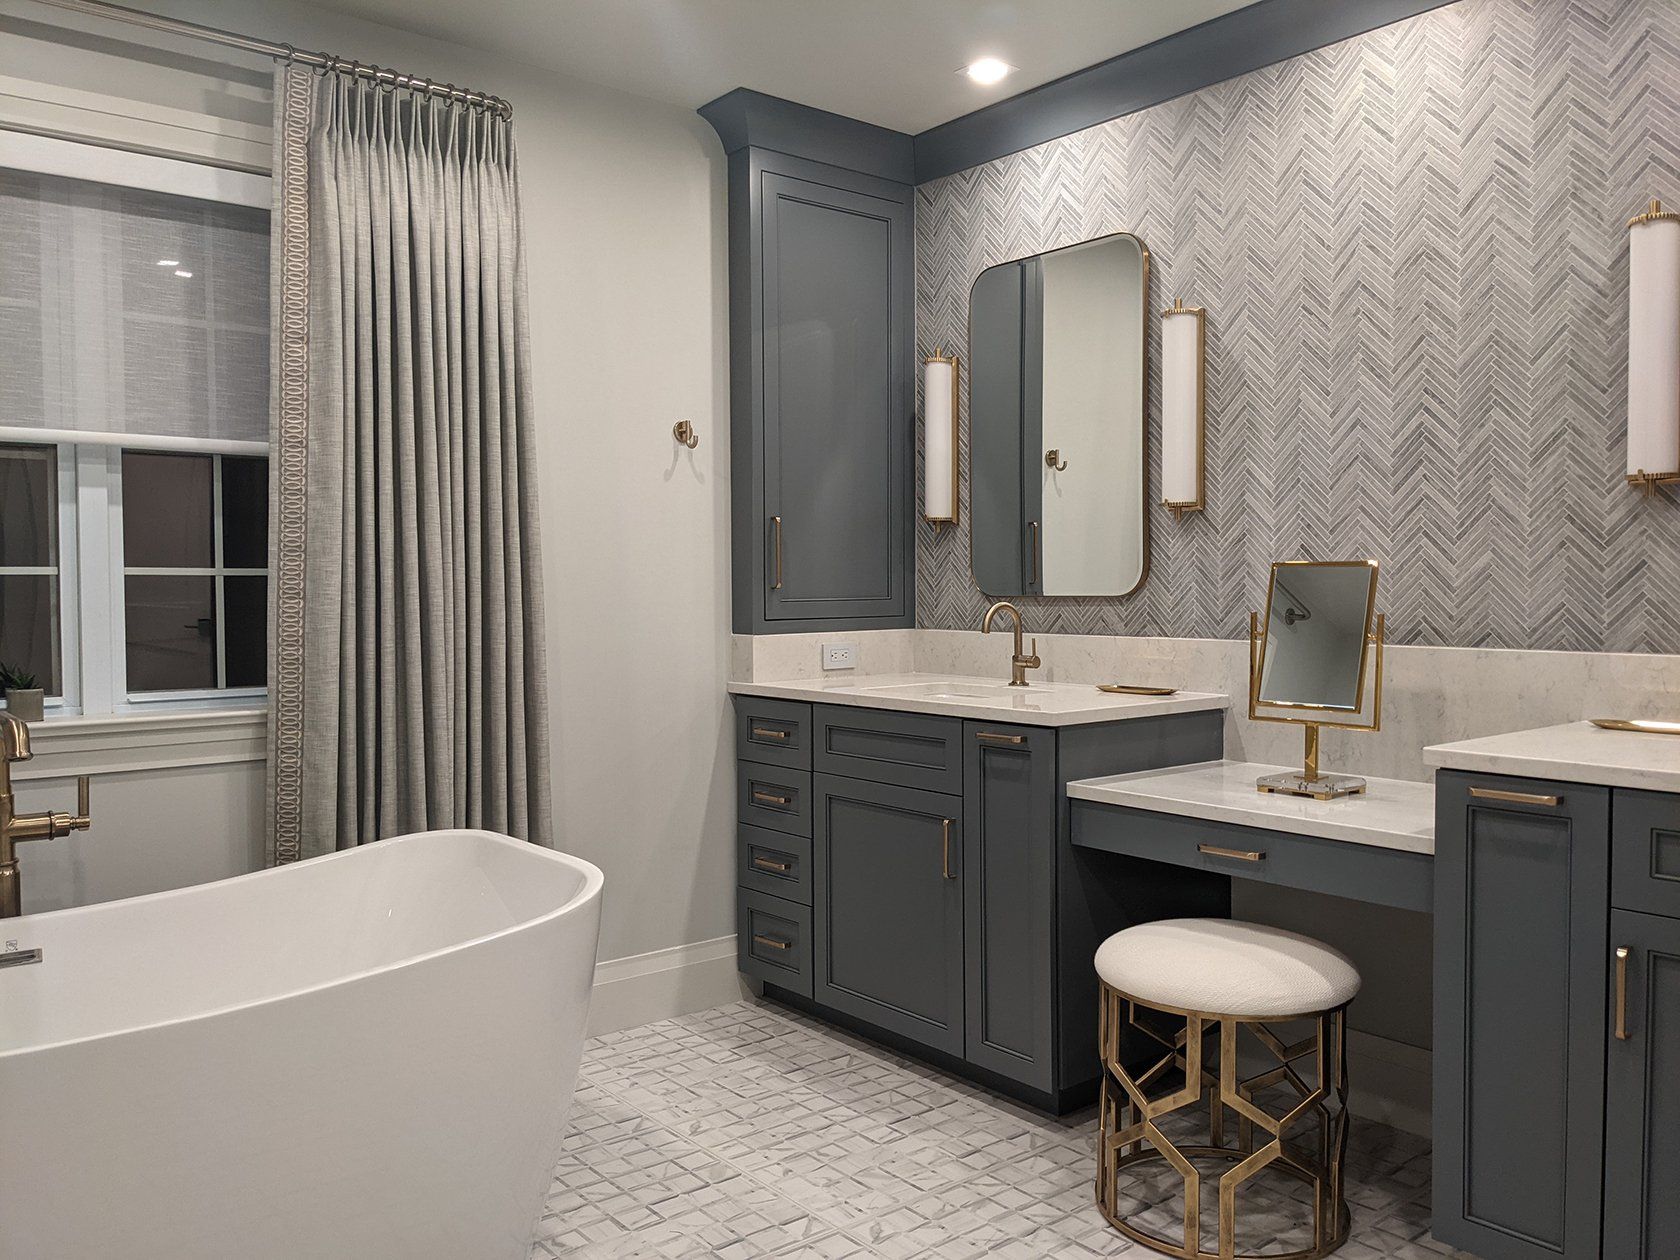
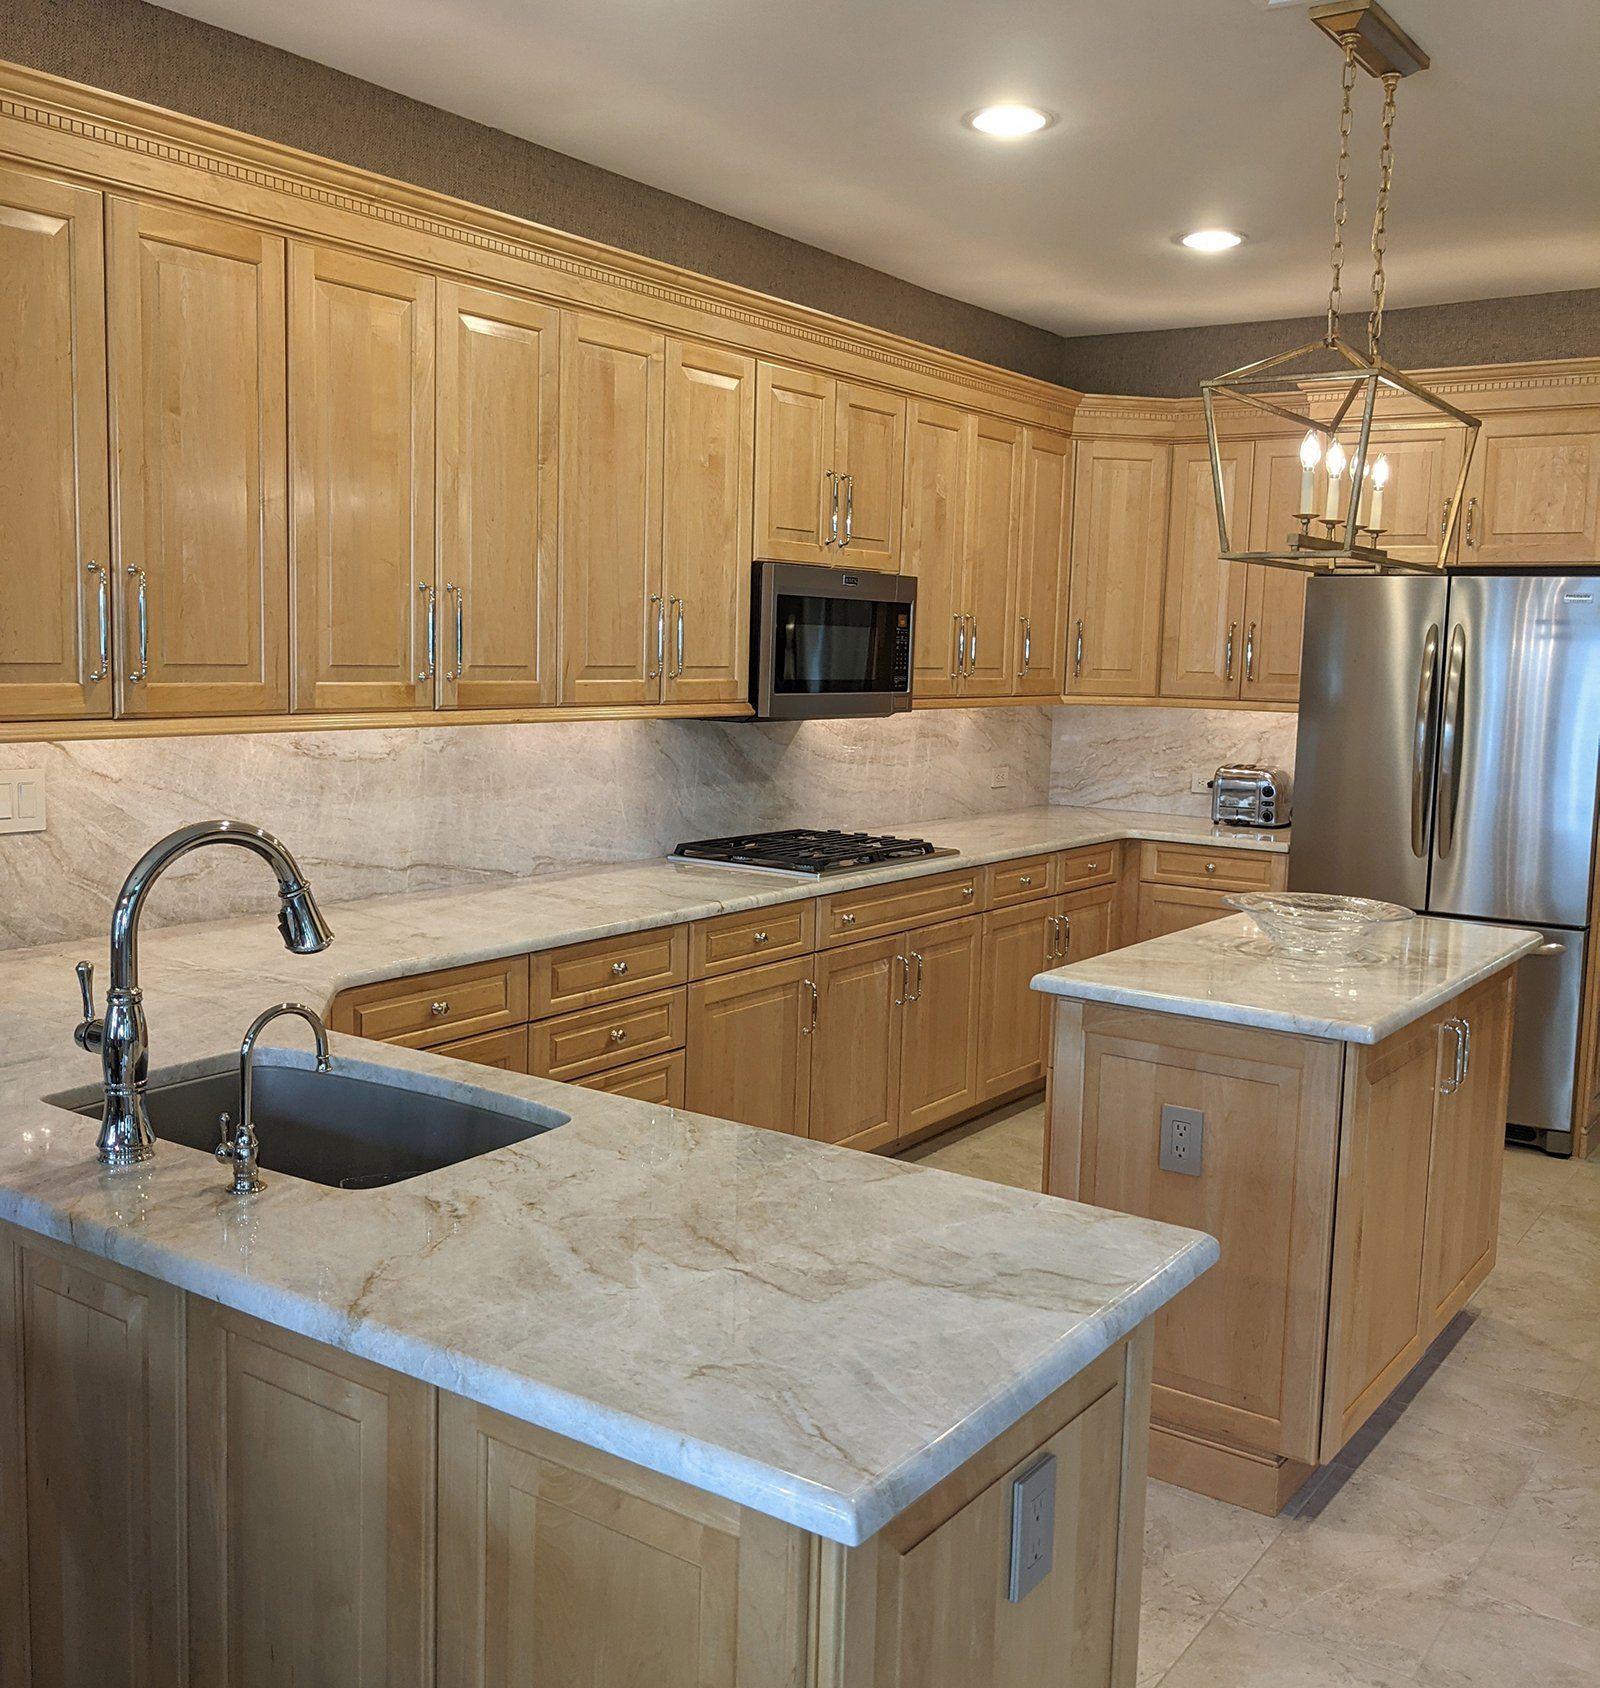
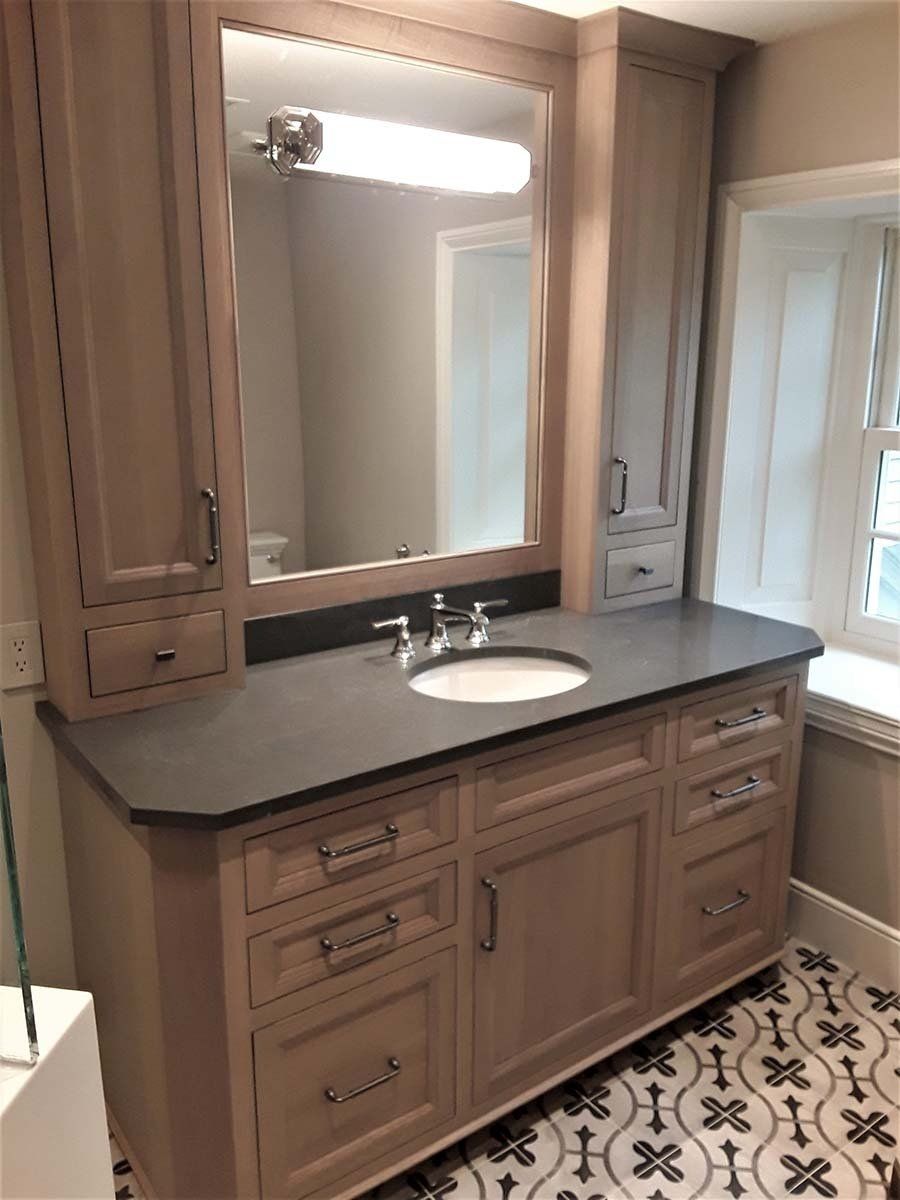
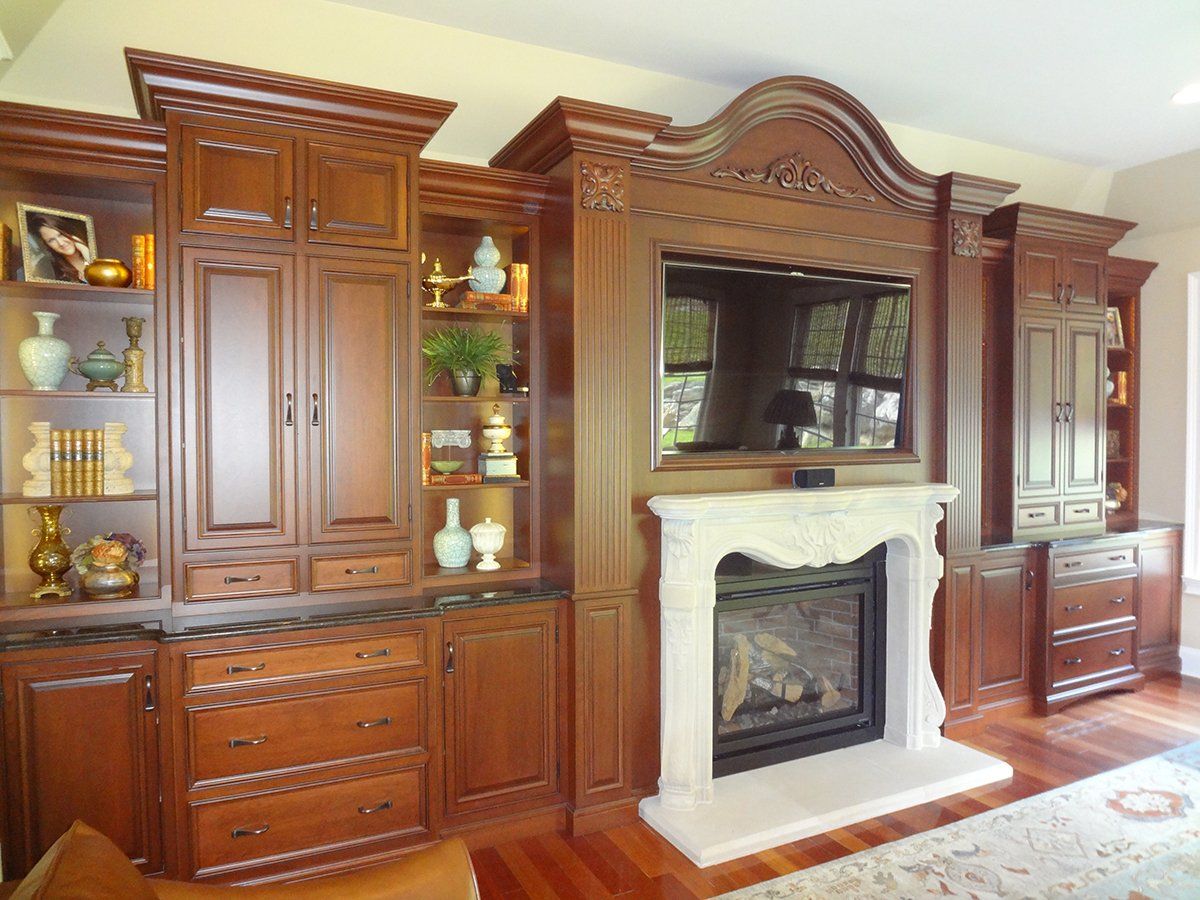
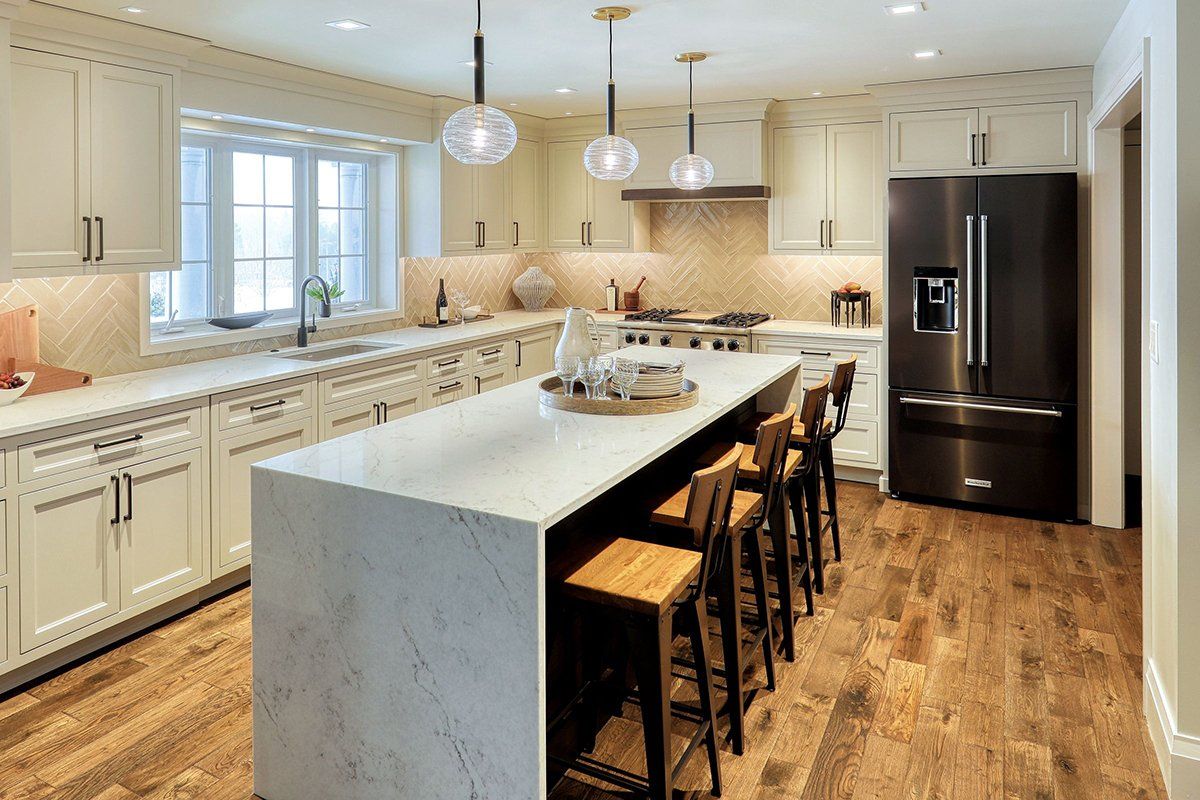
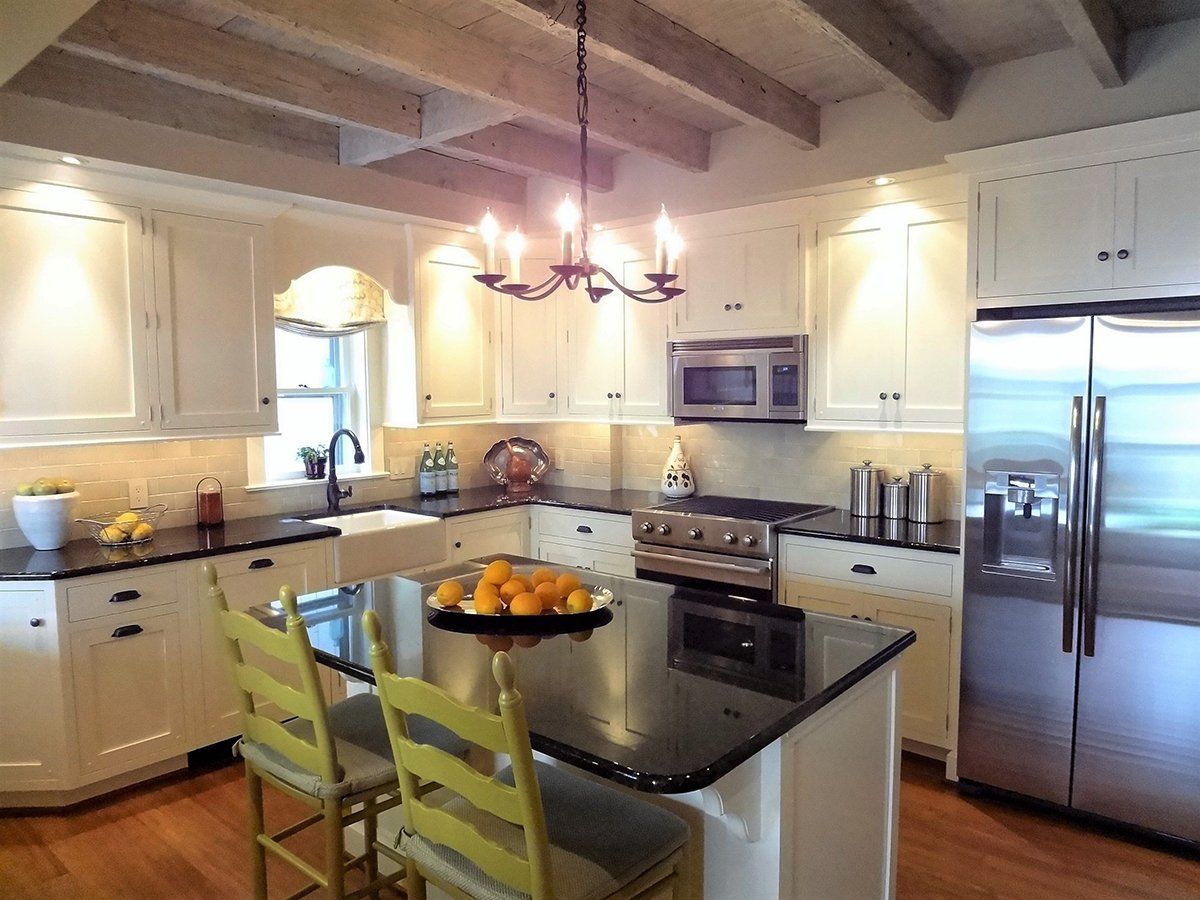
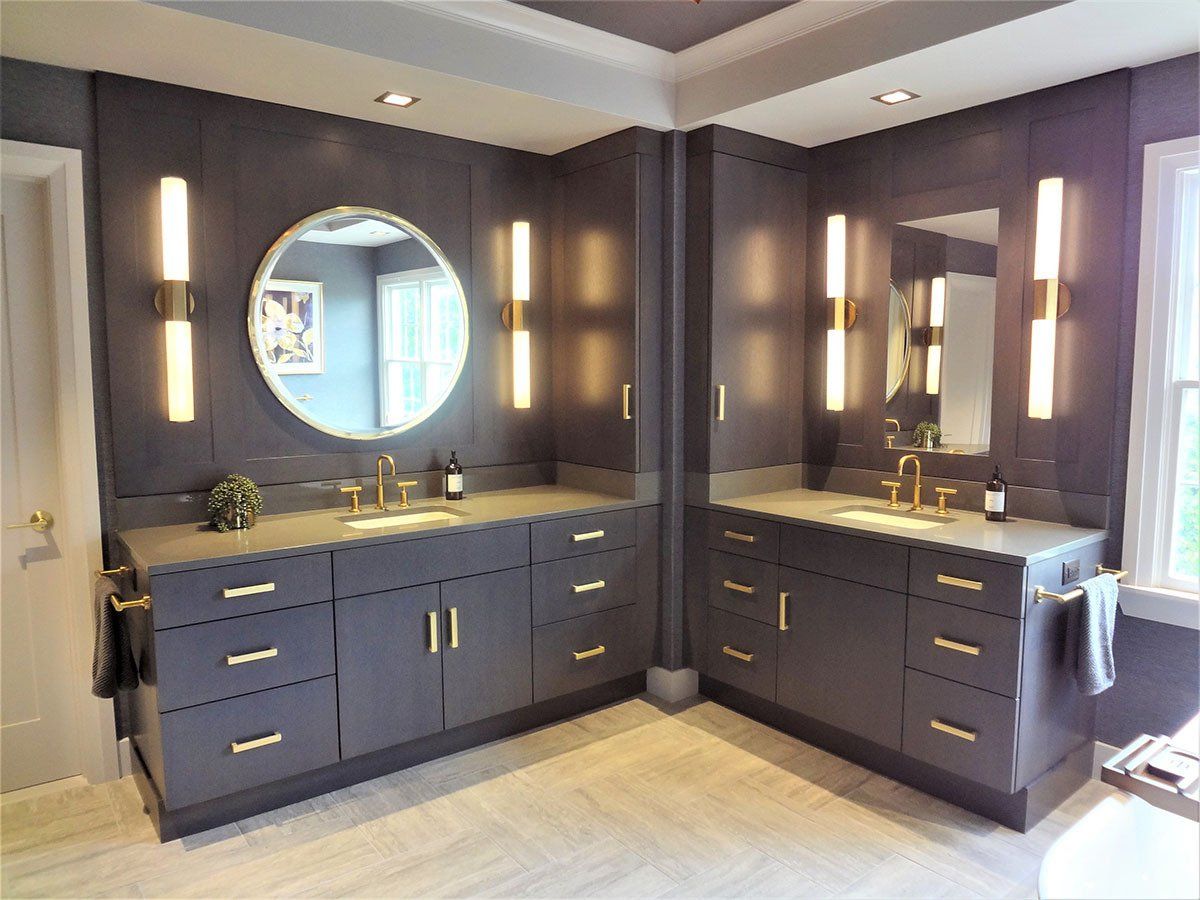
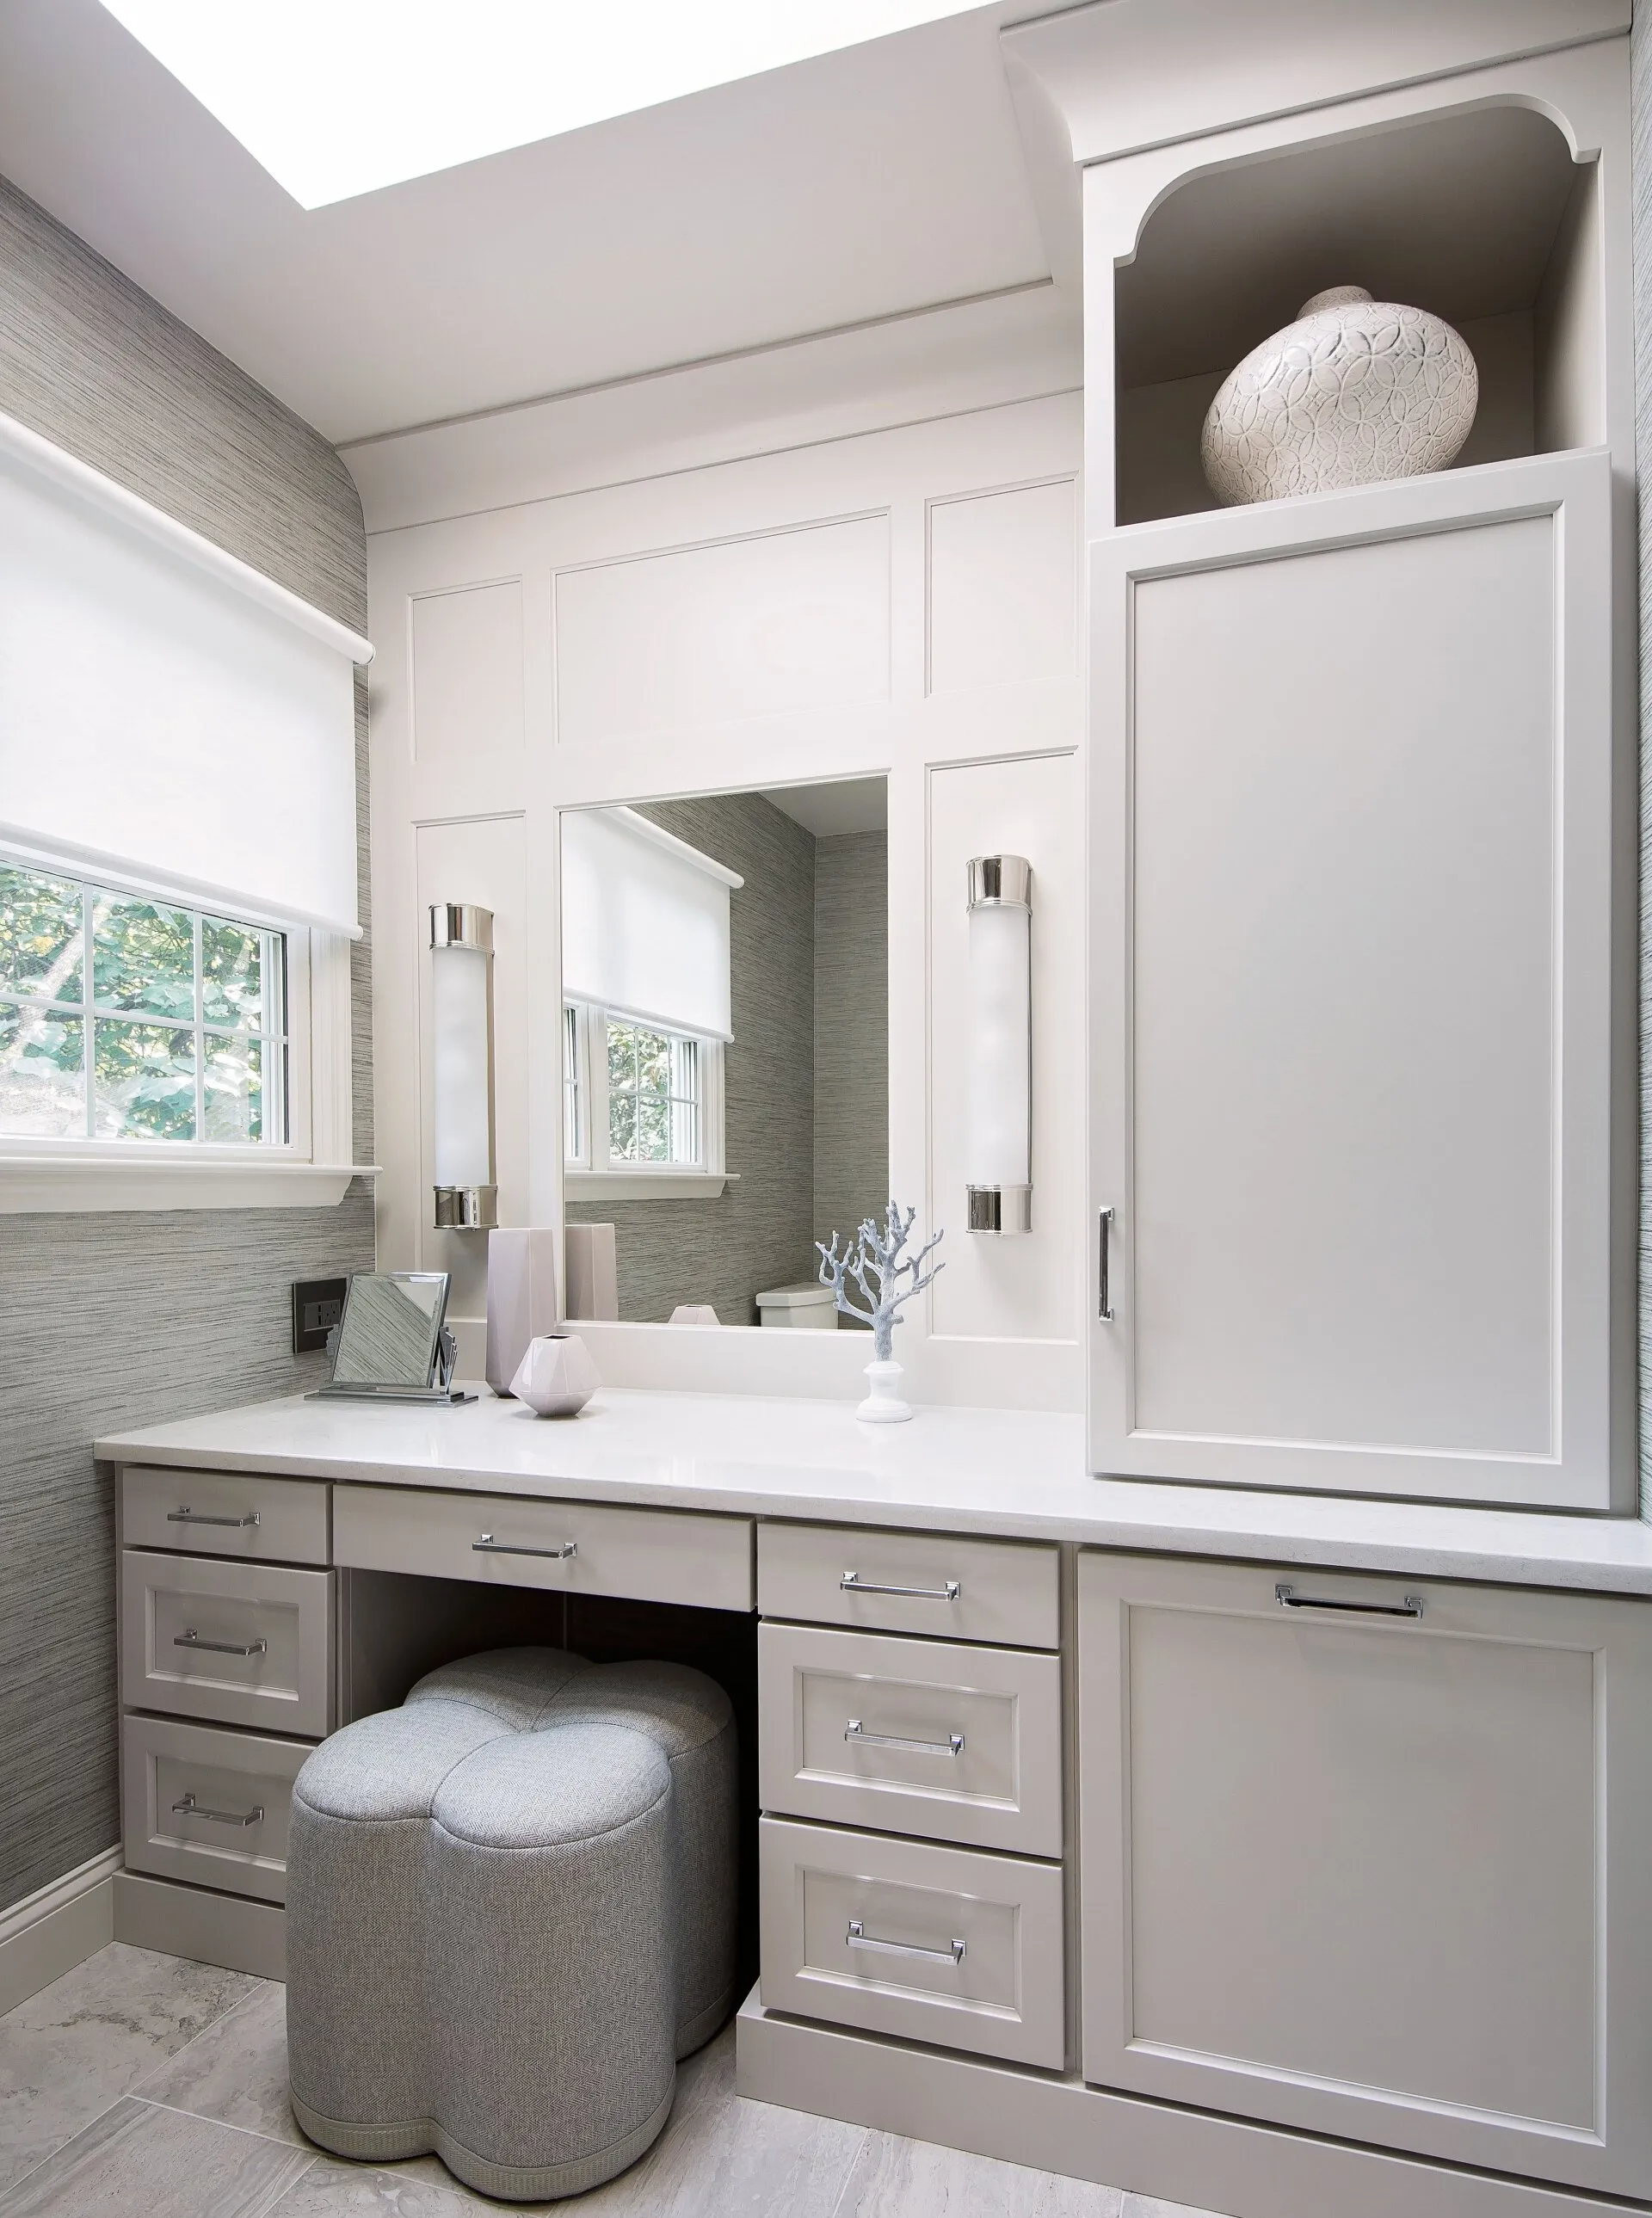
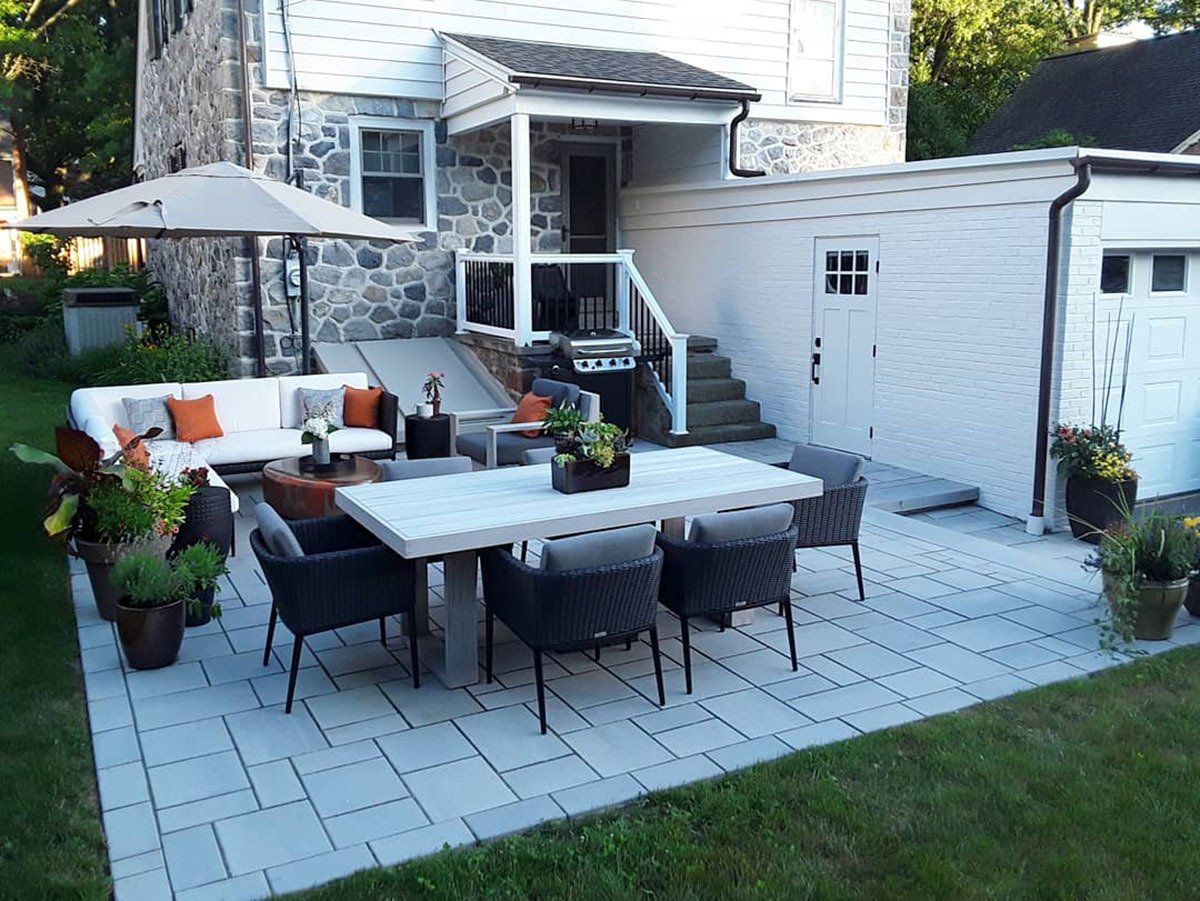
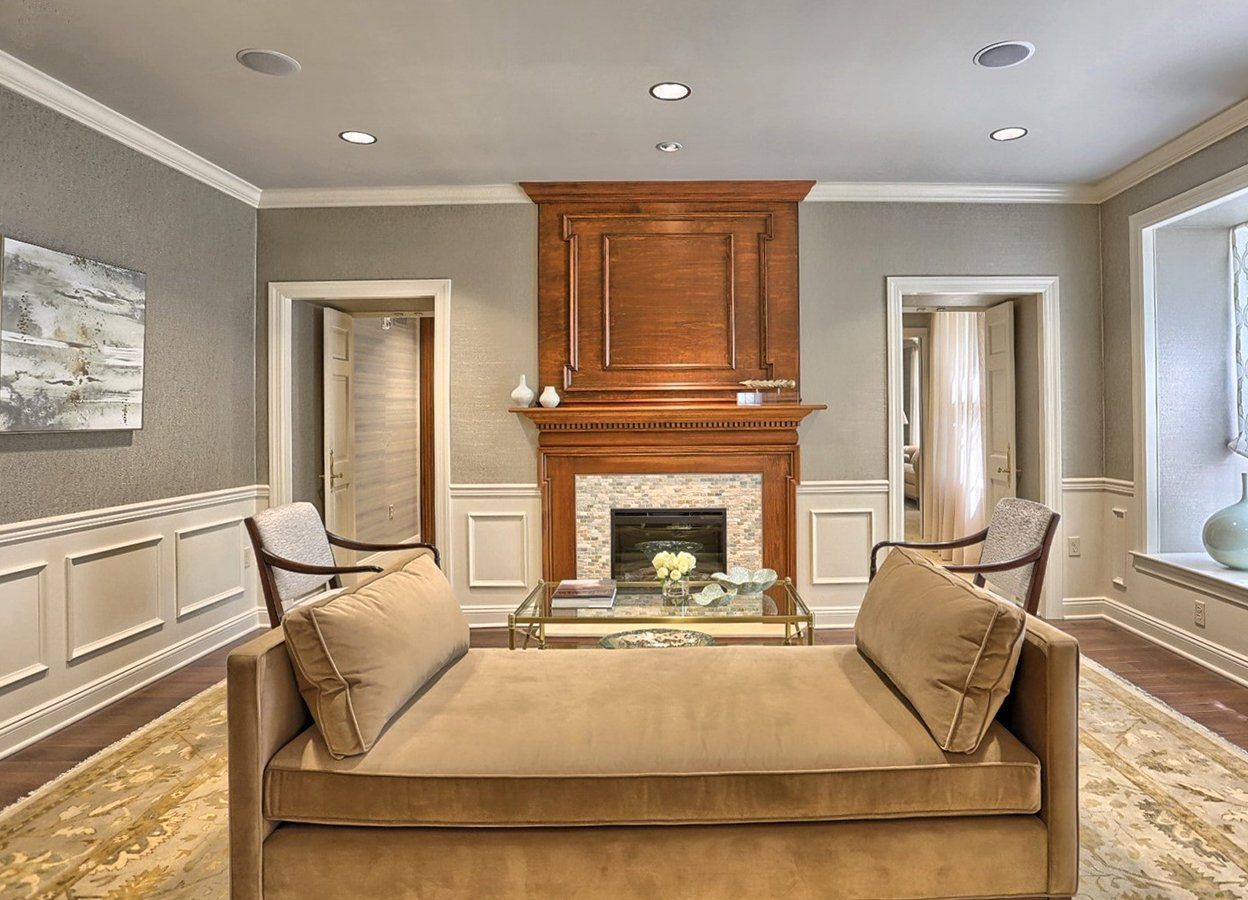
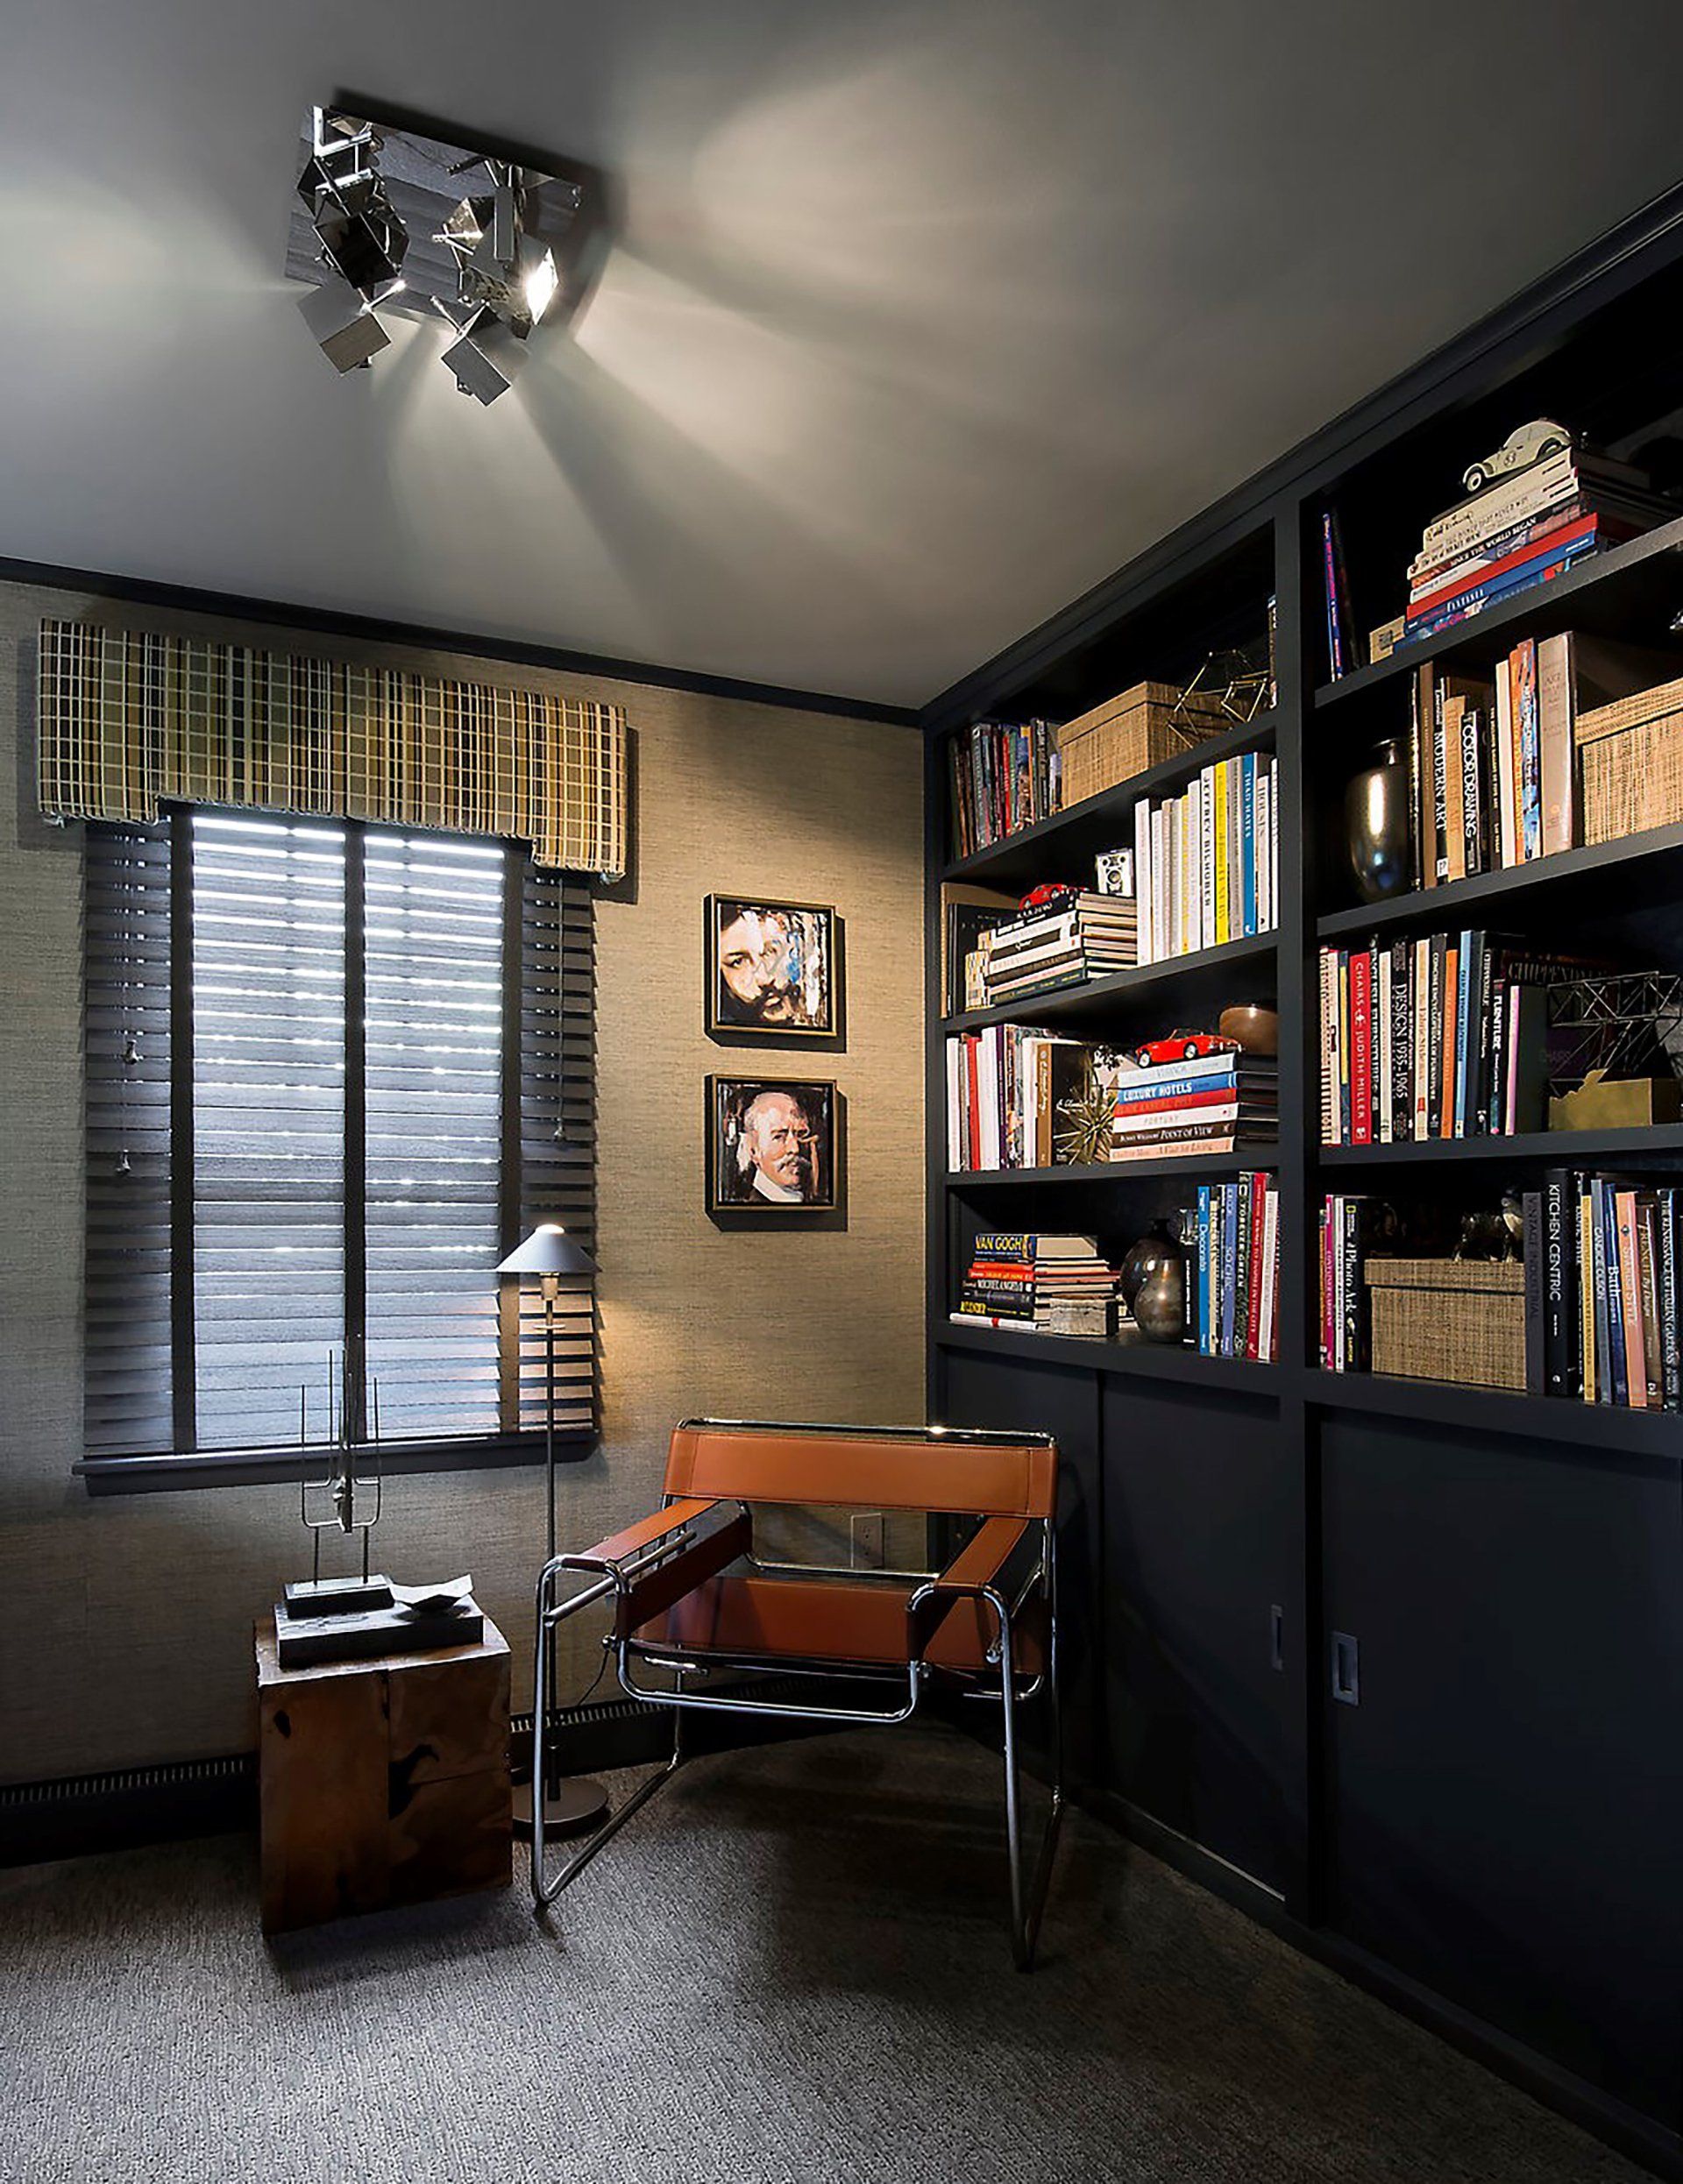
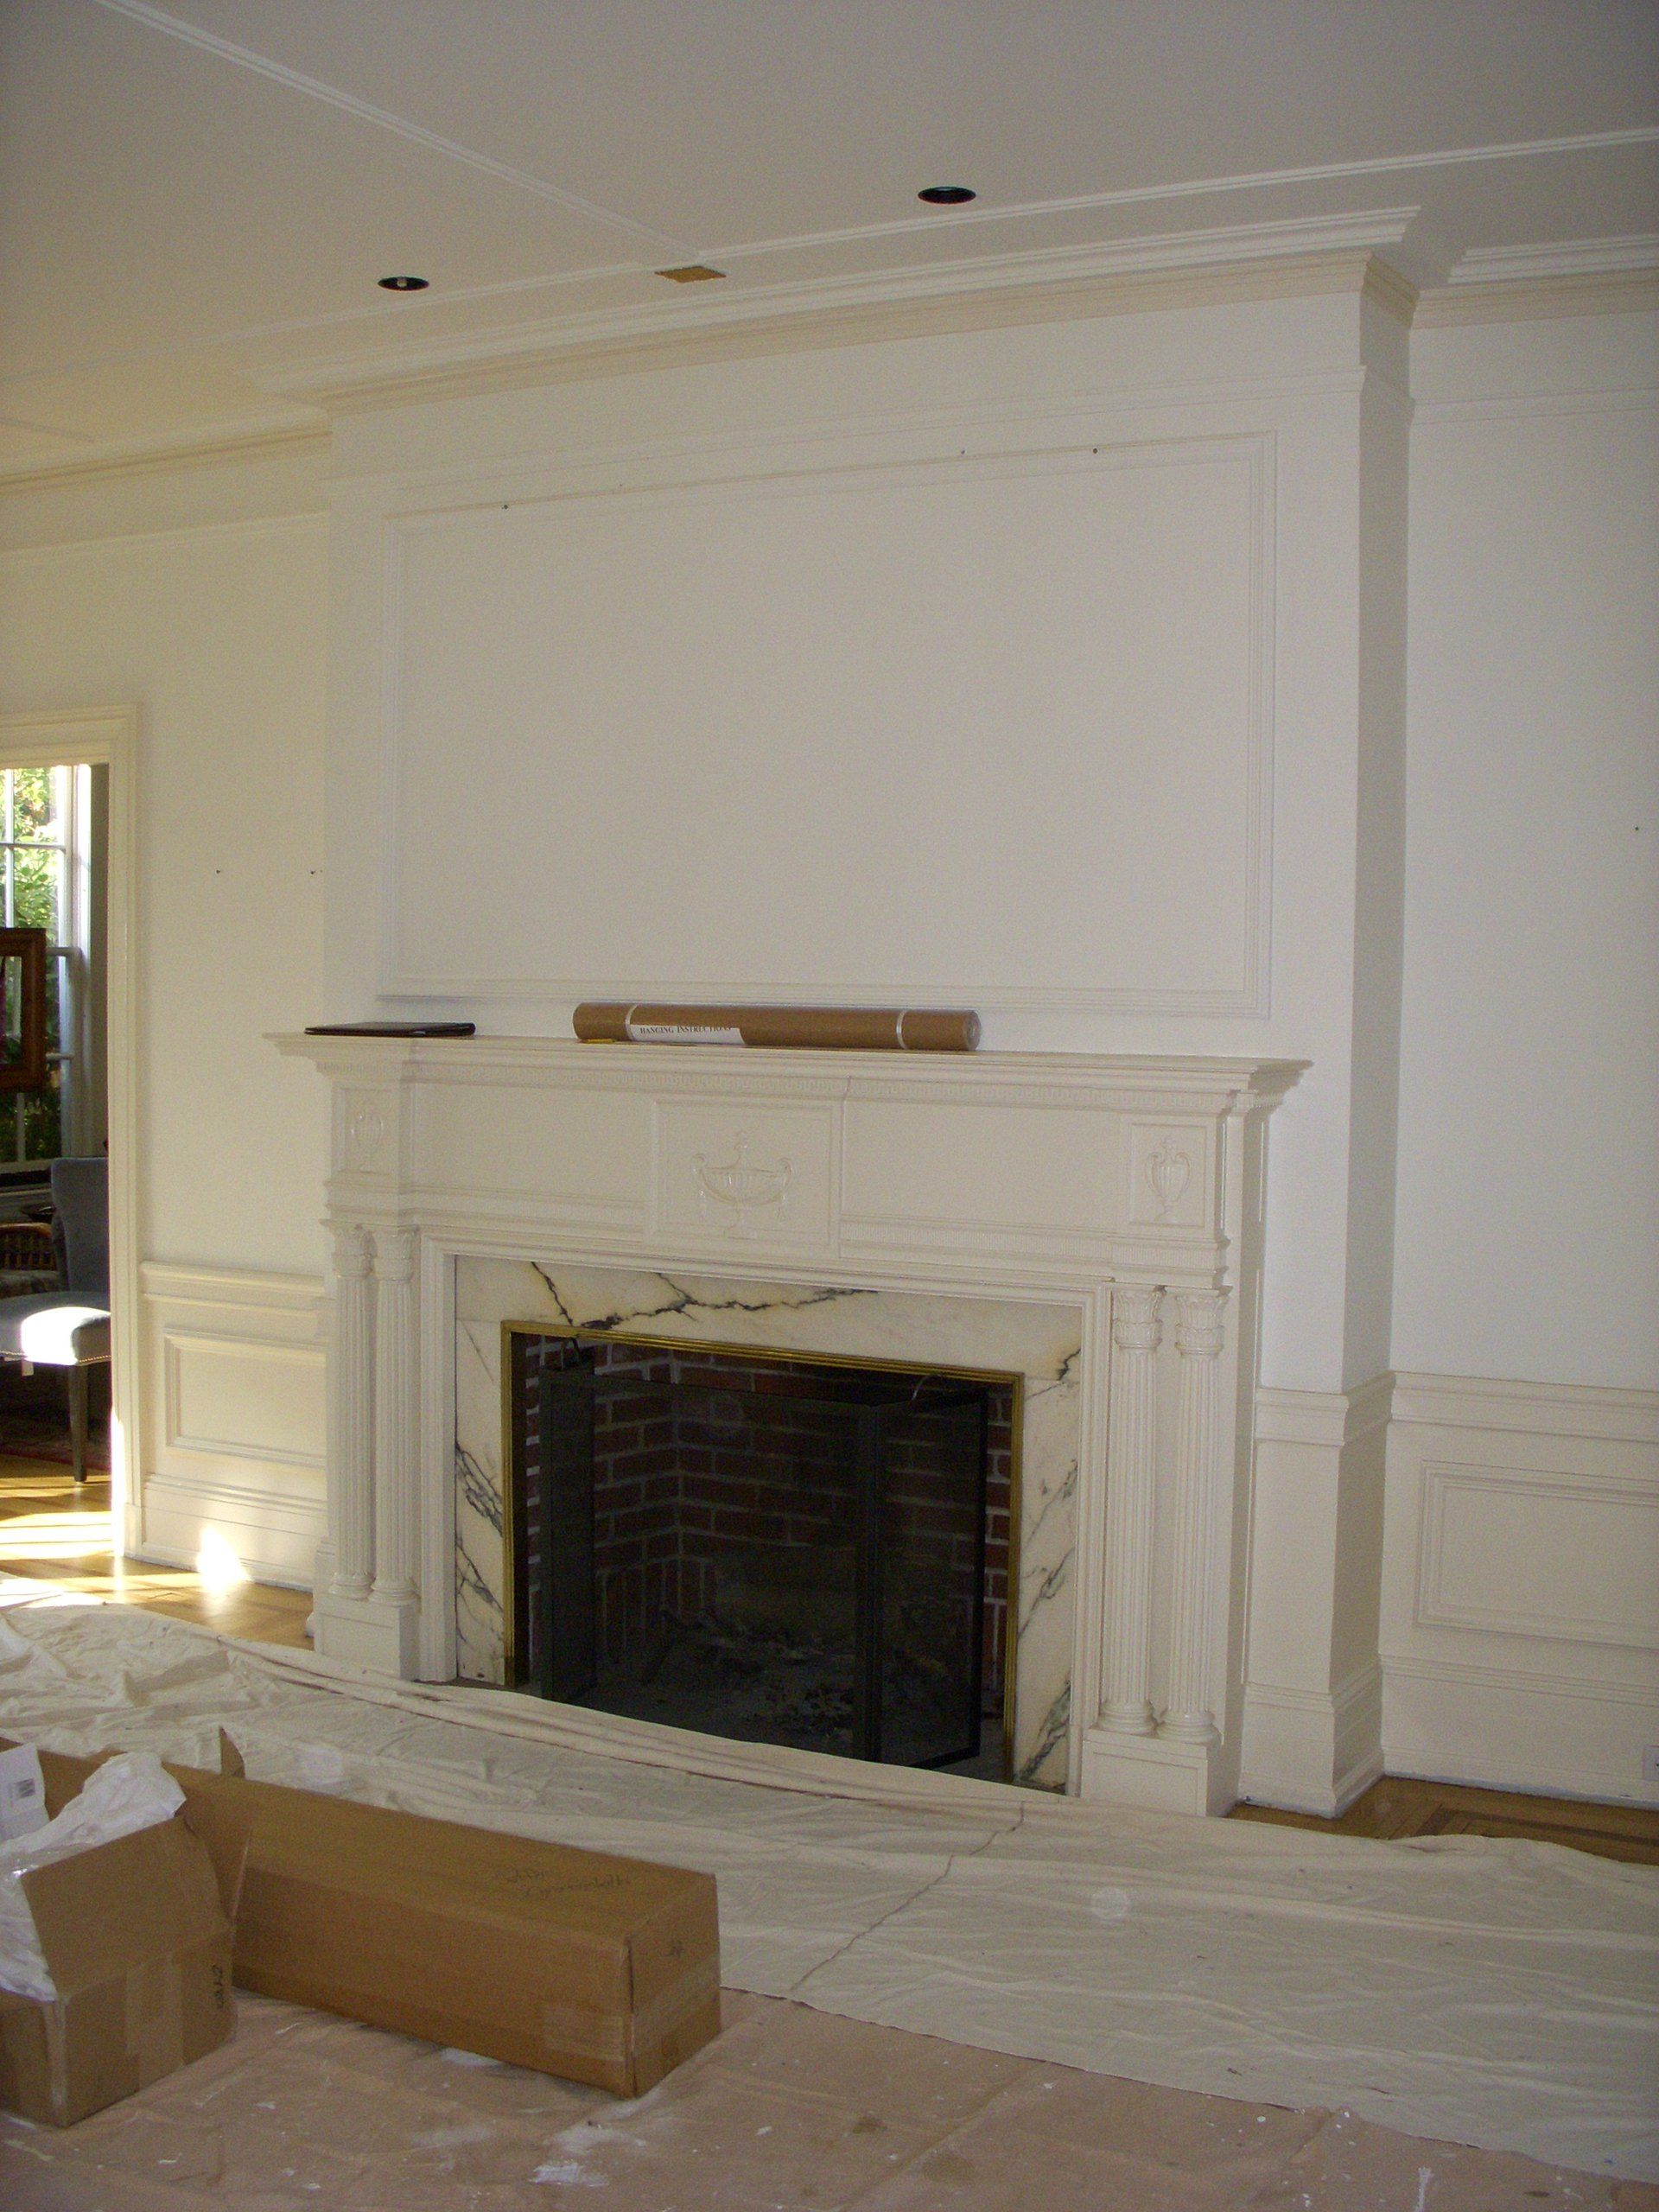
After
Photo By: John Doe
Button
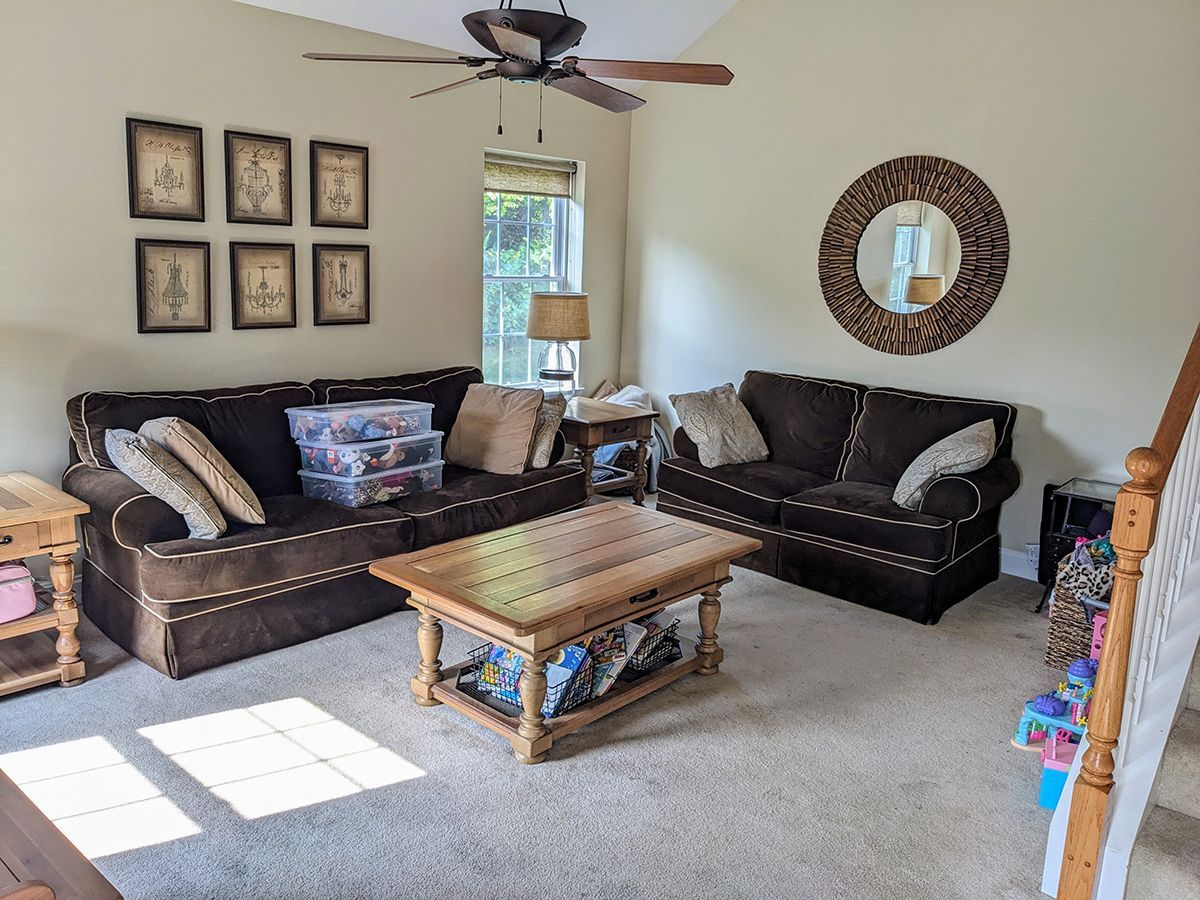
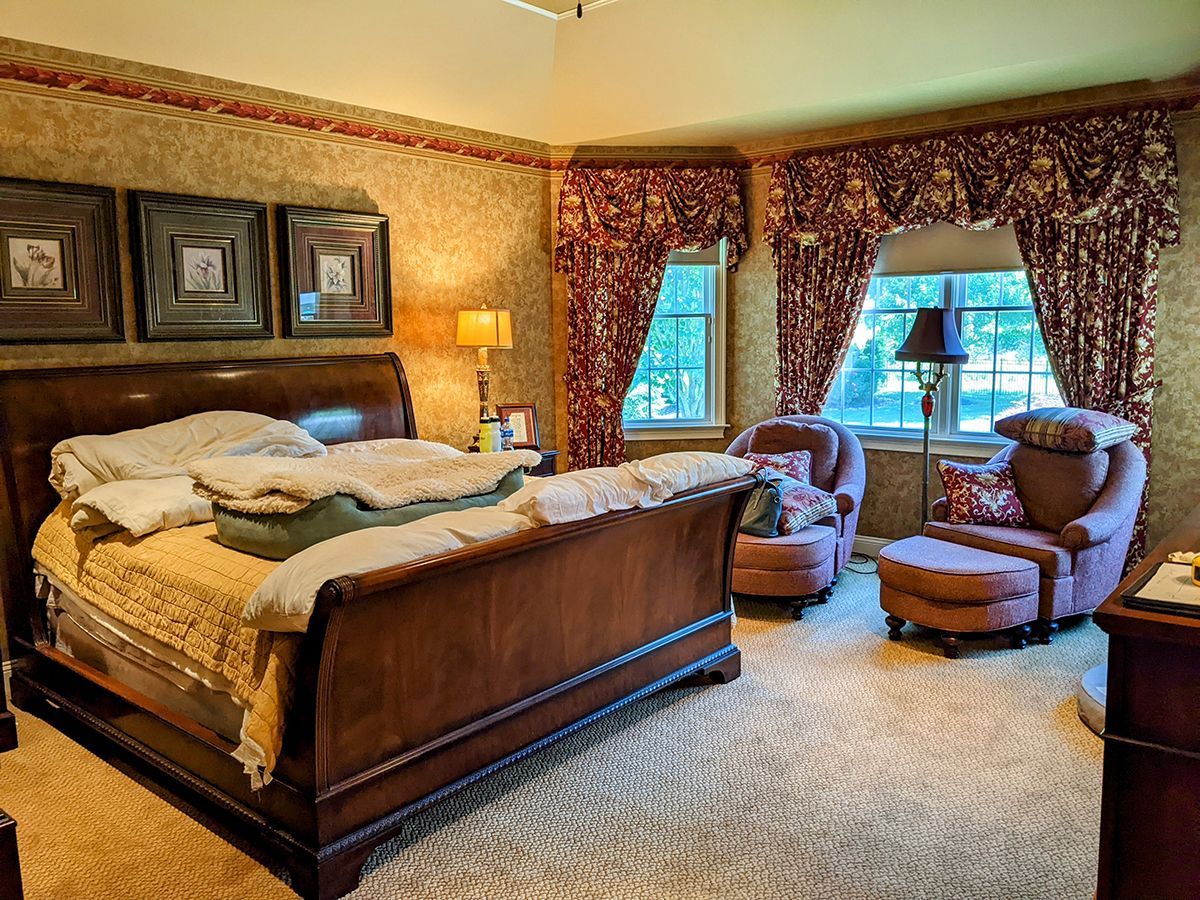
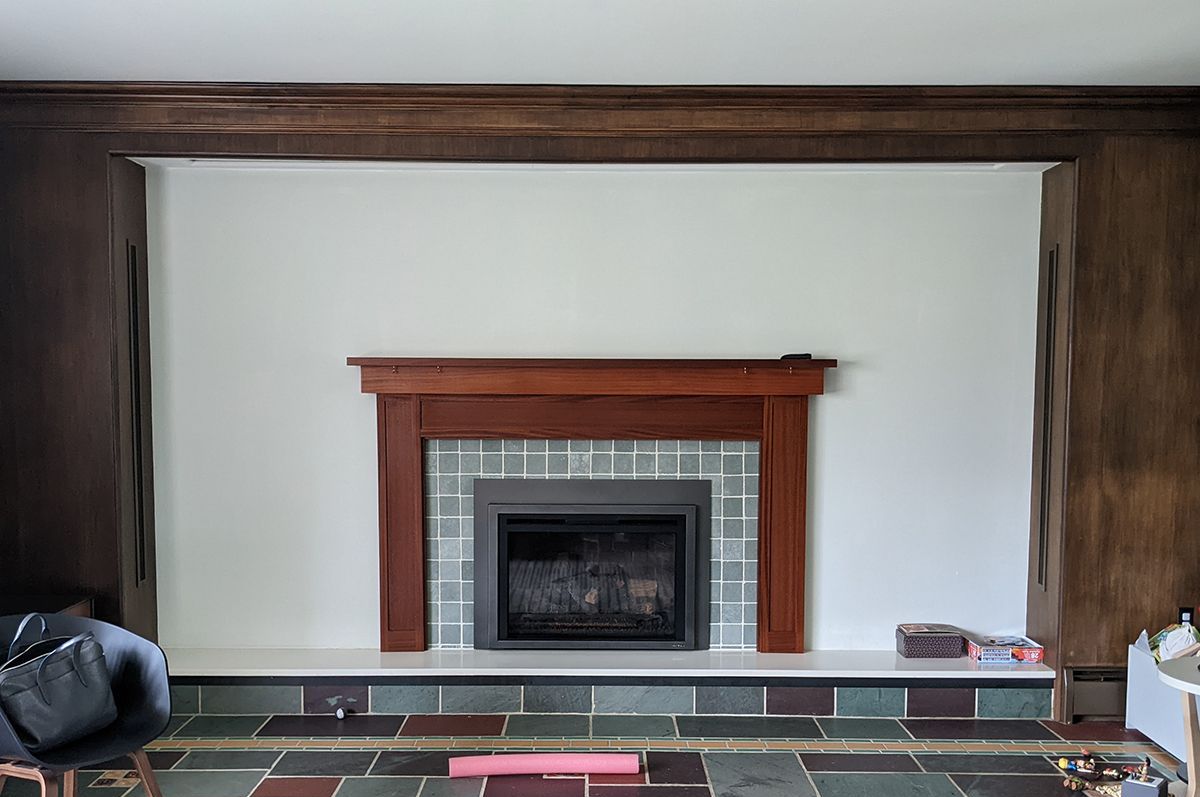
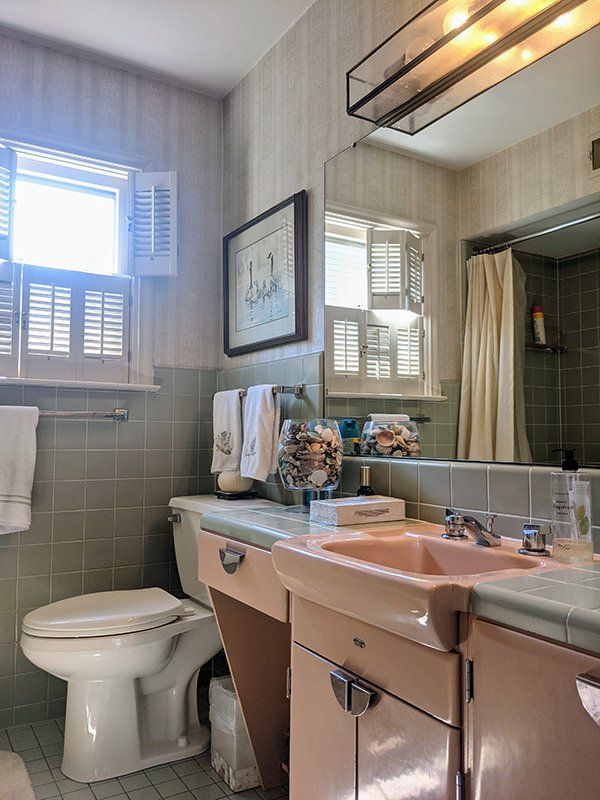
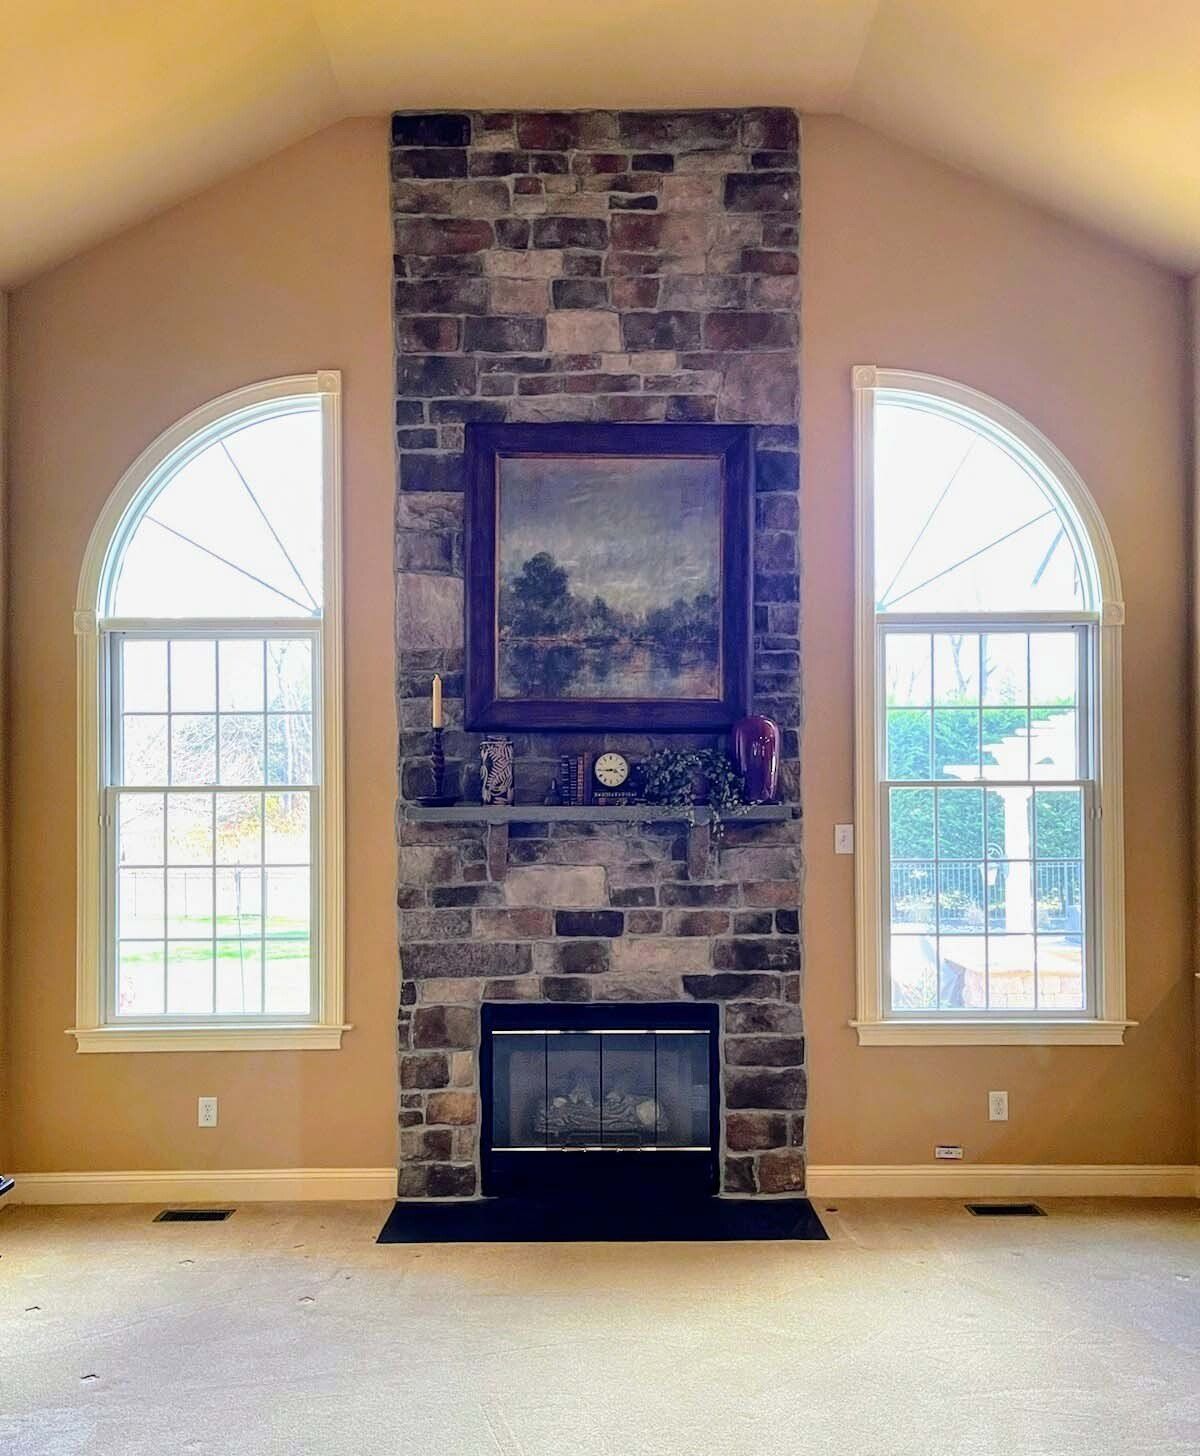
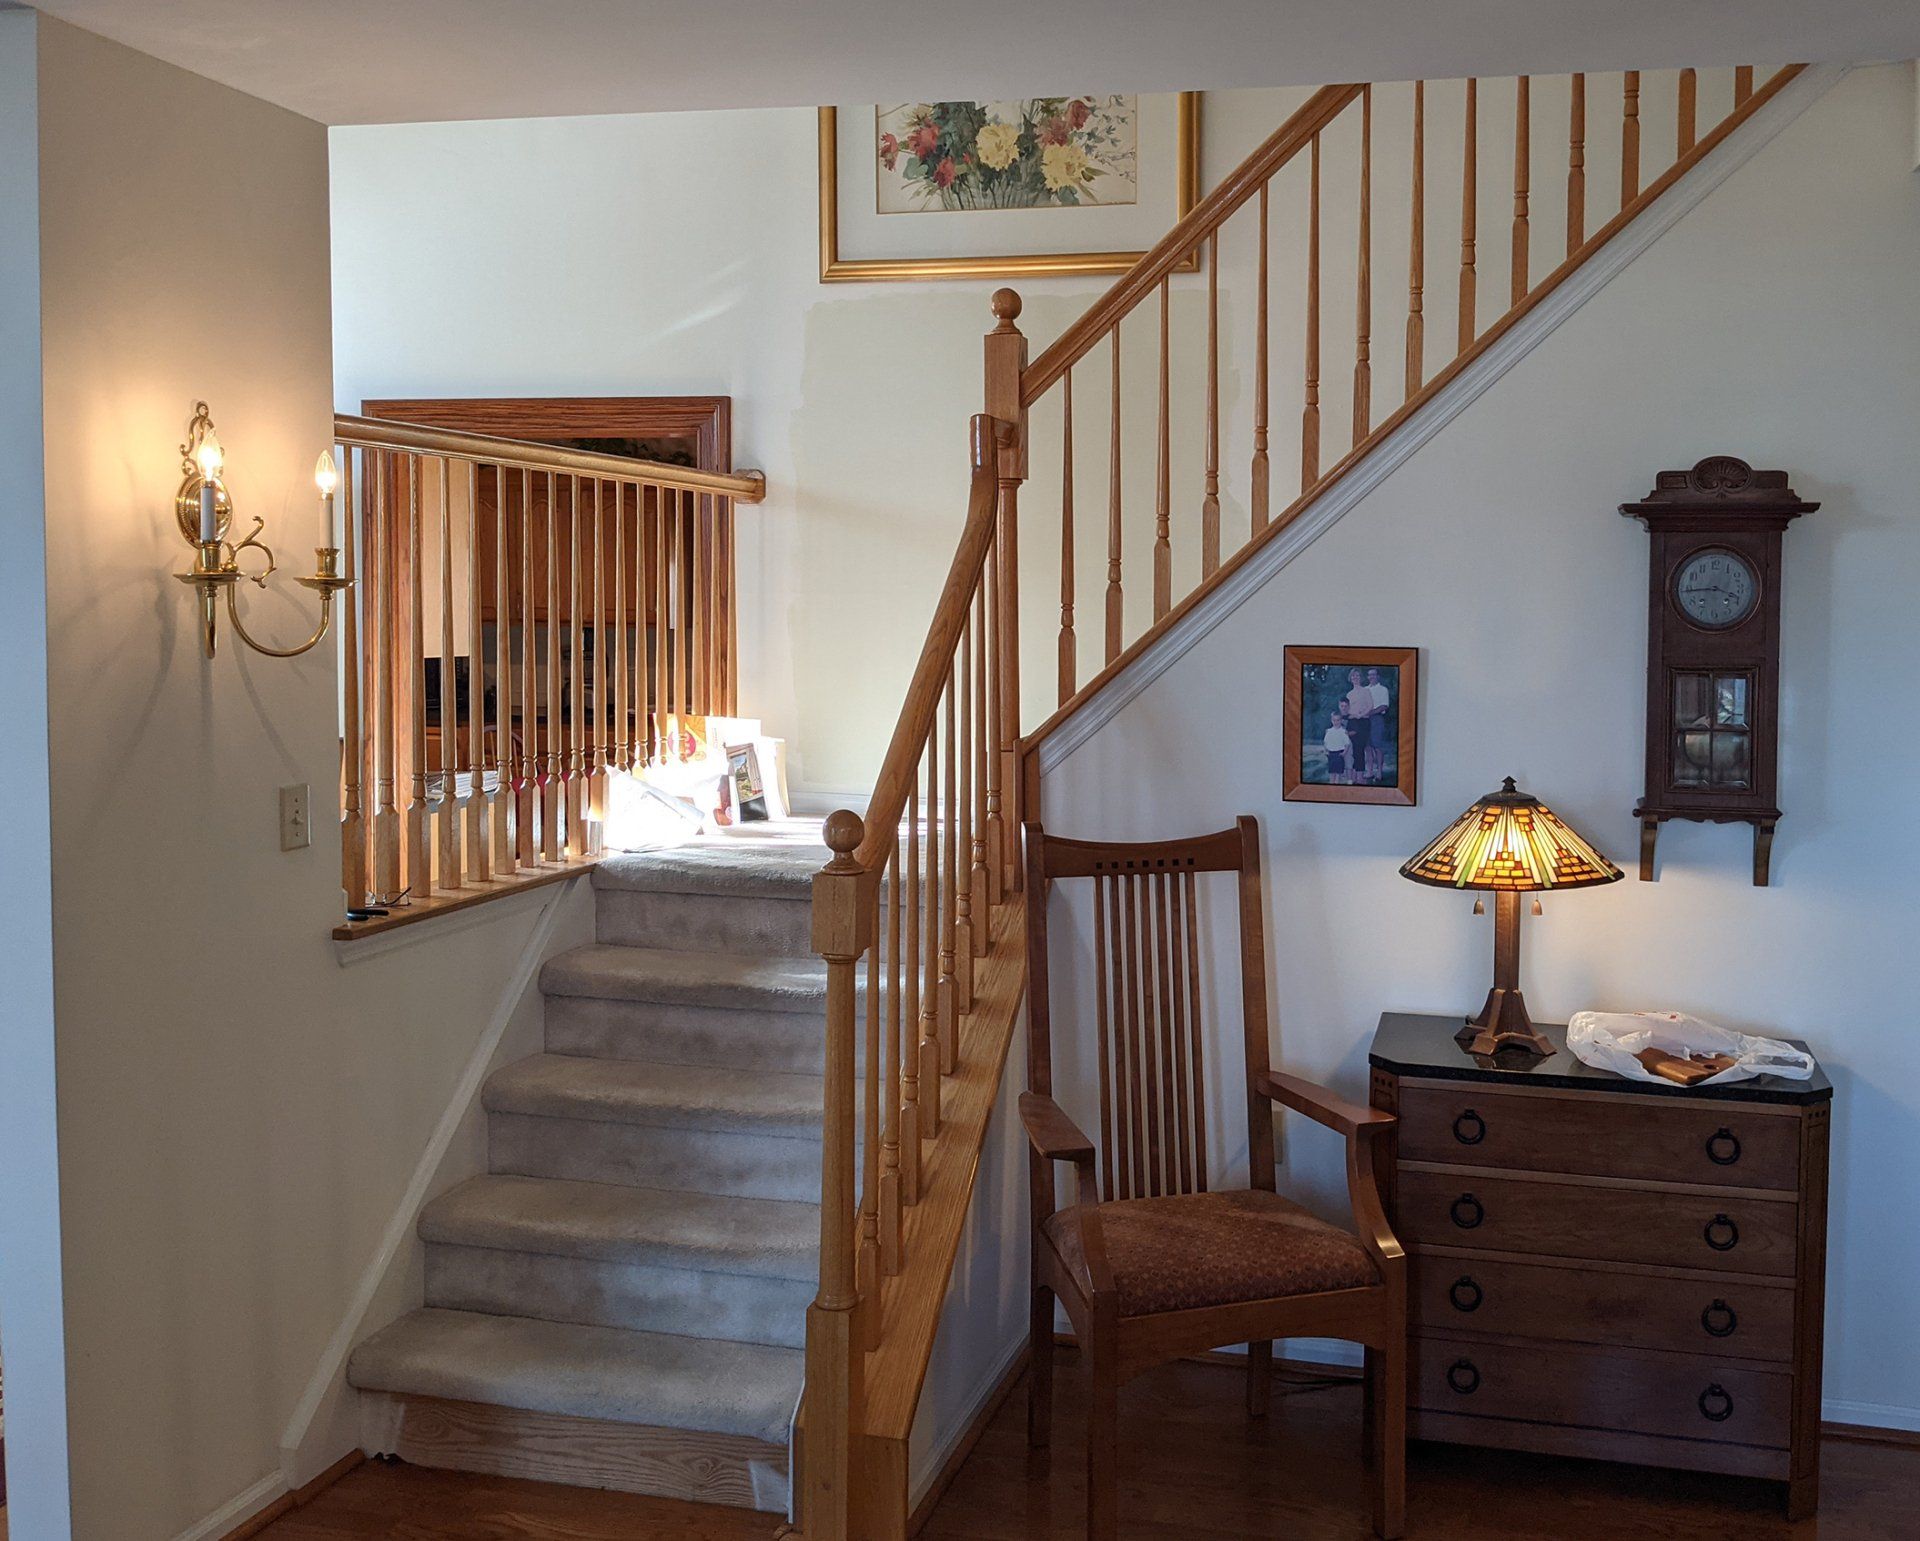
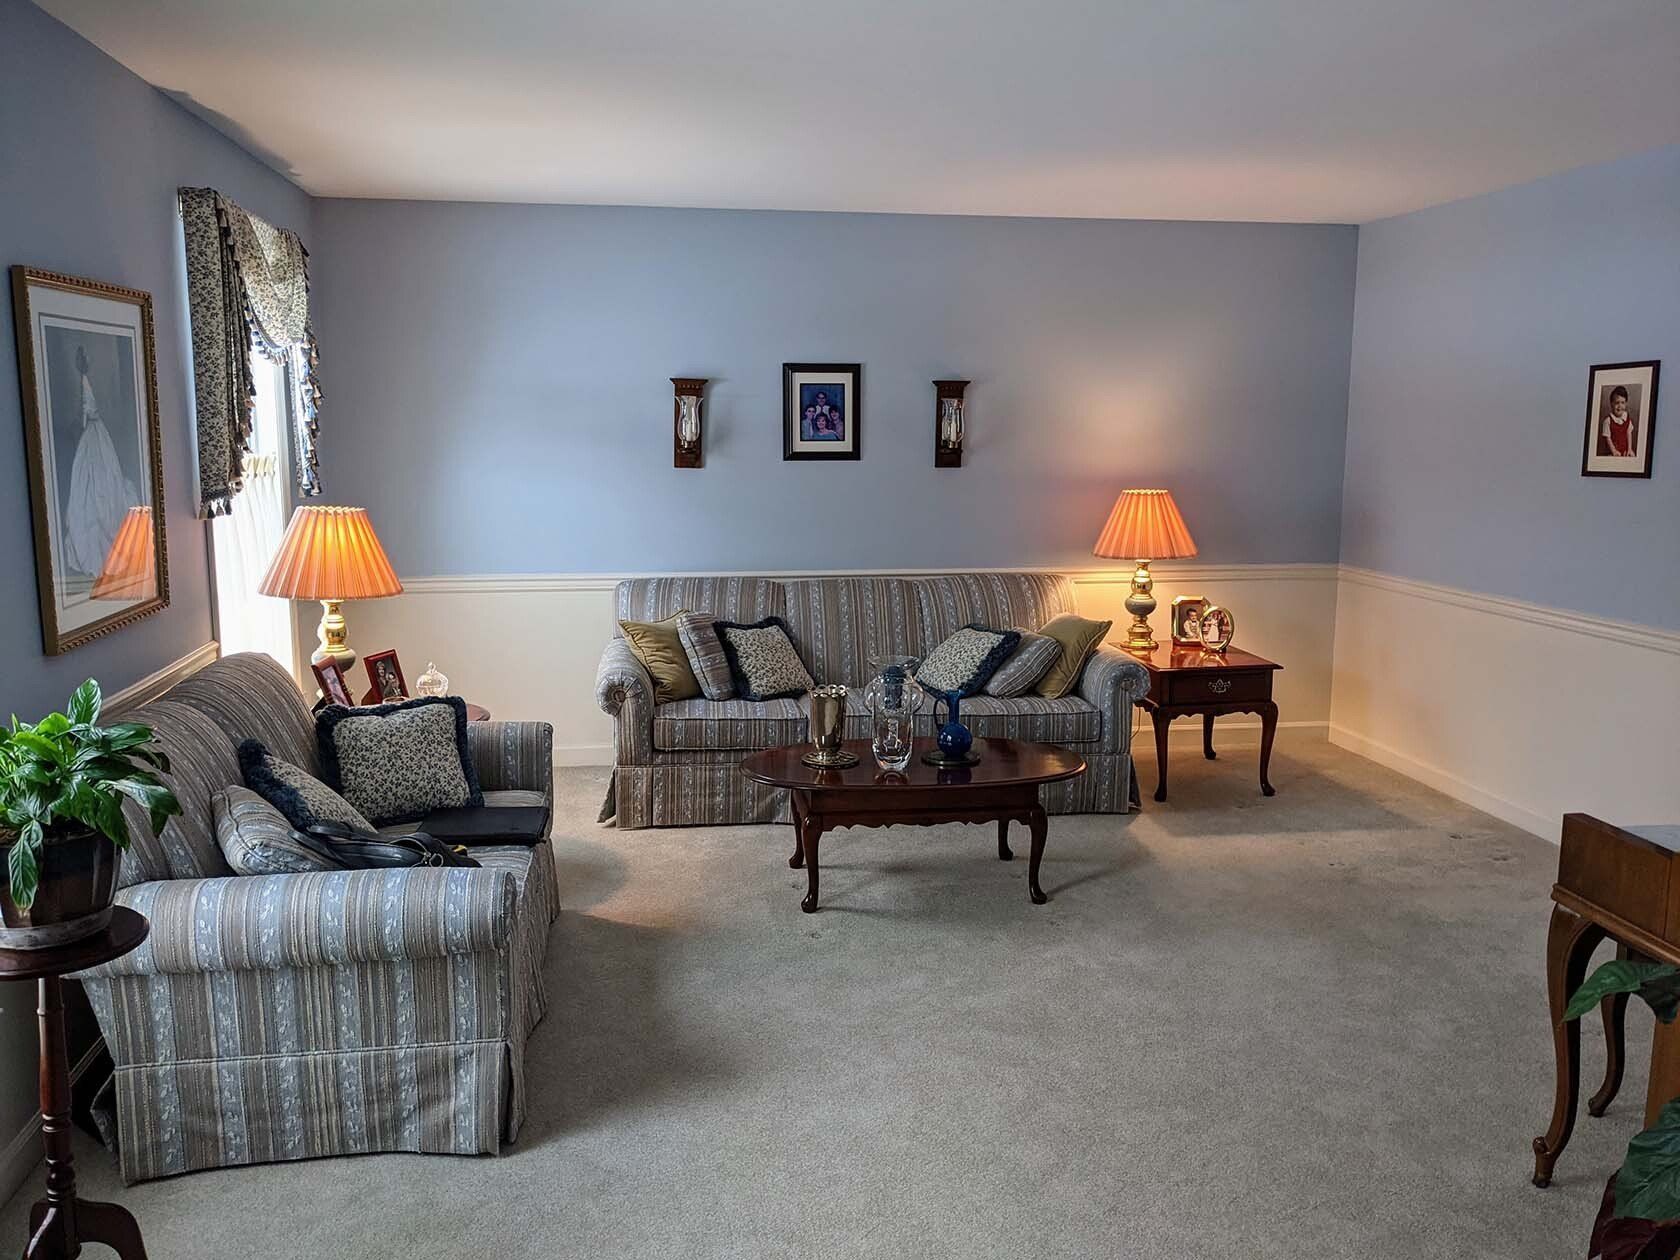
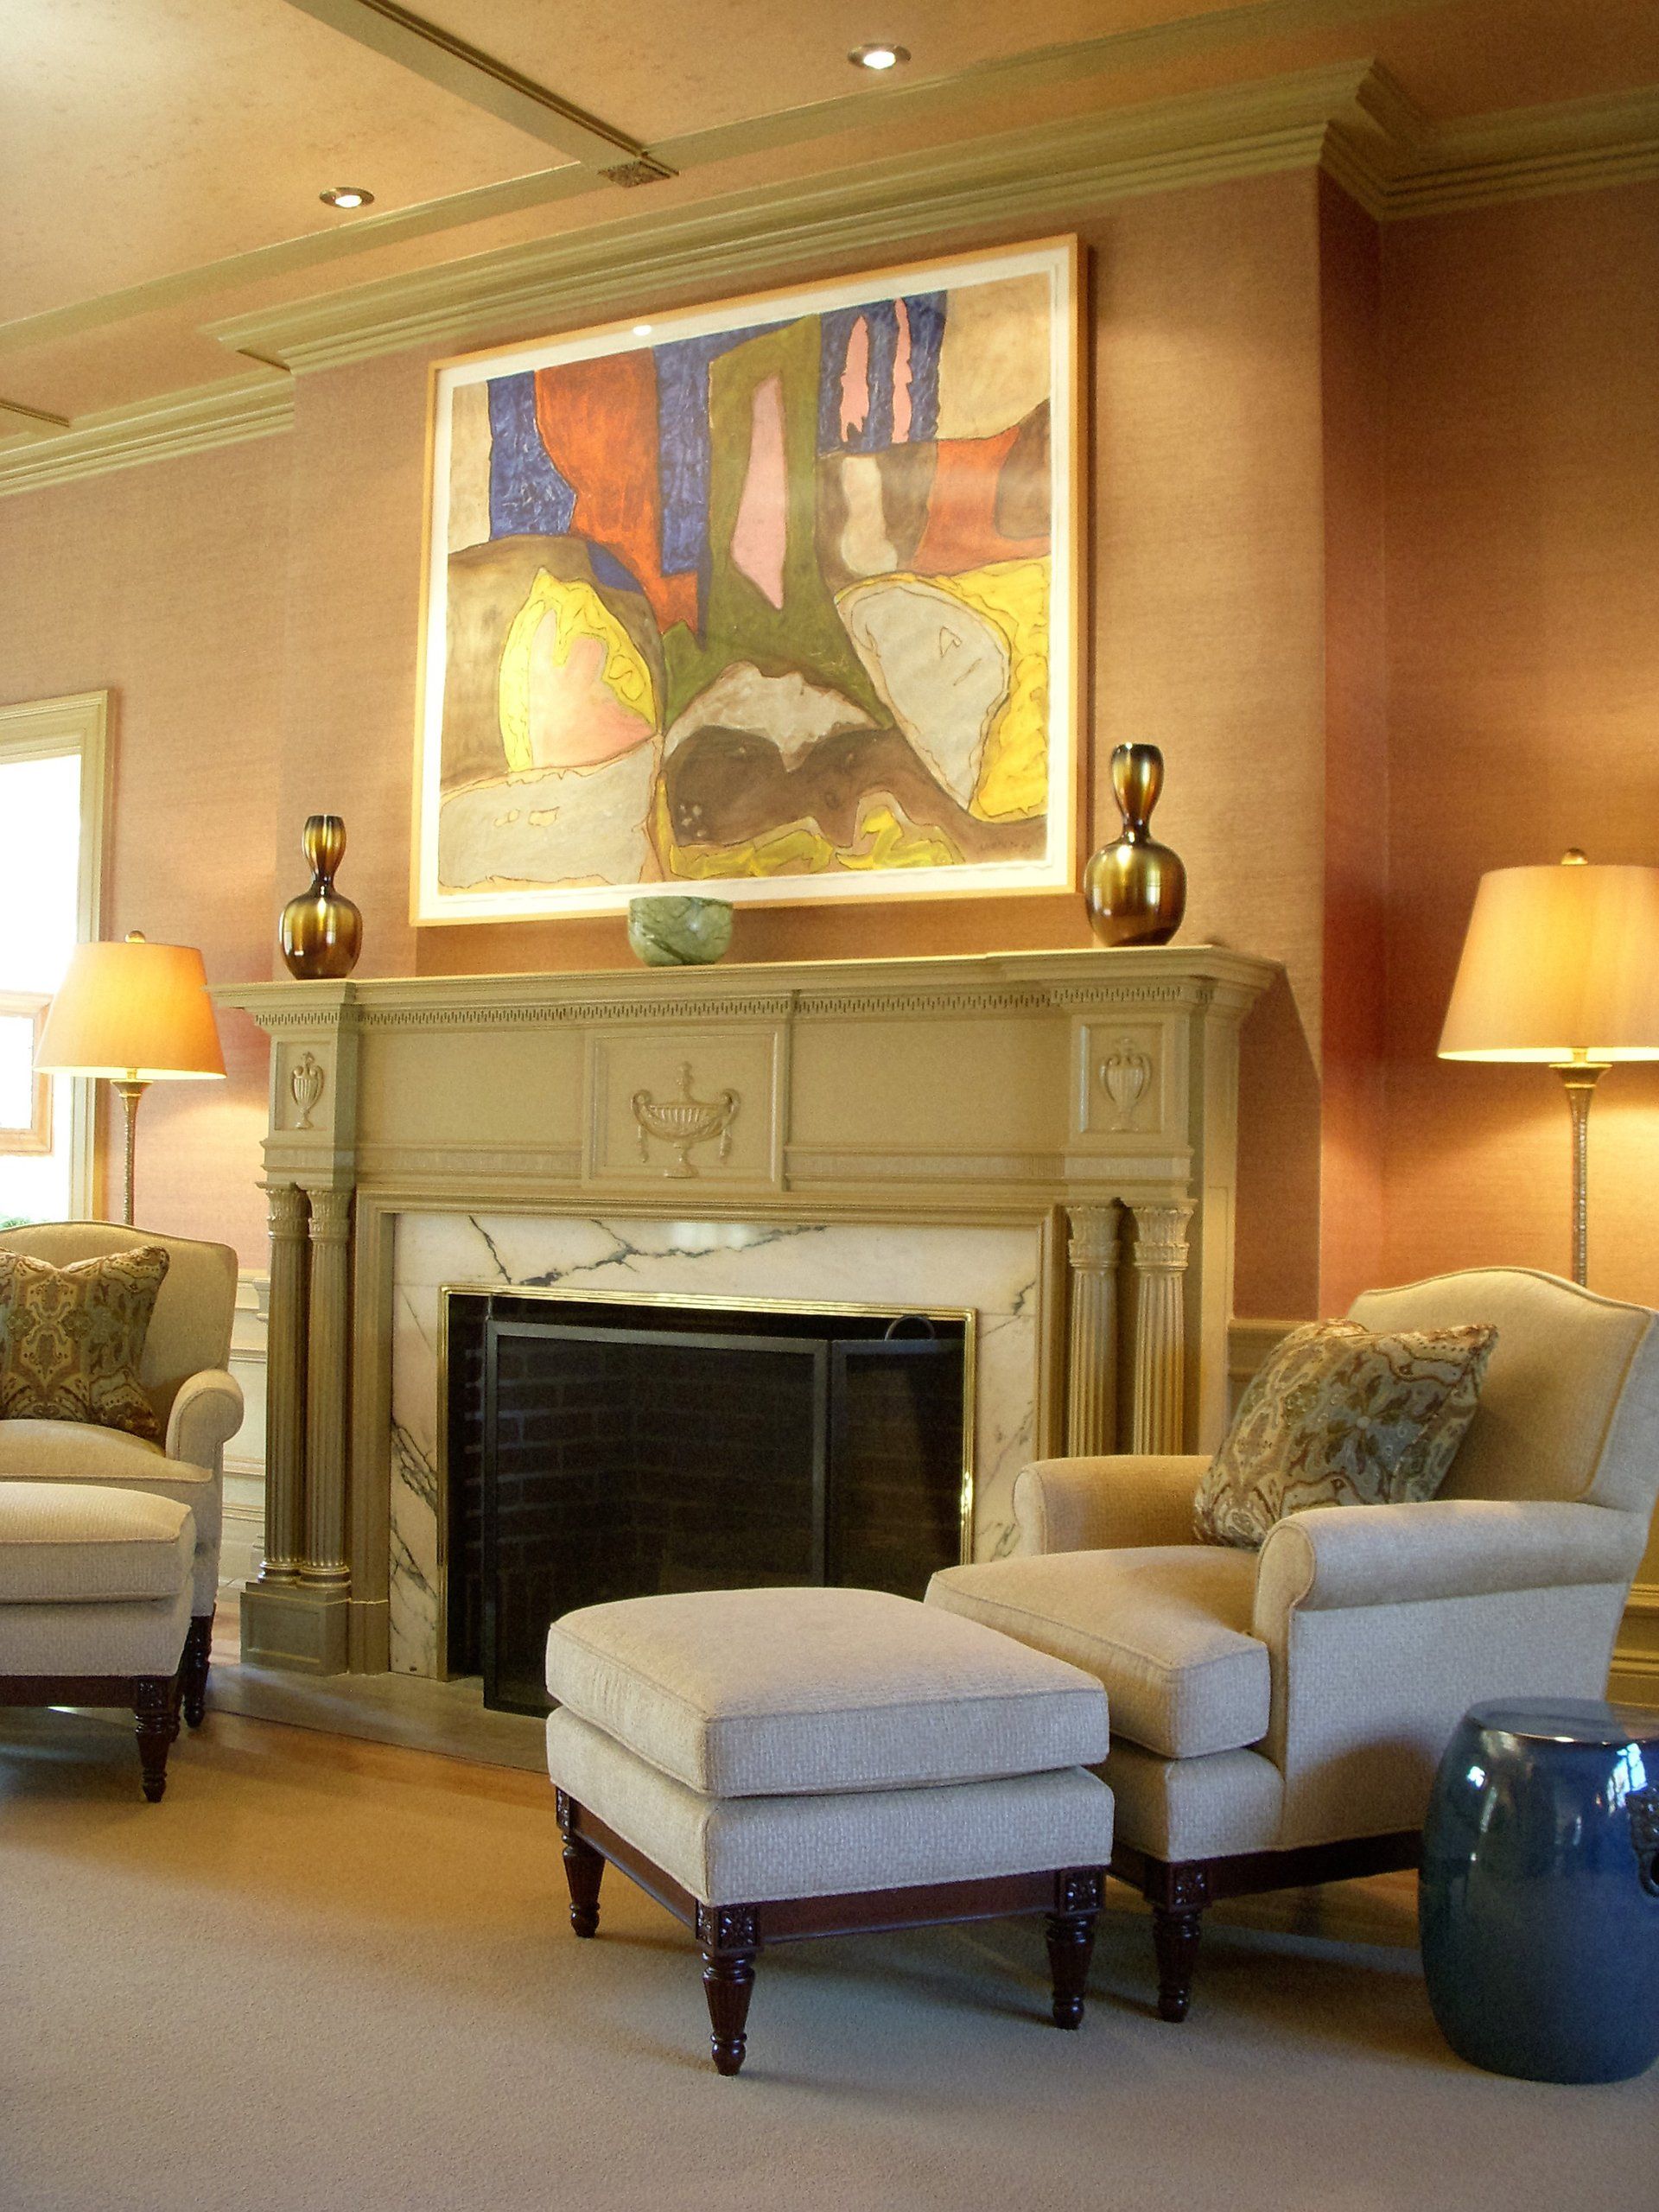
Before
Photo By: John Doe
Button
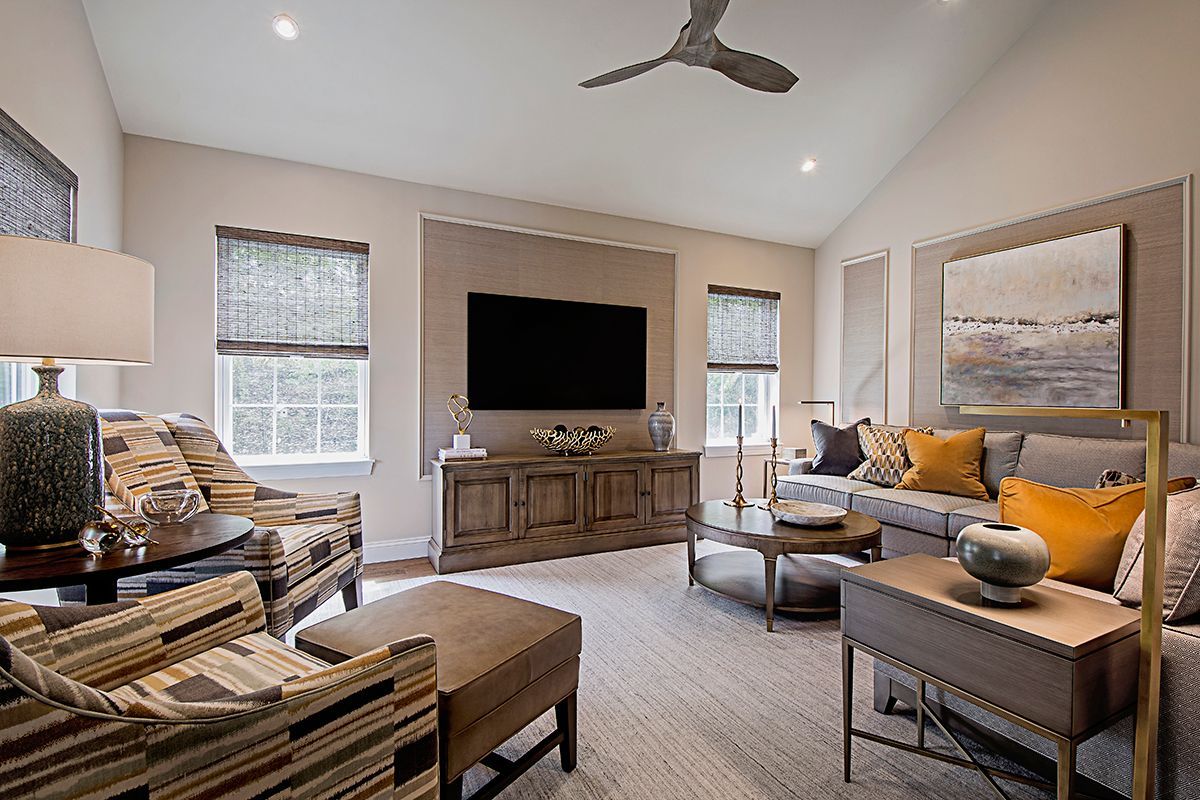
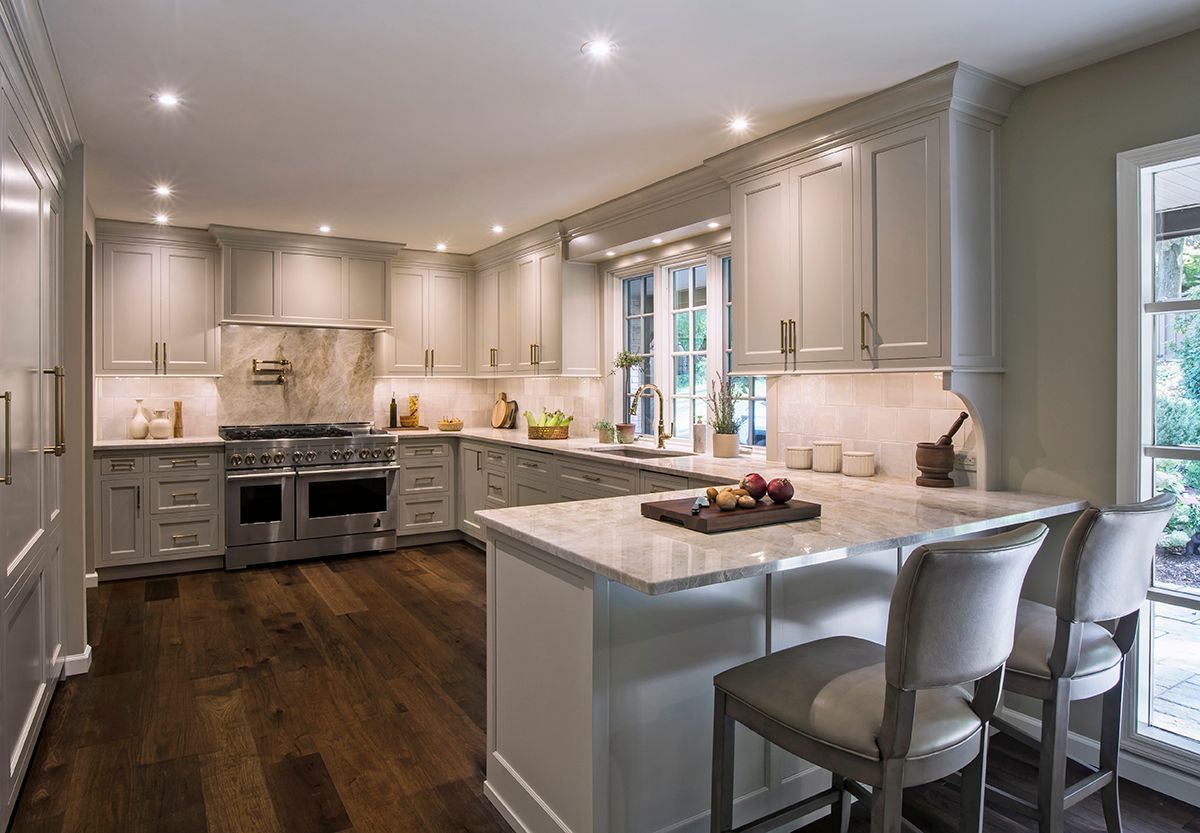
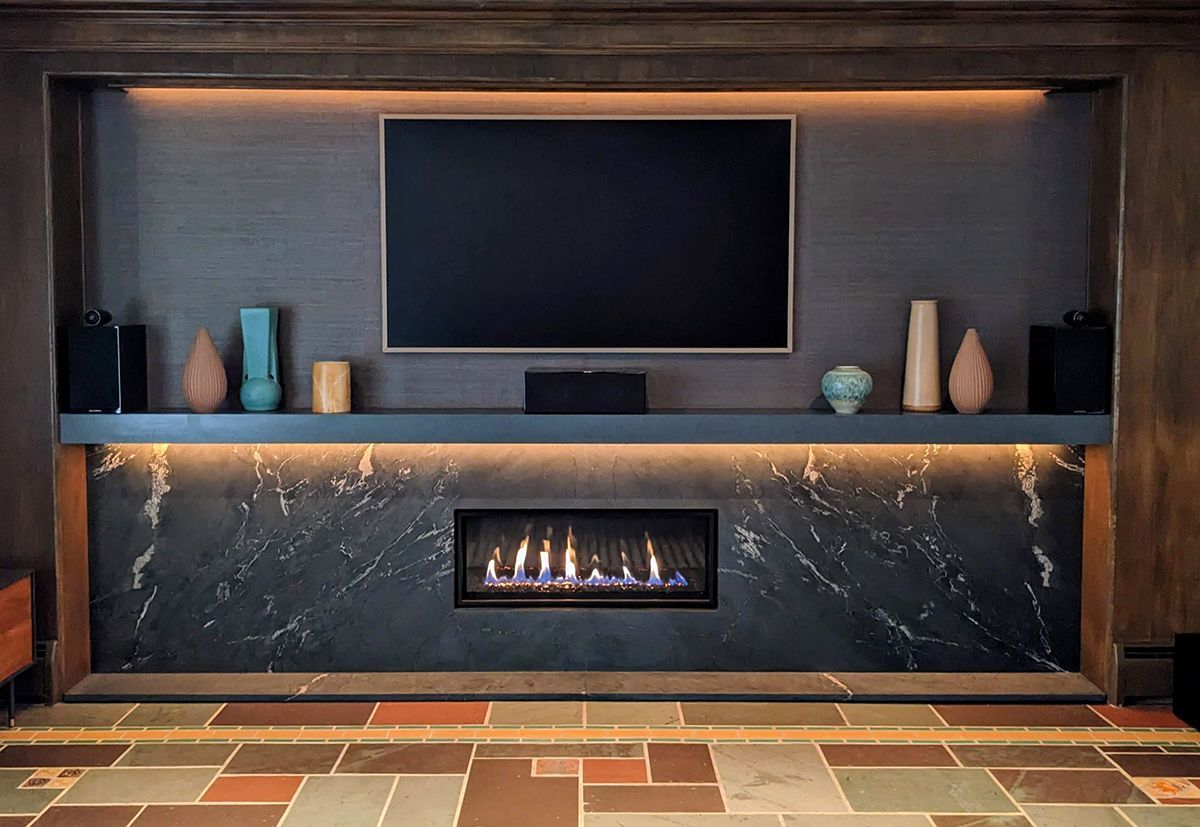
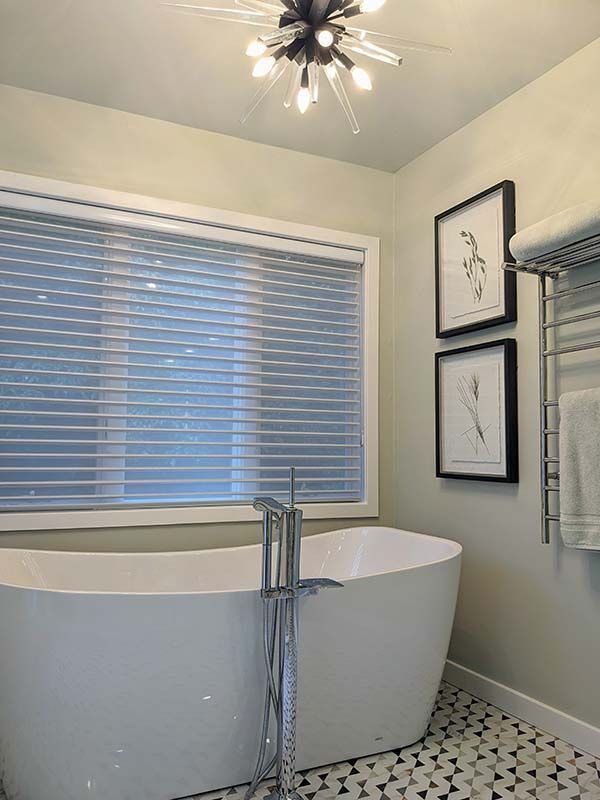
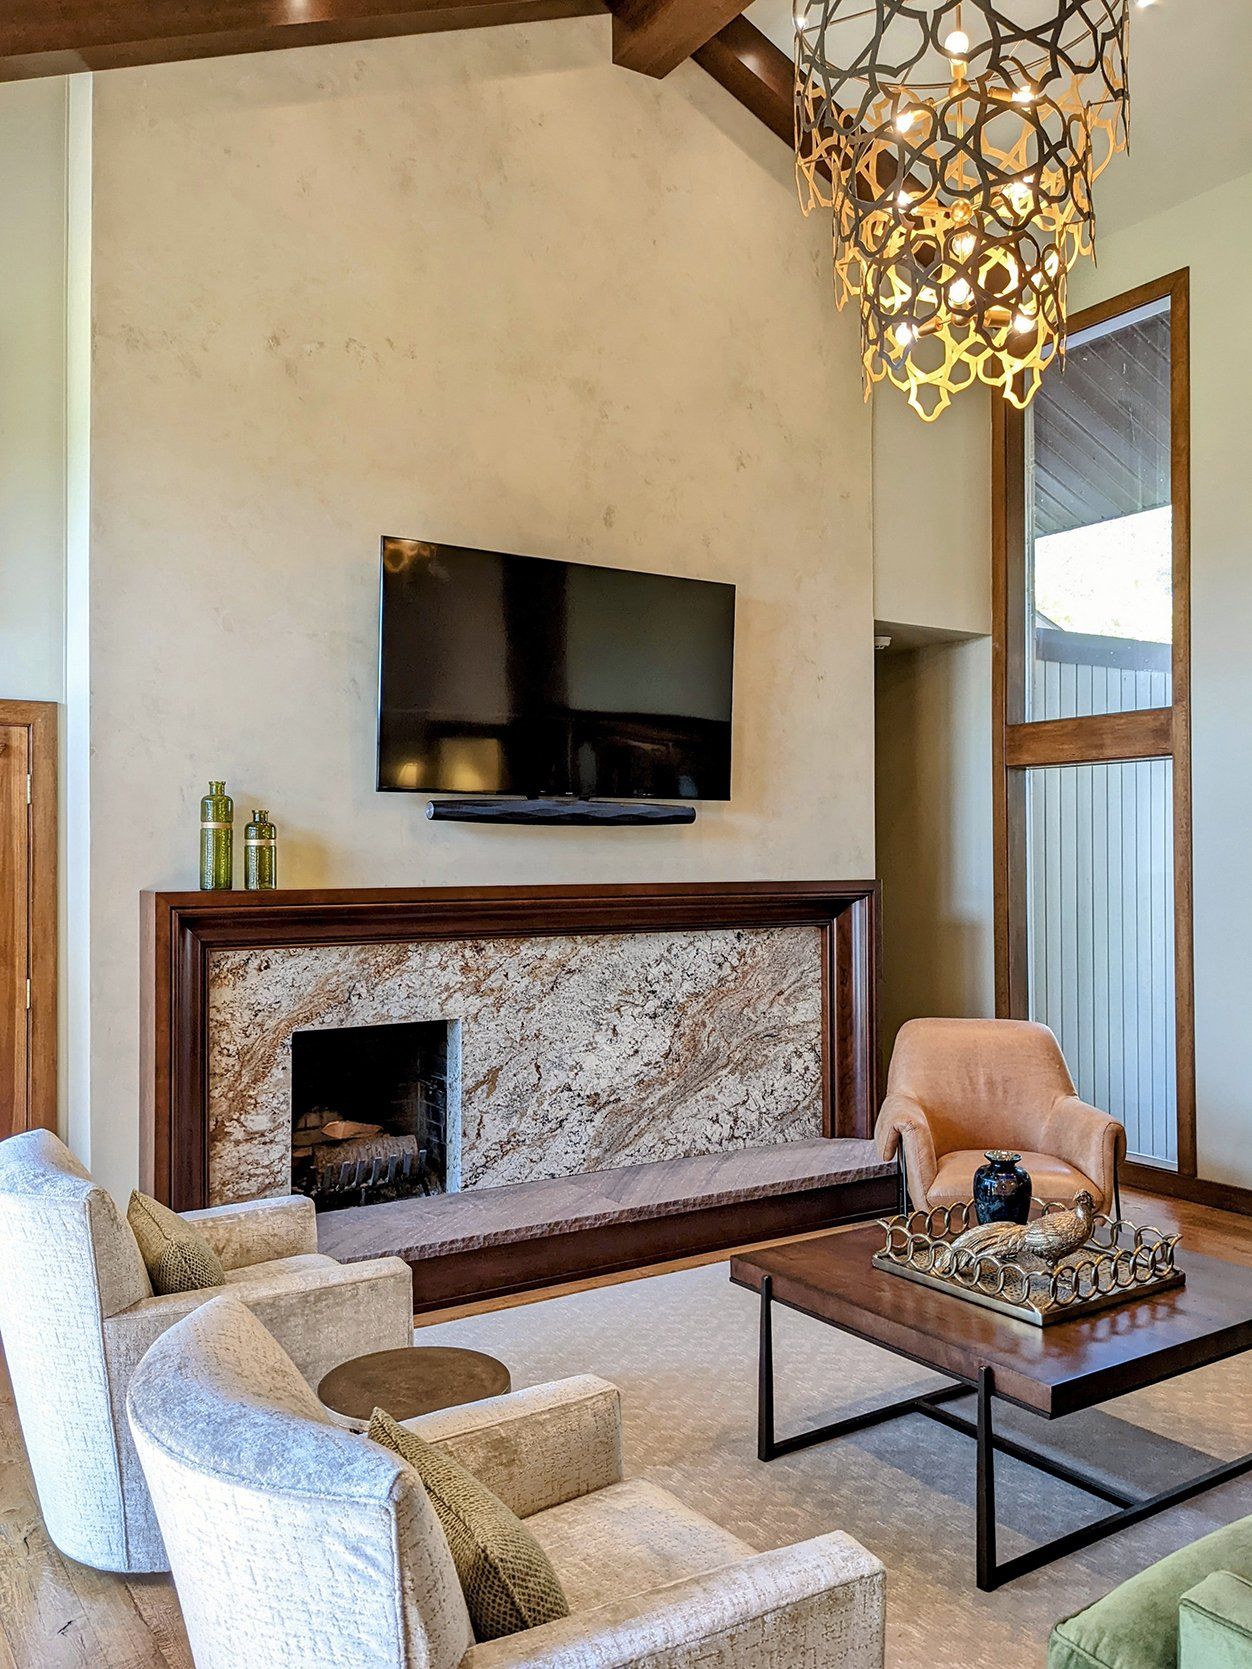
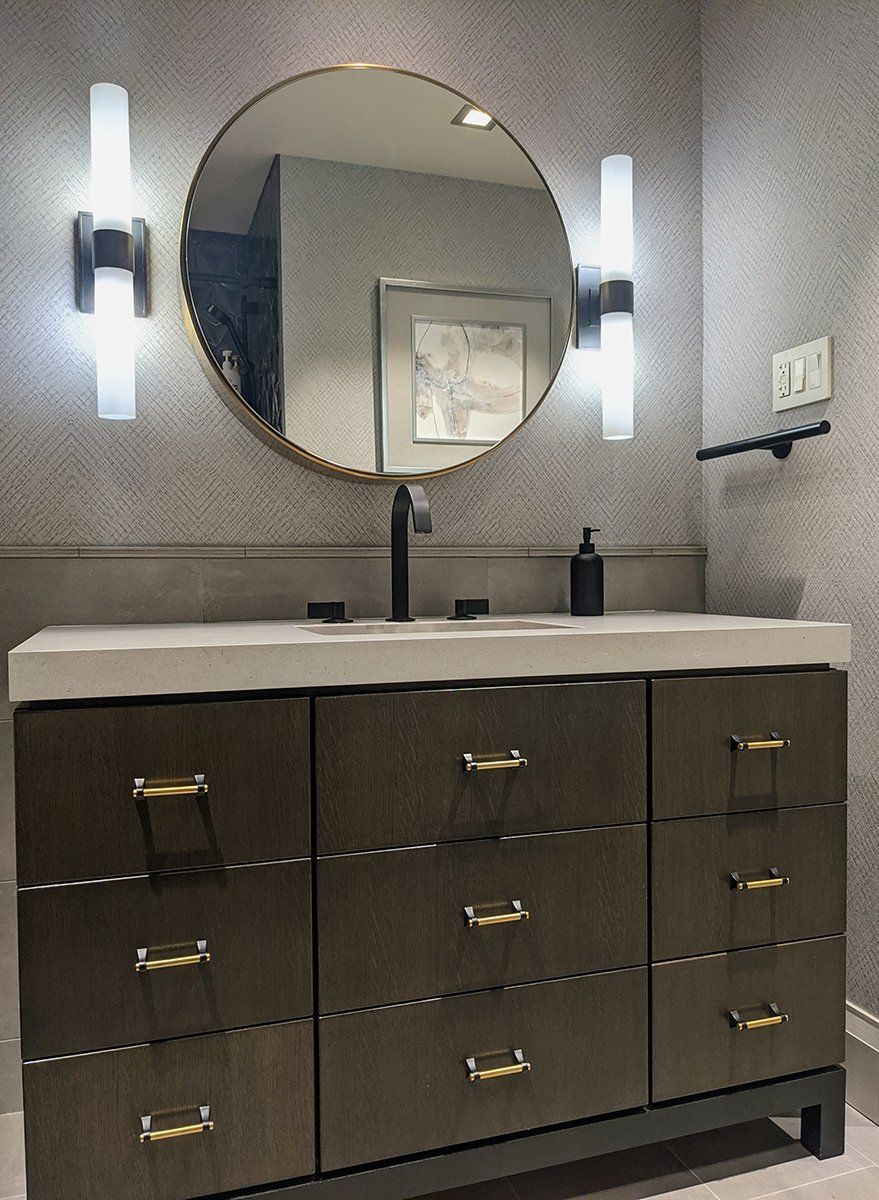
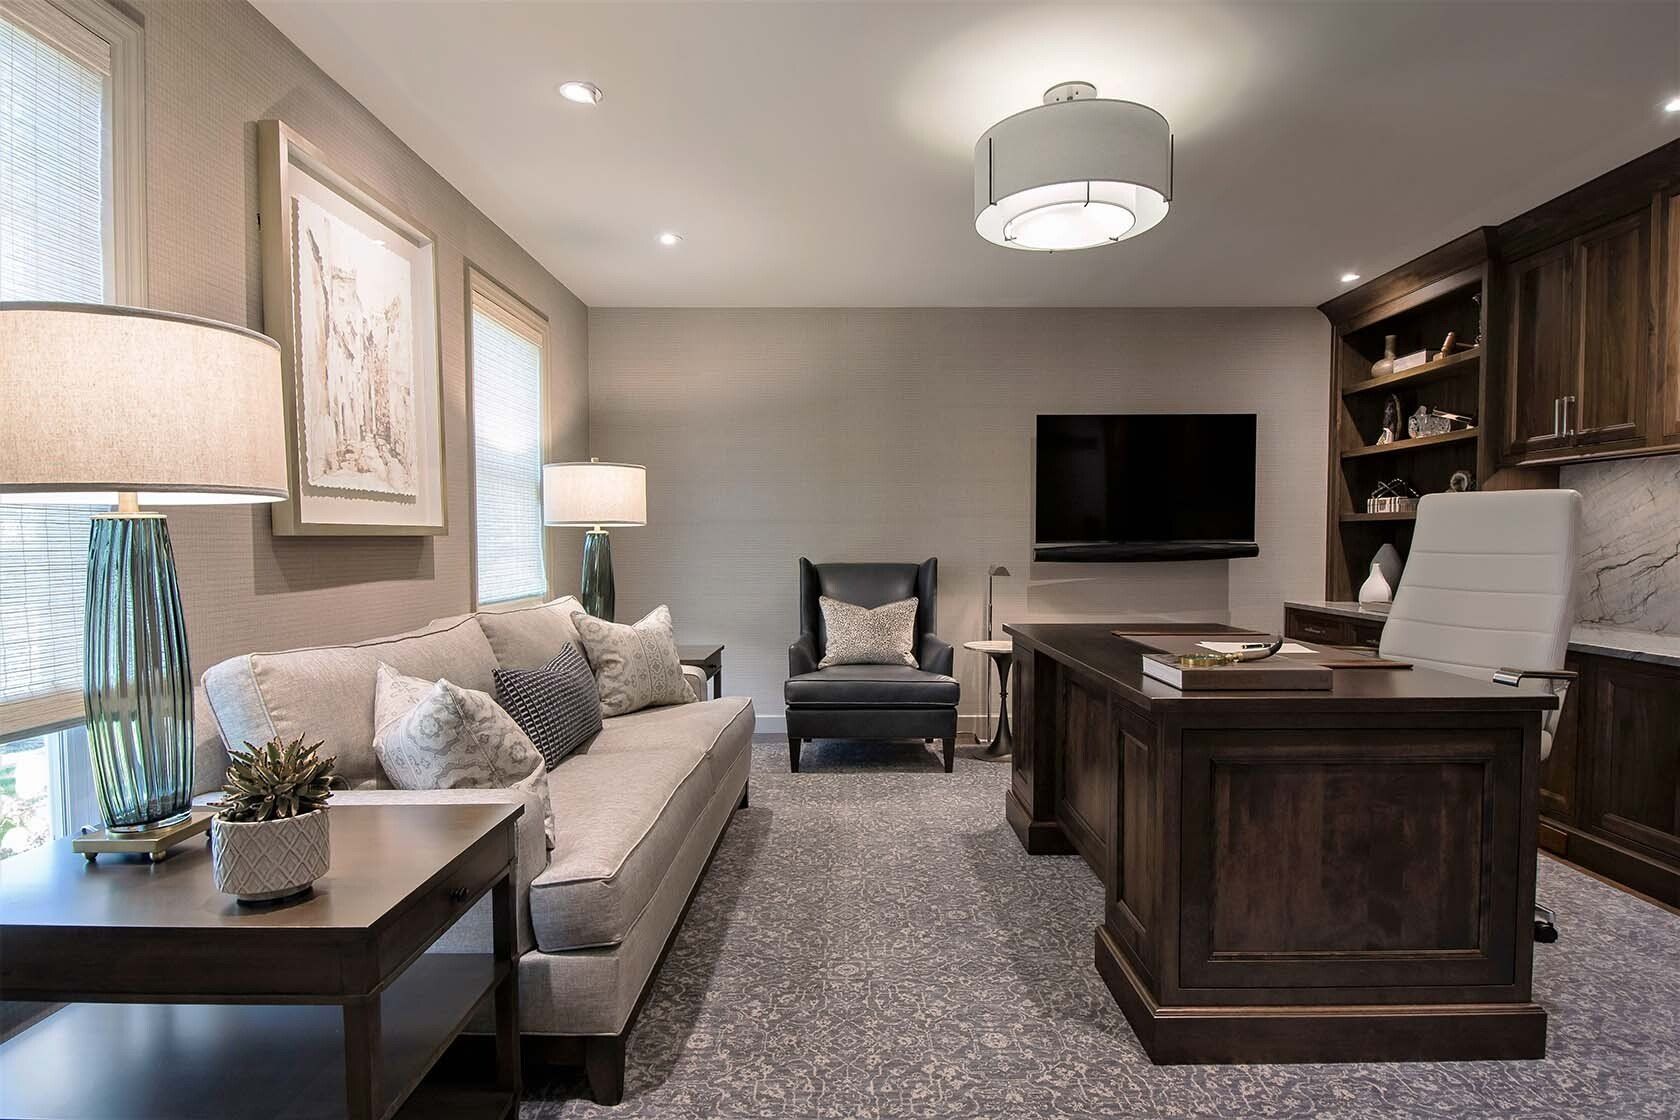
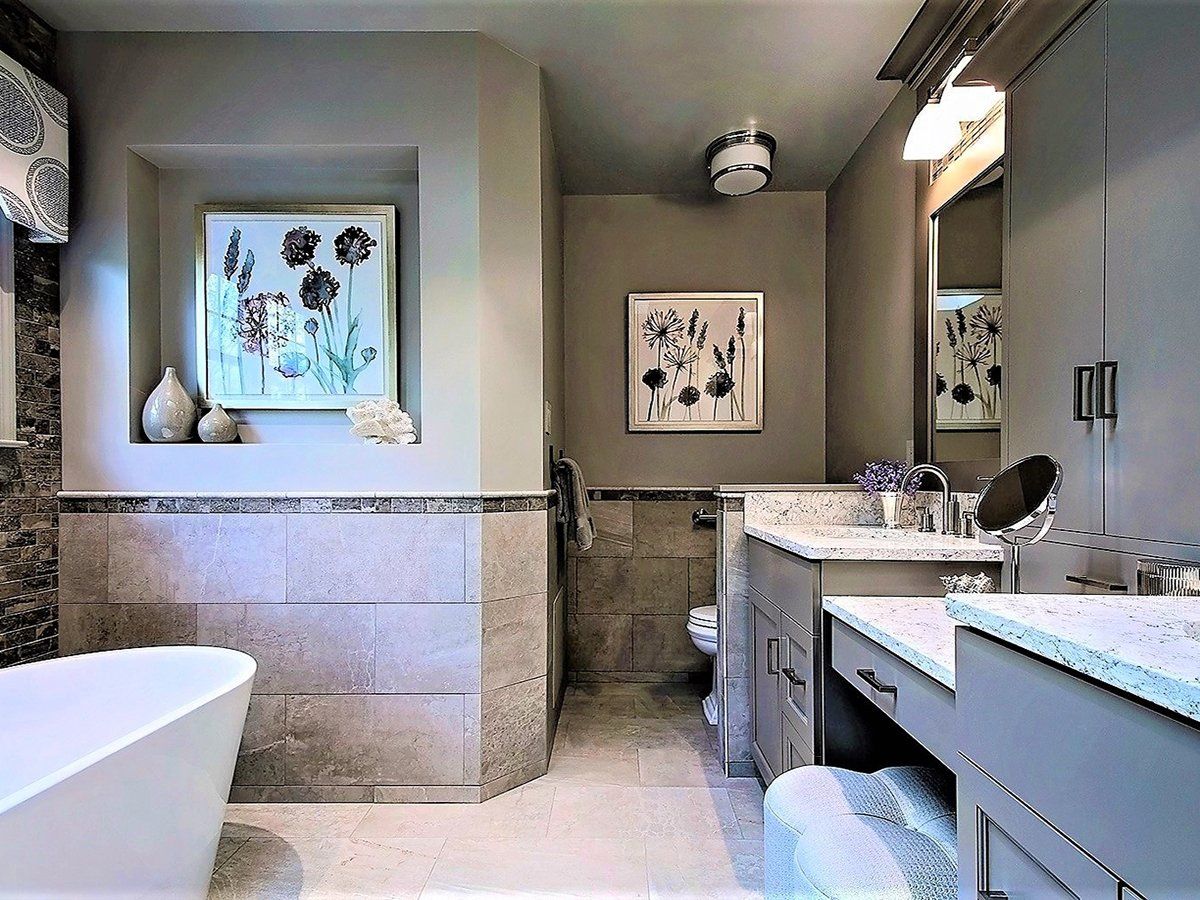
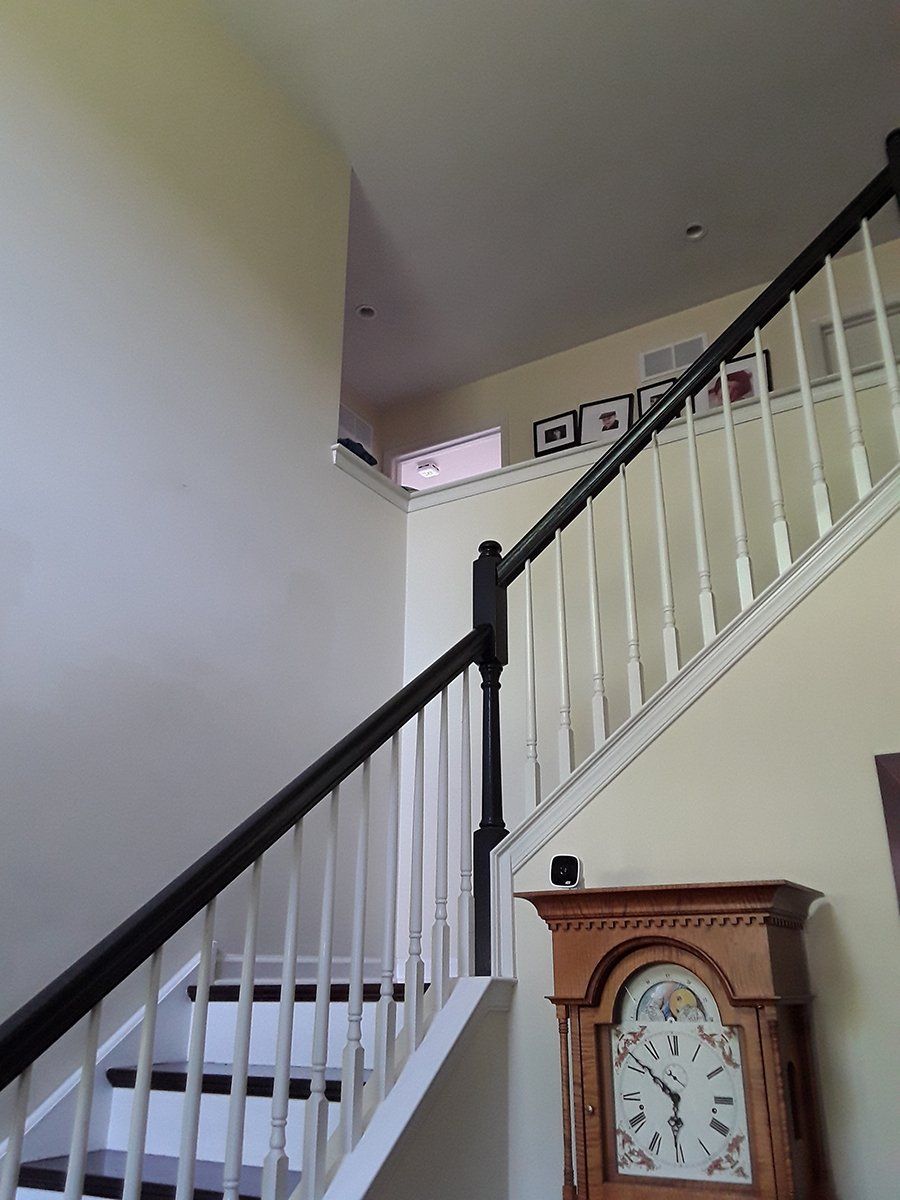
After
Photo By: John Doe
Button
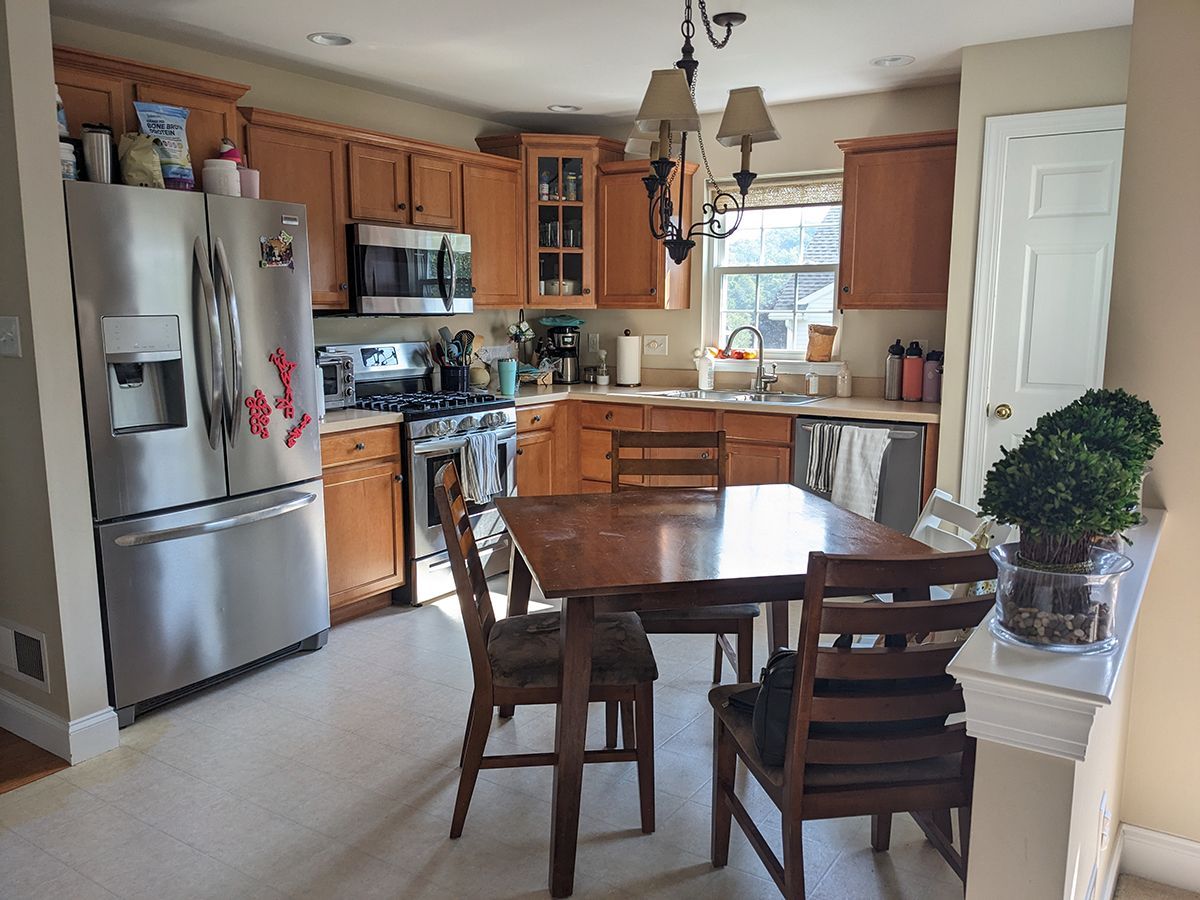
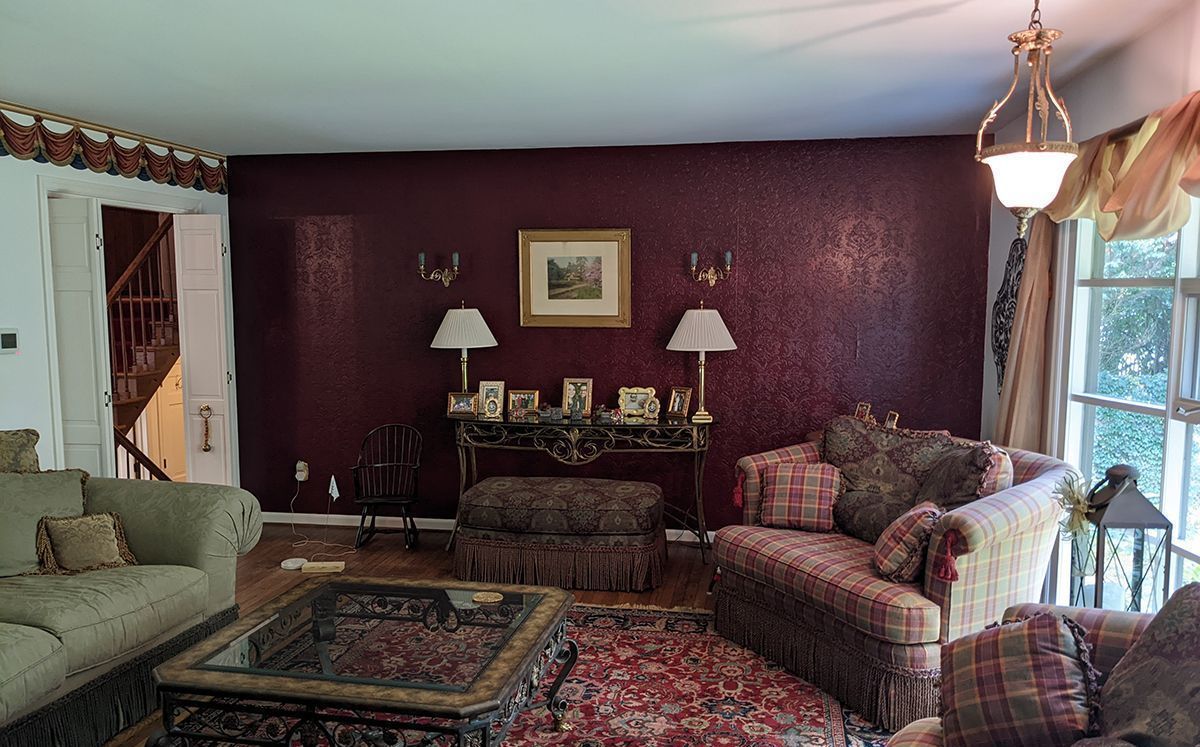
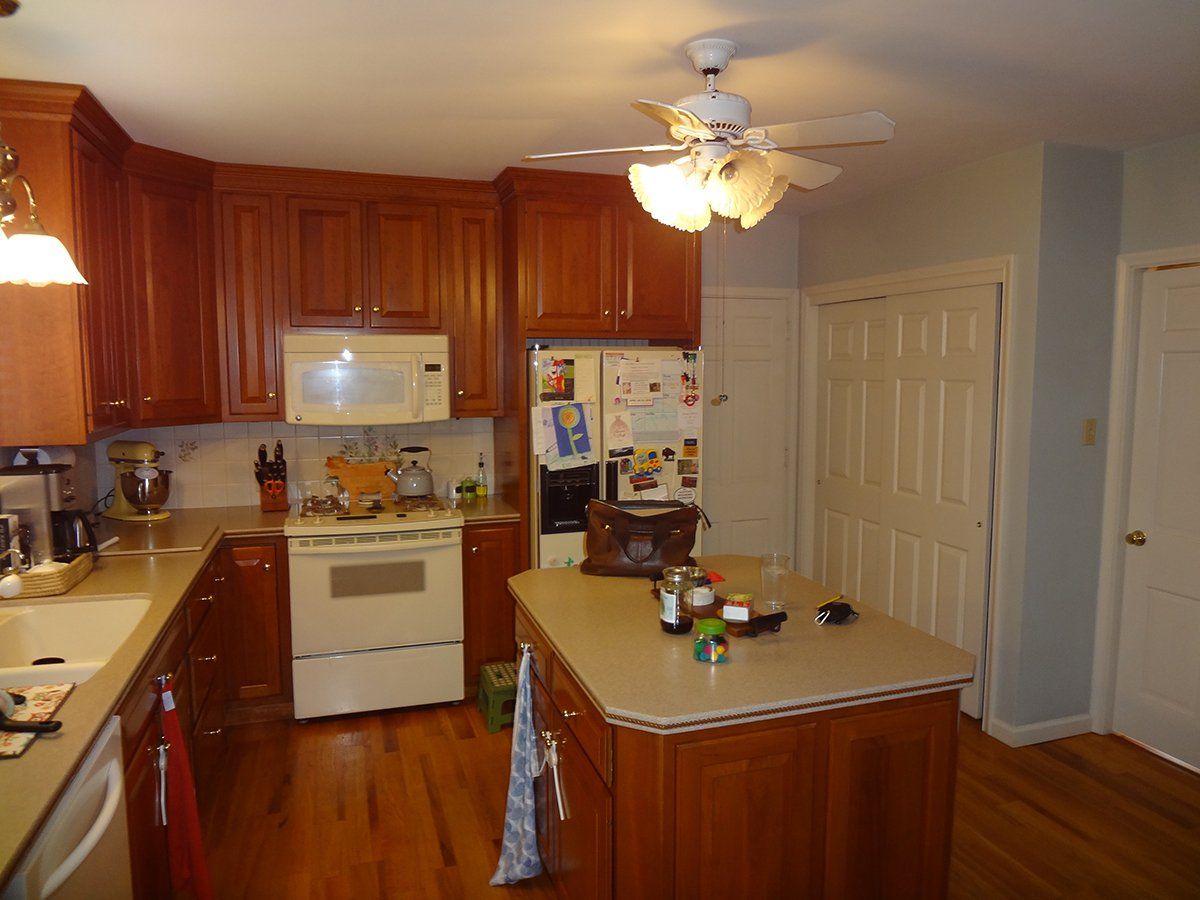
Before
Photo By: John Doe
Button
After
Photo By: John Doe
Button
Before
Photo By: John Doe
Button
After
Photo By: John Doe
Button
Before
Photo By: John Doe
Button
After
Photo By: John Doe
Button
Before
Photo By: John Doe
Button
After
Photo By: John Doe
Button
Before
Photo By: John Doe
Button
After
Photo By: John Doe
Button
Before
Photo By: John Doe
Button
After
Photo By: John Doe
Button
Before
Photo By: John Doe
Button
After
Photo By: John Doe
Button
Before
Photo By: John Doe
Button
After
Photo By: John Doe
Button
Before
Photo By: John Doe
Button
After
Photo By: John Doe
Button
Before
Photo By: John Doe
Button
After
Photo By: John Doe
Button
Before
Photo By: John Doe
Button
After
Photo By: John Doe
Button
Before
Photo By: John Doe
Button
After
Photo By: John Doe
Button